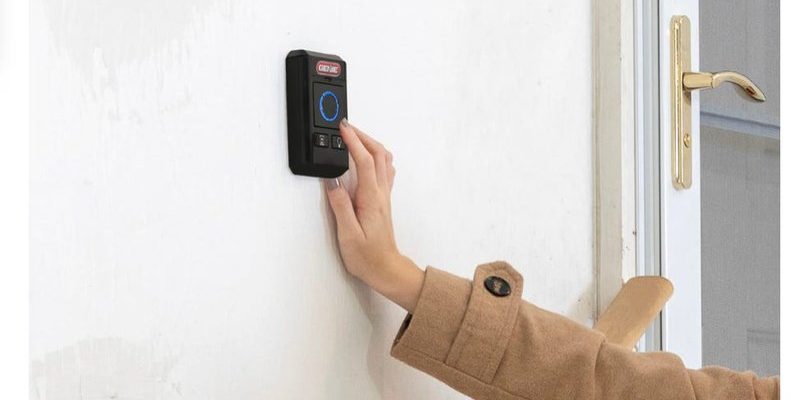
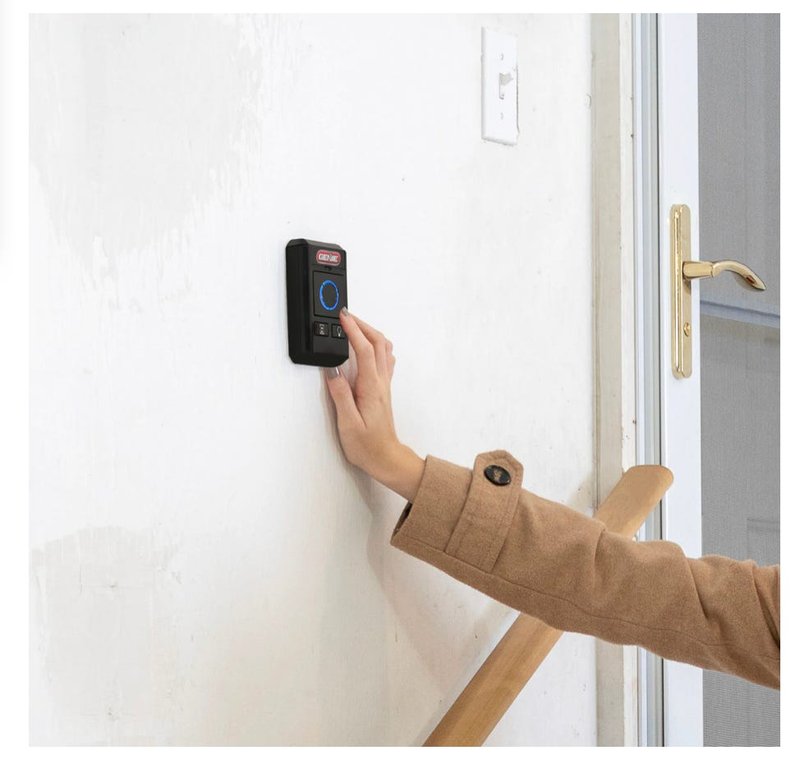
Before diving into the steps, let’s chat about the components you might be dealing with. Different brands, like Chamberlain, LiftMaster, or Genie, have various wall buttons, each with unique features. Some might light up, while others are plain and simple. Regardless of the brand or model, the basic steps to replace that button remain pretty much the same. Let’s explore how this process works, so you won’t have to stress about it.
Identifying the Right Replacement Wall Button
The first step to replacing your wall button is to know exactly what you need. Not every button fits every garage door opener, so taking a moment to identify the correct replacement is crucial. Start by checking the model number of your garage door opener. You can usually find it on the motor unit, which is the box mounted to your garage ceiling.
Once you have that model number, you can either look online or head to your local hardware store. Here’s the thing: make sure to buy a wall button specifically designed for your model. While some universal remotes exist, compatibility isn’t guaranteed. You wouldn’t want to buy a fancy new button only to find out it doesn’t actually work with your existing setup.
You might be wondering if it’s better to get a wired or wireless option. Wired buttons are typically more reliable since they connect directly to the garage door opener. On the other hand, wireless options offer the convenience of installation without needing to run wires. Choose based on your comfort level and how your garage door system is set up.
Gathering Your Tools
Before jumping into the installation, let’s ensure you have everything you need. A successful replacement is just a few tools away. Here’s a simple list of what you’ll likely need:
- Flathead and Phillips screwdrivers
- Wire cutters or strippers
- Electrical tape
- Replacement wall button
- Drill (if mounting is required)
Having these tools on hand makes the process smoother and prevents any unnecessary frustration. Imagine getting halfway through the installation and realizing you’re missing a screwdriver—definitely a buzzkill!
Now that you have your tools ready, it’s time to get to work.
Turning Off Power to the Garage Door Opener
Safety first! You wouldn’t start fixing a leaky faucet without turning off the water, right? The same applies here. Before you start working on the wall button, it’s essential to turn off the power to your garage door opener. This step might seem trivial, but it’s crucial to avoid any accidental shocks or malfunctions.
Locate the circuit breaker that controls your garage door opener and flip it off. If you’re unsure which breaker to switch, it’s a good idea to shut off the entire garage circuit for a few minutes just to be safe. It might seem inconvenient, but trust me, it’s worth it.
Once you’ve turned off the power, you can proceed with the replacement without any worries. Just think of it as putting on your safety goggles before diving into a project.
Removing the Old Wall Button
Now that you’re all set up, let’s get to the fun part—removing the old wall button. Grab your screwdriver and head over to the button’s location. You’ll usually find two screws holding it in place. Remove those screws, and gently pull the button away from the wall. If you see any wires attached, don’t tug on them!
Instead, take a close look at how the wires are connected to the button. It might help to snap a quick photo for reference later. The wires might be color-coded, so remember where each one goes. Typically, there are two wires: one connected to the power and the other that connects to the opener itself.
Once you’ve detached the wires, you can fully remove the old wall button from its location. Give yourself a little pat on the back—you’re halfway there!
Connecting the New Wall Button
Now it’s time to connect the new wall button. Don’t worry; it’s pretty straightforward! First, take your new wall button and identify the terminals for the wires. If it came with instructions, give those a quick read, as they can provide specific guidance.
Connect the corresponding wires from the wall to the terminals on the new button. Here’s a tip: if you have any doubts about which wire goes where, always refer back to that photo you took earlier! A common configuration is to have one wire going to the “A” terminal and the other to the “B,” but this can vary by brand.
Once the wires are securely connected, gently push them back into the wall. Don’t force them in there. Instead, guide them gently to avoid damaging anything. Then, line up the wall button, and use the screws you removed earlier to secure it in place.
Testing the New Wall Button
With the new wall button installed, it’s time for the moment of truth—testing it out! First, remember to turn the power back on at the circuit breaker. It’s like flipping the switch back on to your kitchen lights; the anticipation builds!
Once the power is restored, press the new wall button. Fingers crossed, it should perform its magic and open or close the garage door. If it works perfectly, congratulations! You’ve just replaced the overhead door wall button like a pro. However, if it doesn’t respond, don’t panic; troubleshooting is part of the process.
Here’s the thing—if your new button isn’t working, check the connections. Make sure the wires are firmly attached and that they’re in the correct spots. If everything looks good and it’s still not working, it might be time to delve into more in-depth troubleshooting or seek help from a professional.
Replacing the overhead door wall button might seem daunting at first, but with a little patience and the right tools, it can be a straightforward task. Not only did you learn how to tackle a small home repair, but you also gained a better understanding of your garage door opener system.
Next time that button isn’t cooperating, you’ll feel empowered to take the reins. So why not give it a shot? You could save time and money while enjoying a sense of accomplishment. After all, who knew a tiny button could make such a big difference? Happy garage door opening!