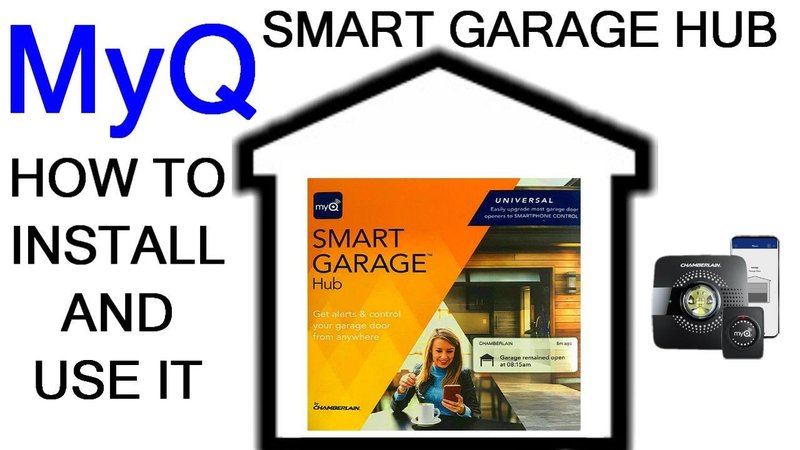
Now, whether you own a Chamberlain, LiftMaster, or another brand, the process of replacing your smart hub can feel daunting. But don’t worry! I’m here to break it down into simple steps that will have you up and running in no time. Plus, if you encounter any bumps along the way, I’ll cover some common troubleshooting tips to make it a smooth ride.
Recognizing When to Replace Your Smart Hub
Before diving into the replacement process, it’s crucial to know when you really need to swap out your smart hub. If you notice that your garage door isn’t responding to your smartphone, or if the hub is unable to connect to your home Wi-Fi, it might be time for a change.
Additionally, if the LED lights on the device are blinking in unusual patterns, or if your smart hub simply fails to connect to your garage door opener after multiple attempts, these can be signs of a malfunction. It also helps to keep in mind that smart hubs can take a bit of wear and tear after a few years of use. Sometimes, age is the main culprit, just as it is with many of our appliances!
Keeping an eye on these signs can save you a lot of troubleshooting later. If you’ve got a blinking indicator light or a faded display, consider it your smart hub’s way of waving a white flag.
Gathering Your Tools and Equipment
Once you’ve confirmed that a replacement is necessary, the next step is to gather the items you’ll need. Replacing a smart hub isn’t complicated, but having the right tools makes a world of difference. Here’s a quick list to ensure you’re prepared:
- New smart hub (make sure it’s compatible with your model)
- Power drill or screwdriver
- Wi-Fi password (you’ll need this for the setup)
- A ladder (depending on the height of your garage door)
With these tools on hand, you’ll be ready to tackle the replacement head-on. Imagine trying to cook without all your ingredients—it just won’t turn out right! The same goes for the smart hub replacement process.
Removing the Old Smart Hub
Now let’s get to the heart of the matter: removing your old smart hub. If you’ve ever done some home improvement or simple DIY tasks, this step will feel familiar. Here’s a general breakdown of how to do it:
1. Power Down: First, ensure that your garage door opener is disconnected from its power source. This is important for your safety!
2. Access the Hub: If your hub is mounted on the wall, you’ll need to use your ladder to reach it. Easy access is key here!
3. Unscrew the Hub: Use your power drill or screwdriver to remove the screws that hold the hub in place. Gently pull the hub away from its mounting.
4. Disconnect Wires: If there are wires connecting your hub to power, safely disconnect them. Avoid yanking them out; instead, carefully untangle them if necessary.
Once the old hub is removed, take a moment to examine it. Are there any signs of damage? This may give you some insight into the why behind its failure.
Installing the New Smart Hub
Now that the old hub is out of the way, it’s time to get your new smart hub up and running. The installation process is usually straightforward. Here’s how you can go about it:
1. Connect Wires: Start by attaching any necessary wires to your new hub. Make sure they’re securely fastened since loose connections can lead to future issues.
2. Mount the Hub: Using the screws you removed earlier, attach the new hub to the wall or the corresponding mounting bracket. Ensure it’s secure—there’s no need for your hub to go bouncing around!
3. Power It Up: Reconnect the power source to the garage door opener. You should hear a familiar hum as the system comes to life.
4. Final Check: Before diving into maintenance, it’s helpful to double-check that everything looks correct. Is the hub aligned? Are all wires connected? A quick inspection saves time later!
With the new hub installed, you’re halfway there. But how do you get it to communicate with your smartphone?
Syncing Your Smart Hub with Your Wi-Fi Network
Once your new smart hub is securely installed, syncing it with your Wi-Fi is the next step. Think of this like tuning a radio to the perfect station—you want it clear and reliable. Here’s how you can do it:
1. Download the App: If you haven’t yet, download the manufacturer’s app for your smart hub on your smartphone. For many brands like LiftMaster or Chamberlain, this app can be found in the App Store or Google Play.
2. Create an Account: Open the app and create an account if needed. Follow the on-screen prompts—it’s usually pretty straightforward.
3. Connect to Wi-Fi: Search for the Wi-Fi settings in the app, and enter your home Wi-Fi password.
4. Pairing the Devices: Once you’re connected, follow the pairing instructions. Depending on your model, this may involve pressing a sync button on the hub.
This is where the magic happens! If everything goes smoothly, you’ll see a confirmation message that your smart hub is successfully connected to the internet. This gives you the power to operate your garage door from virtually anywhere—modern convenience at its best!
Testing and Troubleshooting Your New Smart Hub
After setting everything up, it’s crucial to test your smart hub. Think of it as doing a warm-up before a big game. First, try using the app to open and close your garage door. If it works seamlessly, you’re in good shape!
However, if you encounter any hiccups along the way, here are some troubleshooting tips:
- Check Wi-Fi Connectivity: Ensure your Wi-Fi signal is strong in the garage.
- Update the App: Sometimes, you need to update the app for the smart hub to function properly.
- Reset the Hub: If all else fails, holding down the reset button may do the trick.
It’s always a good idea to have the manual handy, too. This can provide you with specific troubleshooting steps for your particular hub model.
Why a Smart Hub Matters
Now that you’ve successfully installed a new smart hub and ensured it’s working, you might wonder why it’s worth the effort. Having a smart hub might seem like a fancy extra, but it brings real value to your daily life.
– Convenience: Imagine coming home with your hands full and just tapping your phone to open the garage. That’s life made easy!
– Security: Many smart hubs allow for monitoring access. You’ll get alerts if the door opens unexpectedly.
– Integration: Modern smart hubs can often connect with other home automation systems, giving you centralized control of your home devices.
By keeping your smart hub in tip-top shape, you’ll enjoy all these benefits and more.
Replacing your overhead door smart hub doesn’t have to feel overwhelming. With a little patience and the steps laid out here, you can confidently swap it out and enjoy hassle-free access to your garage. Plus, knowing how to troubleshoot when things go awry will save you time and frustration.
Now, you can kick back, relax, and enjoy the newfound simplicity of controlling your garage door from your phone. Remember, smart home technology is all about making life easier, so embrace it with open arms! Happy opening and closing!
