
Think of your overhead door keypad like a personal doorman—quickly letting you in without the hassle of fumbling for your keys. But, like any piece of technology, keypads may sometimes wear out or fail. Whether you have a LiftMaster, Chamberlain, or another brand, knowing how to replace it can save you time, money, and a potential headache. Let’s dive into the process and help you get your garage door back in business.
Understanding Your Overhead Door Keypad
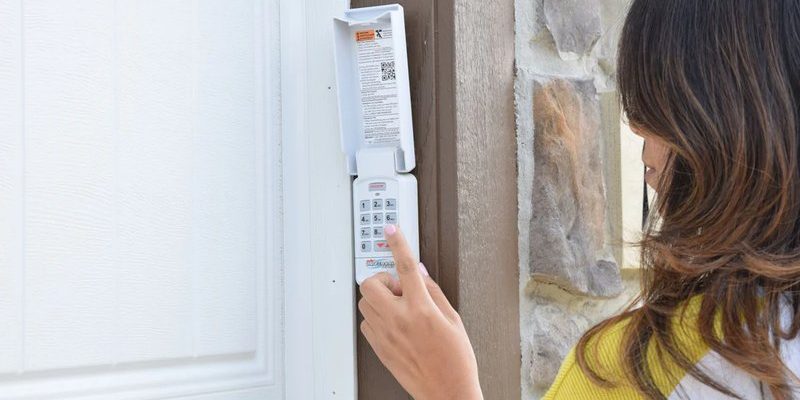
Before you get started with the replacement, it’s crucial to understand how these little gadgets work. Overhead door keypads generally connect wirelessly to your garage door opener. Picture it like your remote control; pressing a button sends a signal to the opener to tell it to lift the door. Many keypads take common batteries, making them easy to power up.
Most importantly, different brands and models may have unique features. For instance, some may have a backlight for easy visibility at night, while others include security codes that can be updated. Before you proceed, take some time to identify your specific keypad’s model and features. This will not only help you understand the replacement process but also ensure compatibility when purchasing a new one.
Gathering Your Tools & Supplies
Replacing an overhead door keypad doesn’t require an engineering degree, but having the right tools will make things smoother. You’ll need a few basic items:
- New overhead door keypad
- Flathead and Phillips screwdrivers
- Batteries for the new keypad
- Step ladder (if needed)
- Inspecting the old keypad for any remaining screws or mounts
Once you have everything ready, it’s time to get started. Honestly, this process is all about being organized and methodical. Just like putting together a new piece of furniture, having your tools nearby will save you time and frustration.
Removing the Old Keypad
Now it’s time for the fun part—taking out the old keypad! First, locate it on your garage wall. Make sure to turn off the power to your garage door opener for safety. You can usually do this via the circuit breaker.
Next, using your screwdriver, gently remove any visible screws from the keypad. Make sure to keep these screws safe—they might be needed for your new keypad. If your keypad is stuck, try gently wiggling it or sliding it from its base. Finally, take a moment to examine the old wiring or connections, making a mental note of how everything is arranged. You might even want to snap a pic on your phone for reference later.
Installing the New Keypad
It’s time to install your shiny new overhead door keypad! Begin by matching it up with the existing screw holes. If you’re working with a brand or model that has a specific alignment, this is the time to double-check that everything lines up.
Secure the keypad with the screws you saved earlier. For added confidence, don’t overtighten; you want it snug but not stripped. Now, slap in those fresh batteries and press any buttons to make sure the keypad powers on.
Remember to take a step back and appreciate your work—this is when you can feel like a DIY hero.
Programming Your New Keypad
Okay, your new keypad is all set up, but what’s next? Now you need to program it to ensure it syncs with your overhead door opener. Each brand has its unique programming steps, so be sure to refer to your new keypad’s manual.
Generally, here’s how the process goes:
- Press and hold the “program” button on the back of your garage door opener until the light blinks.
- On your keypad, enter a unique four-digit code and press the “enter” key.
- Confirm the programming by pressing the “enter” key again.
- Check that the keypad functions by entering the code to see if the door opens!
You might be wondering why programming is essential. A well-programmed keypad helps ensure your garage door only responds to you. In an age where security is paramount, having a personalized code matters.
Testing and Troubleshooting
You’ve done all the hard work, but don’t stop just yet! Testing your new keypad is crucial before calling it a day. Run a few tests by entering your code and making sure the garage door opens and closes smoothly. If it doesn’t work right away, don’t panic!
Common issues include:
- Incorrect code entry: Recheck your digits.
- Weak batteries: New batteries can make a difference.
- Signal interference: Ensure there are no obstacles blocking the keypad signal.
If all else fails, double-check the setup steps or consult the troubleshooting section of the manual. Everything’s a learning experience, right?
Maintenance Tips for Your Keypad
Once everything’s up and running, it’s good to know how to keep your keypad in great shape. Regular maintenance can help you avoid future headaches. Here are some quick tips:
- Replace batteries every 6-12 months, or as needed.
- Keep the keypad clean and free of debris.
- Periodically check for loose screws or connections.
By following these simple steps, you can help extend the life of your new overhead door keypad, ensuring you’re not left out in the cold—literally!
Replacing your overhead door keypad might seem daunting at first, but with a little bit of preparation and the right tools, it’s a task you can handle. You’ve learned about the key parts—how the keypad works, the installation process, programming, and even some maintenance tips to keep it all running smoothly.
Enjoy the ease of using your new keypad and the peace of mind that comes with knowing you can easily manage your garage door with just a few simple presses. It’s like having your personal doorman back at your beck and call! Now go ahead, hit that button, and enjoy the ease of home access. You’ve earned it!