Marantec garage door openers are known for their reliability and ease of use. They come with various remotes, often designed to make your life simpler. Whether you’re using a wall-mounted remote or one that fits nicely in your keychain, understanding how to replace your Marantec opener can save you time, money, and a lot of headaches. Let’s dive into the steps you need to follow.
Gather Your Tools and Materials
Before you dive into the replacement, it’s essential to gather everything you need. Think of it as preparing for a small cooking recipe. Here’s a quick list of tools you’ll want on hand:
- Screwdriver (typically, a Phillips head works best)
- Wrench (if your opener has any bolts that need loosening)
- Replacement opener (make sure it’s compatible with your Marantec system)
- Level (to make sure the door operates smoothly)
- Safety goggles (always better to be safe)
Having these items ready will streamline the process. You wouldn’t bake a cake without measuring cups, right? Similarly, gathering your tools can make replacing a garage door opener easy and straightforward.
Disconnect Power and Remove the Old Opener
Safety first! The very first step in replacing your Marantec garage door opener is to disconnect the power supply. This means unplugging it from the outlet or turning off the circuit breaker. You don’t want to accidentally trigger the opener while you’re working.
Once you’ve ensured that there’s no power, you can start removing the old opener. This typically involves unscrewing it from the ceiling and detaching any brackets or support arms. Just remember, keep track of any screws or parts you remove. It’s a lot like taking apart a puzzle—losing pieces will only make it harder later on!
If you find that some components are stubborn, don’t force them. Instead, gently wiggle or use your screwdriver to pry them loose. Patience is key here.
Install the New Marantec Opener
Now, it’s time for the exciting part—installing your new Marantec garage door opener! First things first, refer to the instruction manual that comes with the new unit. This is like the road map you’ll need to follow for a successful installation.
Start by securing the opener to the ceiling. Make sure it’s level so your door operates smoothly. This step is critical. If it’s off, the door could get stuck or jammed. Then, attach any necessary brackets as outlined in the instructions. Honestly, think of this phase like building a Lego set—everything clicks together just so.
Next, connect any wiring as per the manual. This is where having a diagram can be super helpful. Don’t rush through this; double-check each connection for a secure fit.
Sync Your Remote with the New Opener
Now that the opener is up and running, it’s time to sync your remote. You might be wondering—why do I need to do this? Well, when you replace the opener, the old remote won’t automatically know to work with the new system.
Here’s how to pair or sync your Marantec remote:
1. Locate the learn button on the opener’s motor unit. It’s usually near the antenna wire and often marked clearly.
2. Press the learn button until the indicator light turns on.
3. Within 30 seconds, press and hold the button on your remote that you want to program.
4. Once the opener blinks or makes a sound, your remote has been successfully paired!
Repeat this for any additional remotes you may have. It’s a quick process, but it can feel quite rewarding once it’s completed.
Test the New Garage Door Opener
After everything is installed and connected, it’s time for the moment of truth—testing your new garage door opener. Just like when you take a new car for a spin, you want to see it working smoothly.
First, make sure the garage door is closed. Then, use your remote to open it. Stand clear as the door operates to ensure everything is functioning correctly. Watch for any jerky movements or unusual noises. If you notice anything off, double-check that everything is securely fastened and properly calibrated.
If it works like a charm, congratulations! You’ve just replaced your Marantec garage door opener. If not, my first piece of advice is to refer back to the troubleshooting section in the manual.
Common Troubleshooting Tips After Replacement
Sometimes, replacing an opener might not go as smoothly as you’d hoped, and that’s okay. Here are a few common issues you might encounter and how to tackle them:
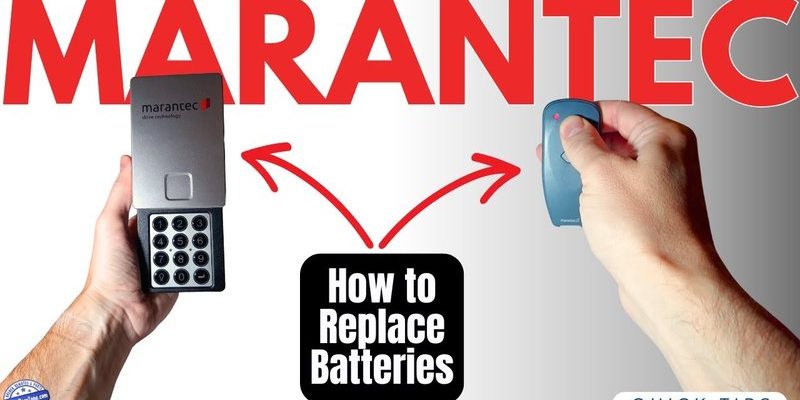
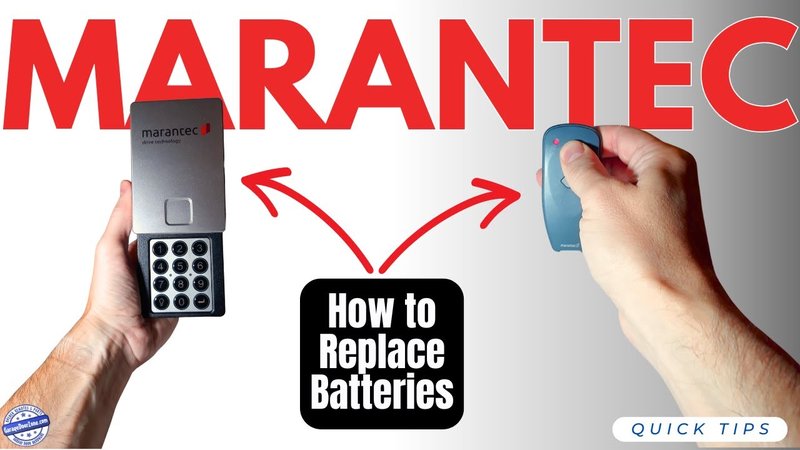
– Remote doesn’t work: Double-check if it’s properly synced. Sometimes, pressing the sync button multiple times helps. Also, check the battery in the remote; replacing it might do the trick.
– Door doesn’t fully close: Ensure the sensors on either side of the door are aligned. If not, realign them gently until they line up perfectly.
– Strange noises: This could be a sign that the garage door is misaligned. Inspect the track and the rollers, and make any necessary adjustments.
Here’s the thing—everyone encounters problems from time to time. Don’t get discouraged. Just take a deep breath, refer back to the manual, and tackle each issue step-by-step.
Final Thoughts on Replacing Your Marantec Garage Door Opener
Replacing a Marantec garage door opener can feel like a daunting task, but with the right tools and a little patience, it’s entirely manageable. Just remember to take your time, double-check each step, and don’t hesitate to refer back to any manuals for guidance.
You’ve learned the ins and outs of this process, from gathering tools to syncing your remote. So the next time your garage door opener needs a swap, you’ll be prepared. Plus, knowing how to do it yourself can save you some cash and give you the satisfaction of completing a DIY project. Here’s to smoother garage door operations in your future!