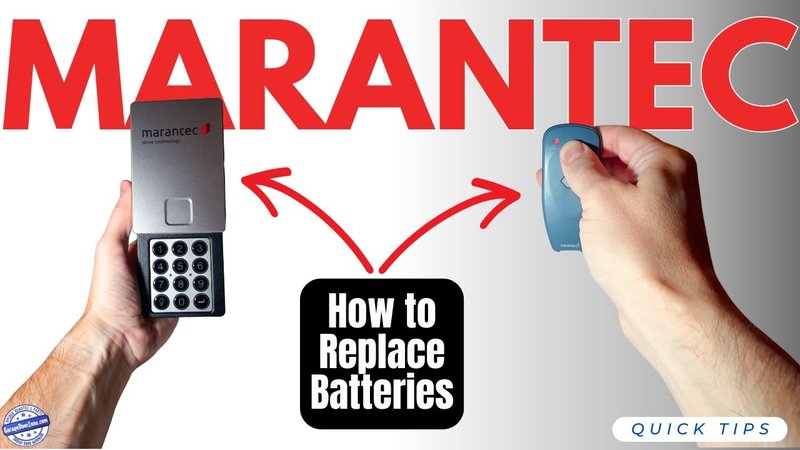
Replacing it isn’t as daunting as it sounds. Imagine you’re fixing a leaky faucet or swapping out a light fixture. With the right tools, a bit of patience, and a guiding hand, you can tackle this task on your own. Let’s dive into the steps you need to follow to get that Marantec control panel replaced quickly and efficiently.
Understanding Your Marantec Control Panel
Before diving into the replacement, it’s crucial to understand what you’re working with. Marantec has various control panel models, often paired with their garage door openers. The control panel usually features buttons for open, close, and programming settings. Understanding its layout helps you know where to look when it comes time to program it or troubleshoot issues.
If you’re dealing with a malfunctioning panel, symptoms might include unresponsive buttons or continuous beeping. You might think it’s a coding glitch, but often, it’s just time for a replacement. Knowing how everything works can help relieve any confusion about whether you truly need a new one or if it’s just a quick fix on the current model.
Gathering Your Tools
Before you jump into the replacement, you’ll want to gather a few tools. This step saves you time and potential headaches later. Here’s a handy list for you:
- Screwdriver (usually Phillips head works best)
- Wire cutters or strippers
- Replacement control panel (make sure it matches your model)
- Electrical tape (for wire insulation)
- A step stool (if your garage is tall)
Having the right tools handy makes the job smoother. Plus, it can save you from unnecessary trips to the store mid-project. How annoying is it to be halfway through a task only to realize you’re missing an essential tool?
Shutting Off Power to Your Garage Opener
Now that you have your tools ready, it’s time to prioritize safety. The first step in any electrical work is to ensure power is turned off. You don’t want to risk getting shocked or messing up the electrical system when replacing your Marantec control panel.
Find the circuit breaker that controls your garage door opener. Flip it to the off position, and double-check that the power is off by trying to operate the opener. If it doesn’t respond, you’re good to go!
Removing the Old Control Panel
With the power off, it’s time to take down the old control panel. Here’s how to do it step-by-step:
1. Locate the screws that hold the panel in place. These could be in the front or back, depending on the design.
2. Use your screwdriver to remove the screws gently. Keep them safe for reinstalling your new panel later.
3. Carefully disconnect the wires. Take note of where each wire goes; taking a quick picture can help you remember their placement.
4. If the wires are tightly secured, use your wire cutters to release them. Be careful not to damage them.
Removing the old panel can feel rewarding. It’s like clearing out a cluttered desk: once it’s done, there’s a sense of fresh potential to work with.
Connecting the New Control Panel
Now comes the exciting part: connecting your new Marantec control panel! Here’s a straightforward way to ensure a smooth installation:
1. Reconnect the wires to the new panel, matching them with the notes or pictures you took earlier.
2. Secure each wire by twisting them together, then covering them with electrical tape to ensure a safe connection.
3. Once all wires are connected, gently push the panel back in place and secure it using the screws you removed earlier.
Connecting everything can feel like piecing together a puzzle. Each connection is essential for the whole system to work. Remember to double-check that all your connections are snug and secured.
Testing the New Control Panel
With everything in place, it’s time for the moment of truth. First, turn the circuit breaker back on. Then, test the new control panel to ensure it’s working as it should.
* Start by pressing the open button to see if the garage door responds.
* Check if all the other buttons function properly, including programming options.
If everything works as planned, congratulations! You’re officially someone who’s replaced a control panel.
Troubleshooting and Common Issues
Even after all that work, you might run into a hiccup or two. If the new panel doesn’t respond, don’t worry. Here’s what to check:
1. Verify your connections: Ensure that the wires are properly connected and secured.
2. Double-check the power source: Make sure the circuit breaker is on and providing power to the opener.
3. Follow the programming instructions for your new control panel. Sometimes it requires a reset or sync with the remote.
It’s normal to feel a little frustrated if things don’t work right away. Just take a breath and go through these checks. Often, it’s a simple fix.
Replacing your Marantec control panel doesn’t have to be a daunting task. With some patience, the right tools, and a clear understanding of the steps involved, you can definitely handle it. Just think of each step as a little victory—removing the old panel, connecting the new one, and testing it out.
It’s empowering to handle repairs on your own, plus it saves money on professional help. So the next time you hear that beep or see your garage door unresponsive, you’ll know exactly what to do. Happy garage door fixing!
