The good news? You don’t have to be an electrician or a tech wizard to get this done. Whether you have a standard wall button or a more specialized version, the replacement process is similar across various Linear models. Just grab a few basic tools, and you’ll be ready to tackle the job.
Why Would You Need to Replace Your Wall Button?
You might be wondering what signs indicate that it’s time to replace your Linear wall button. Common issues include responsiveness problems (you press it, but nothing happens), or perhaps the button is cracked or damaged. These problems can make accessing your garage a hassle.
On top of that, wiring issues or degraded connections can lead to inconsistent performance. Imagine trying to start your car, but it won’t turn over because of a faulty battery connection. The same goes for your wall button. When it’s on the fritz, you risk getting stuck outside—or worse, locked inside.
Replacing the wall button can also improve safety. A malfunctioning button may inadvertently open or close your garage door, risking damage or worse—injuring someone nearby. So, tackling a replacement not only solves an inconvenience, but it also enhances your home’s safety.
Gather the Tools You’ll Need
Before diving into the replacement process, it’s crucial to gather all necessary tools. The good news is you won’t need a fully-stocked toolbox—just some essential items will do. Here’s a short list to get you started:
- Screwdriver (usually a Phillips head)
- Replacement wall button (make sure it’s compatible with your Linear system)
- Wire stripper (if needed for new connections)
- Electrical tape (for safety)
Having these tools on hand before you begin can save you a lot of time and frustration. No one wants to be halfway through the replacement process, only to realize they still need a screwdriver!
Turn Off Power to the Garage Door Opener
Safety first! Before replacing the wall button, always turn off the power to your garage door opener. This step is crucial because working with live wires can lead to accidents.
To do this:
1. Locate the power source for your garage door opener, often found in the ceiling of the garage.
2. Unplug the unit from the outlet or turn off the circuit breaker connected to it.
Imagine you’re unscrewing a light bulb, doing it so that no electricity is flowing. It’s the same principle here. By cutting the power, you’re ensuring you won’t face any unexpected surprises while working.
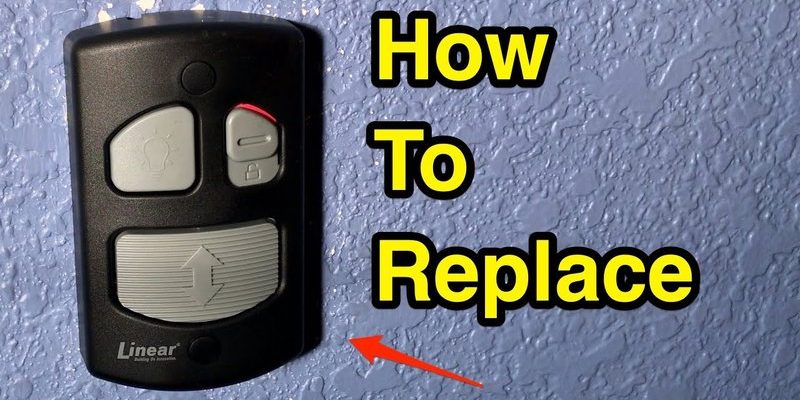
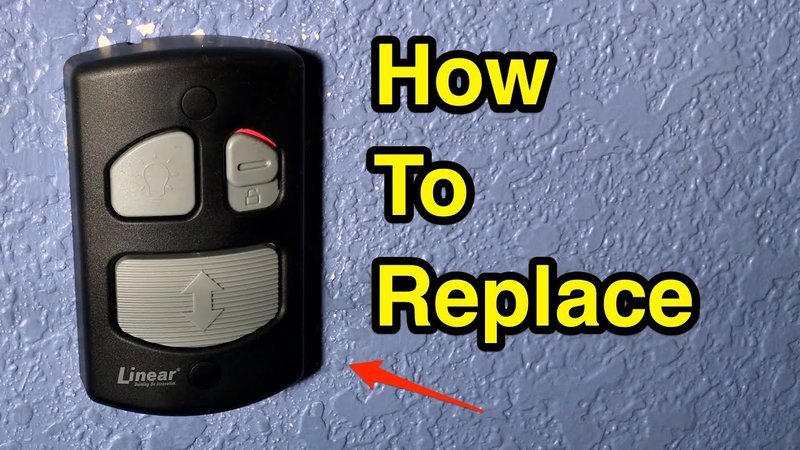
Remove the Old Wall Button
Now that the power is off, it’s time to remove the existing wall button. This process is typically straightforward. Here’s how you can do it:
1. Unscrew the wall plate: Use your screwdriver to remove any screws holding the wall plate in place.
2. Carefully pull the wall button from the wall: Gently pull the button out, making sure you don’t damage any wires inside.
3. Take note of the wiring: It’s a good practice to take a photo of the wiring configuration before disconnecting anything. This will serve as your reference for reconnecting the new button later.
Removing the old wall button can feel a bit like peeling an onion—there’s a bit of a process, but it’s essential to get to the core of the issue!
Install the New Wall Button
Once the old wall button is out of the way, it’s time to install the new one. Here’s a step-by-step guide on what to do:
1. Connect the wiring: Use the photo you took earlier to reconnect the wires to the new wall button. Attach the wires securely, making sure they’re oriented properly.
2. Secure the button in place: Gently push the button back into the wall and screw the wall plate back in.
3. Check for any loose connections: Take a moment to inspect everything. Ensuring a snug connection will help prevent future problems.
Installing the new wall button is like putting the final piece of a puzzle together: it’s exciting to watch everything come together, leading to a completion that’s satisfying.
Test the New Wall Button
You’ve done the hard work, so now it’s time for the best part—testing the new wall button! Start by restoring power to the garage door opener. If you turned off the circuit breaker, flip it back on, or if you unplugged it, replug it back in. Then, press the new wall button to see if it works as expected.
If the garage door opens and closes smoothly, you’re in the clear! If it doesn’t work, don’t panic—check if the wires are securely connected and that there are no loose connections. Sometimes a tiny adjustment can make a world of difference.
What to Do If the New Button Doesn’t Work
If your new wall button isn’t working, there are a few troubleshooting steps to consider. First, double-check your wiring to ensure it matches the configuration you documented. Sometimes, a simple connection can slip loose.
You might also need to reset or even sync your garage door opener with the new wall button. Most Linear systems come with instructions for this. Think of it like pairing a new remote to your TV—you just need to sync it up to function correctly.
If it’s still not working, consider reaching out to a professional or reviewing your garage door opener’s manual for further troubleshooting advice.
Final Thoughts
Replacing a Linear wall button doesn’t have to be rocket science. With a few tools and careful steps, you can get the job done quickly and safely. Whether you face faulty connections or basic wear and tear, handling this issue promptly not only saves you time but also boosts your home’s safety.
Take the leap and give it a go—you’ll likely find that you can DIY this replacement with confidence. Remember, persistence is key, and with the right approach, you can get back to effortlessly accessing your garage in no time!