Replacing a linear motor unit may sound complicated, but it can be easier than you think—kind of like fixing a bicycle. You just need to know which parts to focus on, and take it one step at a time. This guide will walk you through the process, so you can get your garage door back in action without needing to call a pro.
Understanding the Linear Motor Unit
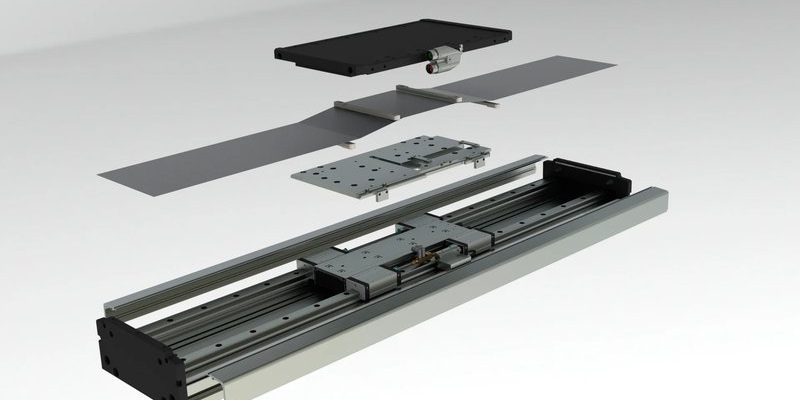
The linear motor unit is what helps your garage door move up and down smoothly. In simpler terms, it’s like the engine of a car, translating electrical signals from your remote into motion. When you press that button, a small motor unit comes into action, pushing the door to lift or lower. If you notice your garage door is making unusual noises or isn’t reacting to your remote, it might be time to look into replacing it.
You’ll typically come across two types of linear motor technology in modern garage door systems: DC motors and AC motors. DC motors are quieter and more energy-efficient, while AC motors are often more powerful and suitable for heavier doors. Depending on your remote brand and model, the process might be slightly different, so keep that in mind as we dive deeper.
Identifying the Problem
Before you jump into replacing your linear motor unit, it’s essential to confirm that this is indeed the issue. A door that won’t open may not always be due to the motor—you might have a dead battery in your remote or a misaligned track. Here’s how you can check:
- Listen for Sounds: When you press the remote, does the motor hum or click? No sound might mean a power issue, while odd noises could indicate mechanical failure.
- Check the Remote: If it’s not syncing, try replacing its batteries first. Sometimes, it’s just that simple!
- Inspect the Tracks: Make sure nothing’s blocking the path. Look for debris or misalignment that might prevent smooth operation.
If you’ve gone through these steps and it’s still not working, you’re likely facing a motor issue, and it’s time to get your hands a little dirty.
Gathering Your Tools
Before diving into the replacement process, it’s vital to gather all the necessary tools. Having everything handy not only makes the job easier but also speeds things up. Here’s a straightforward list of what you might need:
- Screwdriver: Usually a Phillips head; it’s perfect for removing screws.
- Socket Wrench: This will help you manage bolts that hold the motor in place.
- Replacement Motor Unit: Make sure you get the correct model for your garage door system!
- Safety Gear: Think gloves and safety glasses—better safe than sorry.
With your tools lined up, you’re getting closer to bringing that garage door back to life.
Removing the Old Linear Motor Unit
Now comes the moment of truth. Before you start, ensure you disconnect the power supply to avoid any accidents. Here’s a step-by-step breakdown to remove the old unit:
1. Disconnect Power: Unplug the garage door opener from the wall outlet.
2. Remove the Cover: Locate the screws that hold the cover of the garage door opener and take it off to expose the motor unit.
3. Unplug the Motor: Carefully disconnect any wires or cables connected to the motor. Take a picture if needed; it’ll help when reconnecting the new unit.
4. Unscrew the Motor: Use your socket wrench to remove the screws or bolts holding the motor in place. Gently pull the motor out.
Make sure to handle all components carefully—you don’t want to damage anything that you’ll need later.
Installing the New Linear Motor Unit
With the old part out, you’re ready to install the new linear motor unit. A fresh start can feel good! Here’s how to get that new motor in:
1. Position the New Motor: Slide the new motor unit into place. Make sure it sits properly within the mounting brackets.
2. Secure it: Use your socket wrench to screw in the motor securely. Don’t over-tighten, as this can strip the screws, but it should be snug.
3. Reconnect Wires: Refer back to your picture (or the manual) and reconnect the wires in the same way they were connected before.
4. Replace the Cover: Put the cover back on your garage door opener and secure it with screws.
How does that feel? You’re practically an expert now!
Testing Your New Unit
After the installation, it’s time to test whether everything works as expected. You want to make sure that your garage door operates smoothly and safely. Here’s how to run a thorough test:
1. Reconnect Power: Plug your garage door opener back into the outlet.
2. Sync the Remote: If needed, you might have to reset and sync your remote with the new motor unit. Check the manual for specific instructions.
3. Test the Door Operation: Press the remote to see if it opens and closes correctly. Pay attention to any unusual sounds or issues during operation.
4. Observe the Door Movement: Make sure the door moves smoothly along the tracks without obstruction.
If it works, congratulations! You’ve successfully installed a new linear motor unit.
Why Regular Maintenance Matters
Now that you’ve tackled the replacement, it’s important to keep your garage door system in good shape. Regular maintenance can help prevent the need for future replacements and keep everything running smoothly.
Here’s how you can maintain your garage door:
- Lubricate Moving Parts: A little grease goes a long way. Lubricate the rollers, hinges, and tracks at least once every few months.
- Inspect the System: Regularly check for any loose screws or worn-out parts. This quick fix can save you from bigger headaches down the line.
- Test Safety Features: Ensure the safety sensors are working correctly. Place an object in the door’s path to see if it stops as it should.
Taking these steps will not only prolong the life of your linear motor unit but also ensure safe and reliable operation.
Final Thoughts
Replacing a linear motor unit might seem daunting, but breaking it down into manageable steps makes it easier. By following this guide, you tackled the process yourself and saved some money in the process. Remember, a little knowledge and patience go a long way.
And if you run into more garage door troubles down the road, stay proactive with maintenance, and don’t hesitate to dig a little deeper into troubleshooting. You’re now equipped to handle your garage door like a pro!