Linear garage door openers, well-known for their reliability, allow you to easily access your garage with just a click. However, they can wear out over time just like any gadget. If you find yourself struggling with a stubborn door or a remote that just won’t respond, it might be time to consider a replacement. In this guide, we’ll walk you through the steps to get your garage door opener back in tip-top shape.
Why Replace Your Linear Garage Door Opener?
Replacing your garage door opener can feel like a hassle, but it offers several significant benefits. First, it vastly enhances convenience. Imagine opening your garage door on a rainy day without stepping out of your car. New models also come with improved security features, ensuring your home is well protected. Additionally, modern openers can reduce noise, making your garage more peaceful.
Here’s the thing: older openers can have mechanical issues or simply become less efficient over time. If you’ve experienced unreliable operation, odd noises, or the remote isn’t responding, these are signs that an opener replacement may be on the horizon. Plus, a new opener can be more energy-efficient, helping lower your electricity bills—who doesn’t love that?
Before you start thinking about which model to buy, assess whether your current situation truly necessitates a replacement. A quick troubleshooting step could reveal a simple fix, like changing the battery in the remote or checking the sensors. However, if the opener is nearing its lifespan, investing in a new one might save you time and money in the long run.
Gathering the Right Tools for the Job
Before diving into the replacement process, let’s make sure you have the necessary tools on hand. Think of this as gathering your ingredients before cooking—having everything ready makes the process smoother and reduces frustration.
Here’s a simple list of what you’ll need:
- A screwdriver (both flathead and Phillips)
- A wrench set
- A power drill with bits
- Wire cutters (if you need to remove old wiring)
- A ladder (for reaching higher parts of the opener)
- Safety glasses to protect your eyes
Taking a moment to gather these tools will set you up nicely for success. Once you’ve got everything ready, it’s time to dig into the actual replacement process.
Stopping the Old Opener: Safety First
Before you start removing the old opener, ensure you prioritize safety. Remember the saying, “Safety first, last, and always?” Well, it rings true here, too. Disconnecting the power source is crucial to ensure you don’t accidentally activate the opener while you’re working on it.
To begin, locate the power cord of your Linear garage door opener. Unplug it from the outlet or, if linked directly to your home’s wiring, turn off the appropriate circuit breaker. Once you’ve done that, you should also disable any emergency release cord. This ensures that it can’t be inadvertently pulled while you’re working.
Checking the area around the opener is also important. Make sure it’s cleared of any obstacles. Working in a safe space helps prevent slips or accidents, so take the time to set up your environment before getting started.
Removing the Old Garage Door Opener
Now that you’ve set up for safety, let’s turn our attention to removing the old Linear garage door opener. This step is like unfastening all the pieces from that shelf you built earlier. You’ll work methodically, setting the components aside gently.
Start by removing any hardware securing the opener to the ceiling and the garage door itself. Typically, you’ll have bolts or screws holding it in place. Use the correct screwdriver or wrench to take these out. Keep all fasteners together in a small container to ensure you don’t lose any pieces.
Next, you’ll need to disconnect the wiring from the garage door opener. This may include the power supply wires and any additional connections to safety sensors. Make note of where each wire connects, either by taking a photo or labeling them. This will make it easier when you install the new unit.
Finally, once everything is disconnected, remove the opener from its brackets and carefully lower it down. If it feels heavy, don’t hesitate to ask for assistance. Remember, it’s better to have help than risk injury.
Installing Your New Linear Garage Door Opener
Now comes the fun part: installing your brand new Linear garage door opener. Think of it as piecing together the puzzle, following the instructions carefully to ensure everything fits perfectly.
Start by placing the new opener in position. Consult the manufacturer’s guide for the correct positioning and orientation. Use the mounting brackets to attach it to the ceiling, securing it with the same bolts you’ve kept aside. If the new opener doesn’t come with its own brackets or if you need a different configuration, don’t hesitate to ask for help at a home improvement store.
Next, reconnect all the wiring following the notes or photos you took earlier. Double-check to ensure that all connections are secure and that you haven’t missed any crucial steps. You wouldn’t want to end up with a garage door that refuses to open once powered back on.
At this point, you should also take a look at the safety sensors. These sensors help lower the risks of accidents when the garage door closes. Position them correctly, as specified in the instructions. This is crucial for keeping everything safe and functional.
Programming Your New Opener
Once the installation is complete, it’s time for programming. This is the part where you sync your new opener with your remote, much like setting the time on a new watch.
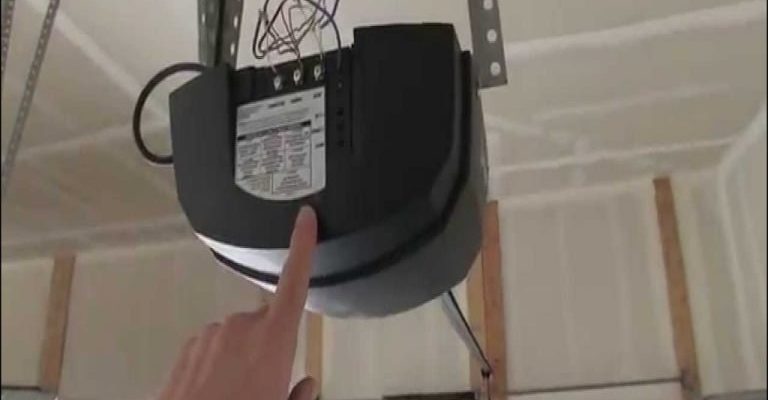
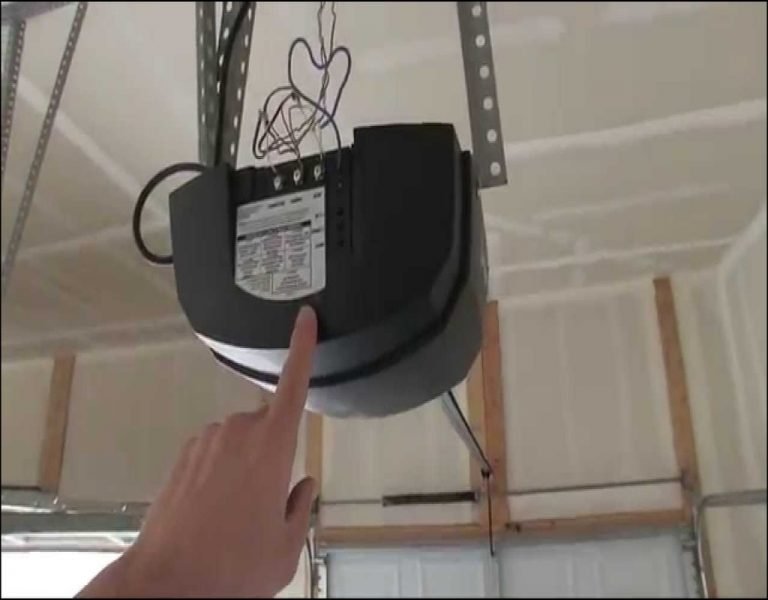
For most Linear models, press the “learn” button on the opener—usually located on the back or side. Once it’s in learning mode, you’ll need to press the button on your remote. You should see a blinking light confirming it has paired successfully. Remember to test multiple remotes if you have them!
If you have a keypad, don’t forget to program it as well. Follow the instructions in the manual to set your desired code. It adds a layer of convenience that allows you to access your garage without needing the remote every time.
You might be wondering what to do if the programming doesn’t work right away. Sometimes, a simple reset is all it takes. Unplug the opener, wait a few seconds, then plug it back in and start the programming again.
Final Troubleshooting and Testing
With everything set up, it’s time for a test run. Reconnect the power supply and watch as the magic happens. Before declaring victory, verify that the door moves smoothly and begins to open and close as intended.
If something seems off, don’t panic—this is where you can troubleshoot. Check the following:
- Ensure the sensors are aligned and working properly.
- Confirm all wiring connections are secure.
- Make sure the track is clean and free of debris that may hinder movement.
A little testing goes a long way in ensuring your new opener performs flawlessly. If it struggles or responses are sporadic, consult the manual for more advanced troubleshooting tips.
Enjoying Your New Garage Door Opener
Congratulations! You’ve successfully replaced your Linear garage door opener. Just like that satisfying feeling of completing a complex puzzle, you can now enjoy the seamless access to your garage with a simple click of a button.
With your new garage opener, you’ll benefit from better reliability, improved efficiency, and enhanced security. Plus, your friends might be impressed with your handy work! Regularly check in on your new opener, ensuring it’s functioning well and addressing any concerns as they arise.
If you keep an eye on maintenance, like lubricating moving parts and checking the safety features, your new opener should serve you well for years to come. Happy garage-ing!