Before jumping into the task, know that you have a couple of options: you can either replace the entire garage door opener unit or just the remote. If you’re new to this, think of the garage door opener as the engine of a car—it powers your garage and makes everything run smoothly. Whether you have a standard remote or a more advanced model, I’ll walk you through the steps to get everything back on track.
Understanding Your Liftmaster Garage Door Opener
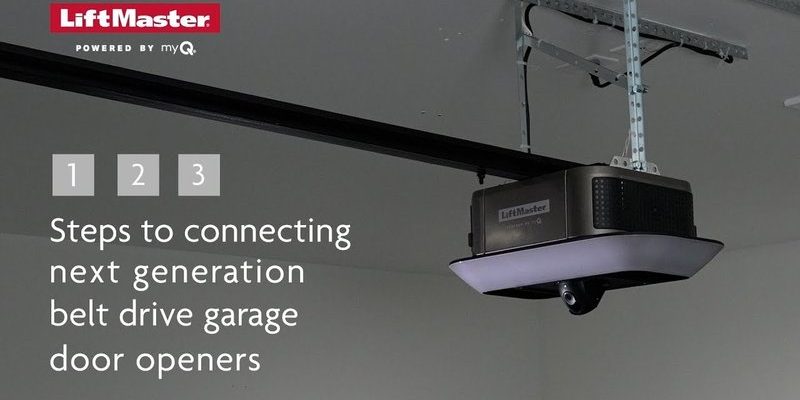
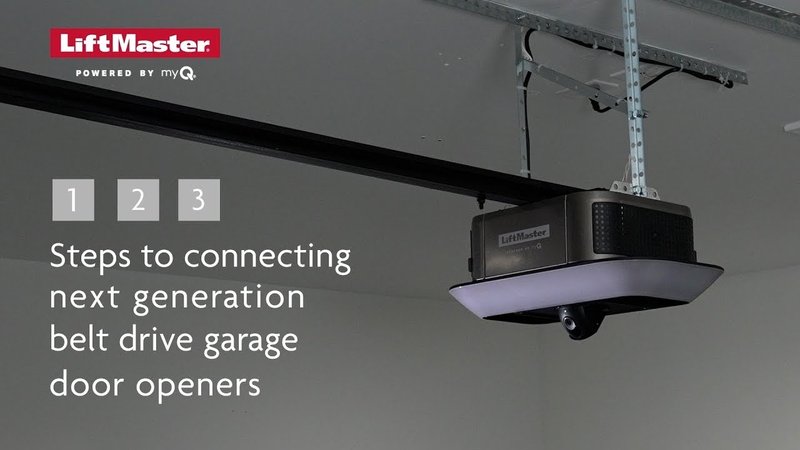
The Liftmaster garage door opener is popular for its reliability and features. Most models operate quietly and can lift heavy garage doors with ease. You’ll likely find the basic components include the motor, rail system, sensors, and remote. If you’re not familiar with these parts, don’t worry! Let’s break them down.
– Motor: The heart of your opener, it provides the power needed to lift and lower your door.
– Rail: This metal track guides the door as it opens and closes.
– Remote: The device you hold in your hand that sends the signal to the opener. It usually runs on batteries and can sometimes be reset or reprogrammed.
By recognizing these components, you’ll better understand what to replace or troubleshoot when issues arise.
Collecting the Tools and Parts You Need
Before diving into the replacement process, gather all necessary tools. Think of it like preparing for a fun DIY project at home—having everything in one spot makes for smoother sailing. Here’s a basic list of what you might need:
- Replacement garage door opener (if needed)
- New remote control (if applicable)
- Screwdriver (usually a Phillips head)
- Wrench
- Measuring tape
- Level
- Safety goggles
- Step ladder
Having these tools ready means you won’t have to pause mid-project to run to the hardware store. Trust me; it makes the job a lot more enjoyable.
Removing the Old Garage Door Opener
Now that you have everything you need, let’s tackle the removal of your old garage door opener. Follow these steps for a seamless process:
1. Unplug the Opener: Safety first! Disconnect the power before touching anything.
2. Detach the Garage Door: Disconnect the door from the opener by pulling the emergency release cord; it’s typically a red cord hanging from the opener.
3. Remove Fasteners: Use your screwdriver or wrench to unfasten the opener from the ceiling brackets and rail assembly. Make sure you have a partner to hold the unit if it feels heavy!
4. Take Down the Opener: Once it’s unscrewed, lift the old opener straight up and out of its position.
It’s a bit like taking down a piece of furniture—careful lifting makes all the difference.
Installing the New Liftmaster Garage Door Opener
With the old opener out of the way, it’s time to install the new one. Here’s a step-by-step guide to get that shiny new Liftmaster mounted and ready:
1. Position the New Opener: Place the new opener where the old one was. Ensure it’s level; using your level tool here is crucial.
2. Secure it to the Ceiling: Use your screws and brackets to fasten the new opener to the ceiling. Make sure it’s snug, as a wobbly opener can lead to future issues.
3. Attach the Rail System: Connect the rail to the garage door opener. This rail allows the door to move up and down smoothly.
4. Connect to the Garage Door: Use the emergency release cord again to attach the door to the opener. Make sure there aren’t any snags!
Remember, it’s like assembling a furniture piece from scratch. Patience pays off here!
Pairing the Remote with Your New Opener
Alright, let’s get your remote synced up with the new opener. If it’s like a new pair of shoes, it needs to fit just right:
1. Locate the “Learn” Button: On your new Liftmaster opener, look for the “Learn” button. It’s most often on the back of the unit.
2. Press the Button: Press and release the “Learn” button; you’ll typically see a blinking light. This indicates it’s ready to pair.
3. Activate the Remote: Within 30 seconds, press and hold the button on your remote that you want to sync with the opener. Once you see the lights on the opener blink, you’ve paired successfully! Simple as that.
Once synced, test the remote to ensure everything’s functioning properly. If not, you may need to repeat these steps.
Testing and Troubleshooting Your New System
Now that everything is set up, it’s time for a test run. Here’s how to make sure your new system is up to snuff:
– Operate the Door: Use the remote to open and close the garage door. Does it respond as expected? If not, double-check your connections.
– Inspect the Safety Sensors: Make sure the sensors at the base of the door are aligned and clean. If the door doesn’t move, this could be the issue.
– Adjust the Settings: If it still doesn’t work, look for the adjustment settings on the opener. Sometimes, a simple turn of a dial can fix things.
If all else fails, referring to the user manual can offer troubleshooting tips specifically for your model.
Final Thoughts
Replacing your Liftmaster garage door opener may seem intimidating at first, but with a little patience and the right tools, you can be your own handyman. Remember to take your time with each step and pay attention to the little details. Treat this like any DIY project—you’ll have a sense of accomplishment once it’s done! And if you run into hiccups along the way, don’t hesitate to refer back to this guide. Your garage door will be working like new before you know it!