From ensuring you can still open your garage door during a power outage to helping your remote sync up effortlessly, the battery backup is a critical component. Liftmaster has designed their systems with user-friendliness in mind. You might be wondering, “How do I even begin this process?” Don’t worry; we’re breaking this down step by step.
Understanding the Battery Backup System
Before diving into the replacement process, let’s talk about what the battery backup does. Imagine it as your garage door opener’s safety net. When the power goes out, this little battery kicks in, allowing you to open and close your garage door without a hitch. It’s like having a superhero who swoops in just when you need them most!
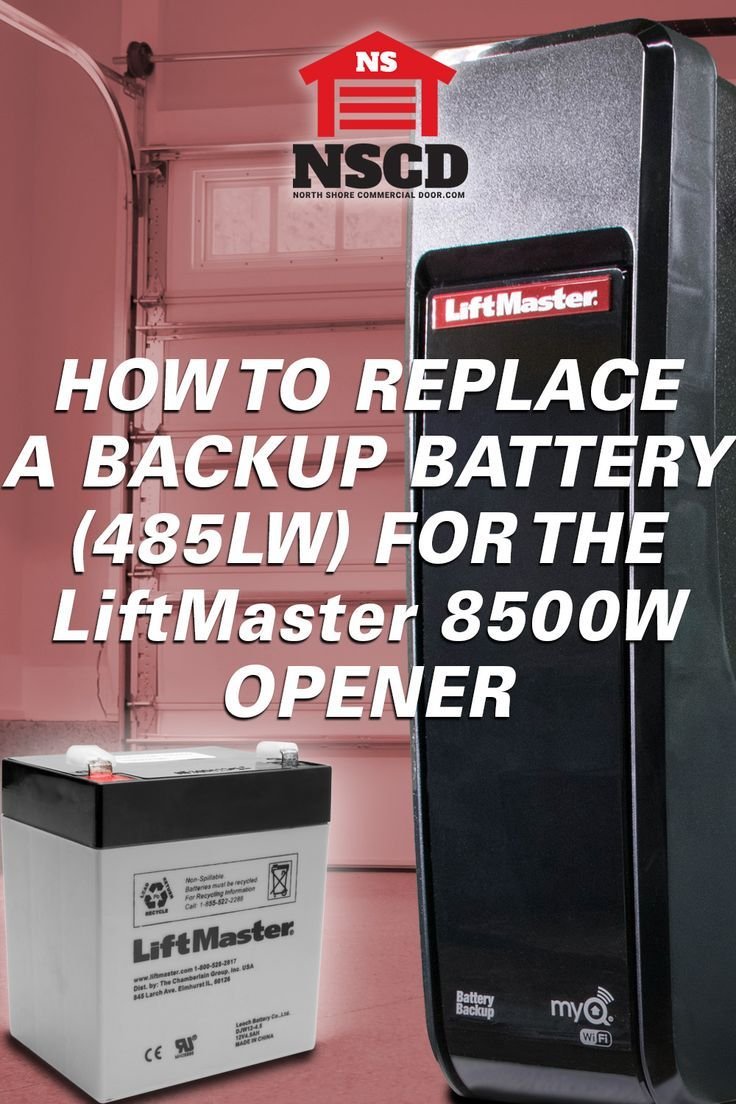
Especially in areas prone to storms or outages, the battery backup is essential. However, with regular use, the battery will eventually wear out. Most Liftmaster openers use a 12V battery backup. Knowing this makes it easier when it’s time to replace it.
Recognizing Signs of a Failing Battery
So, how do you know if your battery backup is on the outs? Look out for several red flags:
- Your garage door struggles to open or close during power outages.
- The LED indicator on your opener shows low battery status.
- You hear unusual noises during operation, like slow response times or clicking sounds.
If you encounter any of these issues, it’s likely time to replace the battery backup. Let’s put on our DIY hats and get to work!
Gathering the Needed Tools
Before you start, gather your tools. Having everything ready makes the process smoother. Here’s what you’ll need:
- New battery (12V compatible)
- Screwdriver (flathead or Phillips, depending on your model)
- Flashlight (just in case you need extra light)
- Safety gloves (optional, but always a good call)
It’s like prepping for a mini home renovation! Having these tools at your fingertips will save you from running around mid-project.
Removing the Old Battery
Now that you have your tools, let’s dive into the actual battery replacement. Here’s how to do it:
1. Power Off the Garage Door Opener: First things first! Make sure to unplug the unit from the power source. Safety is a priority.
2. Locate the Battery Compartment: You’ll usually find this at the back of the opener. Open it up carefully, taking note of how everything is connected.
3. Disconnect the Old Battery: The battery will typically have two wires connected to it (one red and one black). Gently unplug these wires and set the old battery aside. You might need to use your screwdriver if it’s held securely.
Remember to handle everything with care—operations like these are a lot less daunting when you take your time.
Installing the New Battery
With the old battery removed, it’s time to welcome the new one. Follow these steps for a smooth installation:
1. Connect the New Battery: Take your new 12V battery and attach the wires. The red wire connects to the positive terminal (usually marked with a ‘+’), and the black wire goes to the negative terminal (marked with a ‘-‘).
2. Secure the Battery in Place: Ensure that the battery is snug and secure in the compartment to avoid any issues during operation. If there’s a cover, ensure it fits properly.
3. Close the Compartment: Once everything is connected, close the battery compartment. If you used a screwdriver, make sure the screws are tight but not overdone.
Now you can almost see the finish line, right? Just a couple more steps to go!
Testing the Battery Backup
After the new battery is installed, it’s crucial to ensure everything is functioning correctly. You don’t want any surprises down the road. Here’s how to check it:
1. Plug the Garage Door Opener Back In: Restore power to your unit. Look for any flashing lights or indicators that may signal the new battery is recognized.
2. Simulate a Power Outage: If you feel comfortable, unplug the opener for a brief moment. This simulates a power outage and allows you to test the battery backup.
3. Operate the Garage Door: Use your remote or wall switch to open and close the door. If it works smoothly, congratulations! You’ve successfully replaced your Liftmaster battery backup.
If something doesn’t appear to be functioning properly, double-check your connections. Sometimes it takes a bit of troubleshooting to get it just right.
Maintaining Your Battery Backup
Congratulations, you’re officially a Liftmaster battery replacement pro! But your job isn’t quite over yet—maintaining your battery is essential for its longevity. Here are a few tips:
- Regularly check the battery’s health, especially if you notice slower response times.
- Keep the garage door opener clean and free of debris.
- Consider testing the battery backup every few months to ensure it’s ready for action when needed.
Think of it as regular check-ups for your garage door system. Just a little ongoing care goes a long way.
Replacing the battery backup in your Liftmaster garage door opener is not just about being prepared for a power outage—it’s about enhancing the safety and functionality of your home. By keeping your battery in good shape and knowing how to replace it, you’re taking an important step to maintain your convenience and peace of mind.
Whether it’s storm season or just that time of year when outages can happen, knowing how to quickly swap out the battery backup will save you from hassle down the line. You’ve now equipped yourself with the knowledge you need to tackle this DIY project confidently. Happy garage door opening!