Replacing your Genie wall button isn’t as daunting as it might seem. Think about it like changing a light bulb: a little tricky if you’ve never done it, but totally manageable once you know the steps. If your Genie wall button is acting up—maybe it’s become unresponsive or just plain broken—don’t stress. With a few tools and some guidance, you’ll have that button swapped out in no time.
These wall buttons work hand-in-hand with your Genie garage door opener, allowing you to effortlessly operate your garage door from inside your home. When these buttons stop working, though, it can be quite an inconvenience. You might be wondering, how do I replace it? Well, let’s break it down step-by-step, and before you know it, you’ll be on your way to a functioning wall button once more.
Why Replace Your Genie Wall Button?
There are quite a few reasons you might need to replace your Genie wall button. First off, wear and tear happens over time. The button can become unresponsive just like any other electronic device. A common culprit might even be a dead battery or broken wiring. If pressing the button results in nothing happening, you might need a replacement.
Another scenario is when you upgrade or change your garage door opener system. New models can have different wall button designs, and it’s essential to ensure compatibility. On occasions, damages due to water exposure or physical impact can render your wall button inoperable. Whatever the case may be, replacing it lets you regain control over your garage door smoothly.
Gathering Your Tools
Before you dive into the replacement process, let’s talk tools. You don’t need much, but having the right items on hand will make life easier. Here’s a quick list of what you’ll need:
- Screwdriver: A flathead or Phillips head, depending on your wall button.
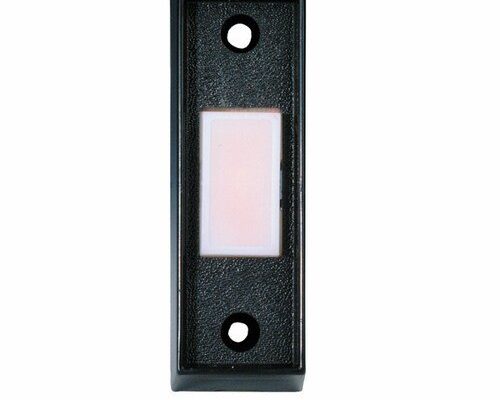
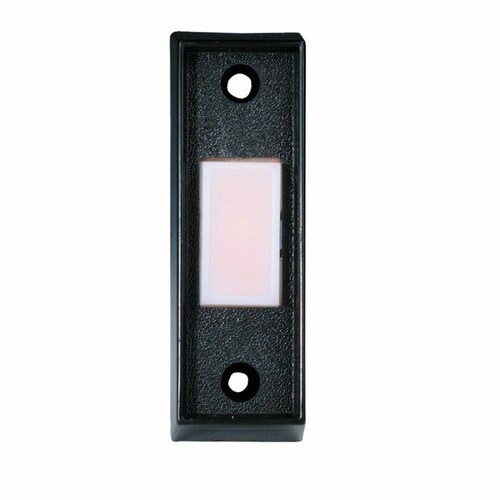
- New Genie Wall Button: Make sure to get a compatible model.
- Level: This isn’t necessary, but helpful if you want it perfectly aligned.
- Voltage Tester: To check if there’s power at the connection.
Having these items ready will save you multiple trips to the toolbox. Honestly, once you’re set, it’s all about following a few simple steps.
Preparing for Replacement
First things first. Before touching any wires or digging into the electrical components, you’ll want to ensure that the power to your garage door opener is off. This is crucial for your safety. Locate the circuit breaker that powers your garage door opener and flip it to the off position. If you have a plug-in model, unplug it directly to eliminate the risk of accidental shocks.
Next, remove the wall button from the wall. Use your screwdriver to unscrew the wall button from its mounting. It’s helpful to take a picture of the wiring before disconnecting anything, just in case you need to refer back. This step will make the reinstallation so much easier since you’ll know where each wire goes when setting up the new button.
Removing the Old Wall Button
Once you’ve got the wall button unscrewed, it’s time to detach it from the wiring. Gently pull the button away from the wall to access the wires connected to the back. The button usually has two, sometimes three, wires attached. You may need to untwist connector screws or simply unplug the wires, depending on your model.
While you’re doing this, take a moment to inspect those wires. Look for any fraying or damage that might be causing issues. If they look worn, it might be wise to address this as well. After detaching everything, set the old wall button aside. It’s gone, but now you’re ready for the fresh start with a new button.
Installing the New Genie Wall Button
Now for the fun part—installing the new wall button! Begin by connecting the wires from the wall to the new button. If you took a picture earlier, this is where that moment pays off. Typically, the button will have two screws for each wire: one for power and one for the garage door opener signal. Ensure they’re securely tightened; a loose connection can lead to future problems.
Once wired, align the wall button with the existing mounting holes. It’s often a snug fit, but don’t force it. Use your screwdriver again to gently screw it back into place. If you’re using a level, double-check that it looks straight before finalizing the screws. A crooked wall button is an eyesore!
Testing the New Button
With the new wall button installed, it’s time for the ultimate test. Before flipping the circuit breaker back on or plugging your system in, make sure everything looks good. Were the screws tightened? Does the wiring seem secure?
After checking your work, it’s time to restore power to the garage door opener. Go back to the circuit breaker and turn it on again. If all is well, the new button should illuminate and respond when pressed. If nothing happens, don’t panic—check the connections again, or test the voltage to ensure everything is functioning correctly.
What If It Doesn’t Work?
Sometimes, despite following the steps, things don’t go as planned. If the wall button doesn’t seem to work, you could face issues like:
- Poor Wiring Connections: This could be a simple oversight. Double-check all connections to ensure they’re snug and in the right place.
- Power Source Issues: Ensure the circuit breaker has been reset correctly and that there’s no disruption in power supply.
- Button Compatibility: Ideally, use a manufacturer-recommended replacement. Check your user’s manual for compatibility notes.
If you’ve been through these checks and still face issues, contacting a professional might be the next best step. Sometimes, it’s just a glitch that needs a little pro attention.
Wrapping Up
Replacing your Genie wall button is definitely an achievable task, even if you’ve never done anything like it before. With just a few tools and these easy-to-follow steps, you’ll find that getting your garage door back on operation is well within your reach. Remember, DIY projects can feel rewarding, and you just tackled one!
Next time your garage door won’t open, you’ll know exactly what to do. Plus, you’ll have the satisfaction of knowing you successfully replaced that button all on your own. Just think of it as giving your home a little upgrade!