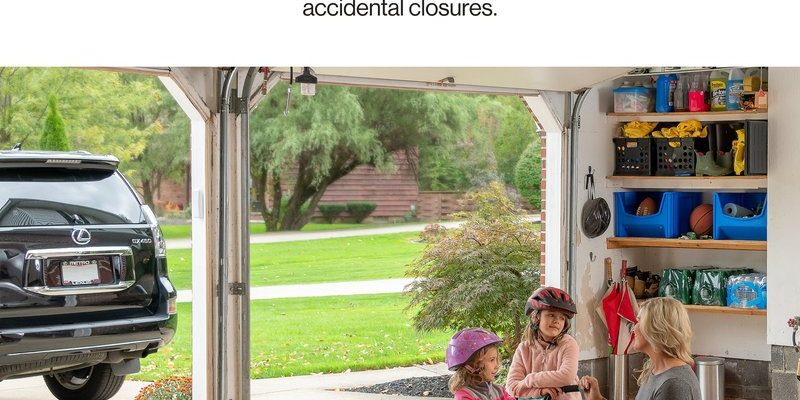
Now, Genie brands various reliable garage door openers that often feature two safety sensors. These little devices ensure the door stops or reverses if something—or someone—is in the way. Replacing them might feel daunting, but think of it like changing a light bulb. You just need a bit of patience and the right tools. Let’s dive into how you can replace the Genie safety sensor step by step!
Understanding the Safety Sensor System
Before you grab your tools, it’s helpful to understand how safety sensors work. These sensors are often positioned at the bottom of the garage door tracks, one on each side. They send and receive signals, allowing the garage door to “see” if anything is in its path. If the signal breaks—because something is blocking it—the door will stop or reverse. This functionality is crucial for preventing accidents.
You might be wondering why your sensors might fail in the first place. It could be due to physical damage, dirt or dust buildup, or faulty wiring. Understanding the common issues helps in troubleshooting before you even consider replacement. If your sensors are misaligned or dirty, they might not communicate properly. That’s why the initial check is just as important as the replacement itself.
Gathering Tools and New Sensors
Before starting, make sure you have everything you need. Here’s a handy list:
- New Genie safety sensors
- Screwdriver
- Wire cutter/stripper
- Electrical tape
- Level (optional, but recommended)
Having the right tools at your fingertips makes the process smoother. It’s like preparing your kitchen ingredients before you begin cooking. Make sure you purchase genuine Genie safety sensors to ensure compatibility and performance. Using generic parts might save a few bucks, but they could lead to further issues down the line.
Powering Down the Garage Door Opener
Safety first, right? Before you perform any maintenance, it’s critical to disconnect your garage door opener from power. This not only protects you from electric shocks but also prevents any accidental door movement that could lead to injuries or further damage. You can do this by unplugging the unit or flipping the circuit breaker.
Remember to check if there are any backup battery systems in place as well. If your unit contains one, it’s wise to disable it before proceeding. Think about this step as putting on your protective gloves before handling messy work. Always do this first!
Removing Old Sensors
Now that you’re powered down, you can move on to removing the old sensors. Start by locating the sensors installed on either side of the garage door. Take note of their placement; you’ll want to replicate this when you install the new ones.
Use the screwdriver to loosen any screws securing the sensors. Once loose, carefully disconnect the wires. If your sensor has clips, gently release them without damaging the wires. It might feel a bit like untangling a knot—just take your time. If the wires are secured with electrical tape, you can cut the tape, but try to leave as much wire length as possible for the new sensors.
Installing New Sensors
Here’s where the fun part begins! Grab your new Genie safety sensors and position them where the old ones were. Ensure they sit at the same height on the door tracks to maintain proper alignment. This precision is crucial for them to function correctly.
Connect the wires from the new sensors to the existing wires in the same configuration as the old sensors. If you had wires that are color-coded, match them accordingly. If you have exposed wire ends, use the wire stripper to remove about half an inch of insulation, then twist the ends together. Secure the connection with electrical tape, ensuring there’s no exposed metal. Go ahead and screw the sensors back in place, tightening them just enough to keep them secure but not overly tight.
Aligning the Sensors
Alignment is key when it comes to safety sensors. After the installation, your sensors need to be perfectly parallel to each other and pointed at each other directly. Many Genie sensors have indicator lights to show whether they are aligned properly.
Use a level if you have one—this can make alignment much easier. If the indicator lights are solid when you reconnect power, you’re in good shape. If not, adjust the position slightly until you get that solid light indicating a proper connection. Don’t overlook this step; misaligned sensors are often the main reason garage doors fail to work correctly after a replacement.
Testing the New Safety Sensors
Once everything is securely in place and aligned, it’s time to test your new sensors! Reconnect the power to your garage door opener. Stand clear, and then attempt to close the garage door. It should close normally. To check if the sensors work, place an object (like a small box) directly in the door’s path. When the door meets the object, it should reverse its direction immediately.
If it behaves correctly, congratulations! You’ve just replaced your Genie safety sensors successfully. But if it doesn’t stop or reverse as expected, double-check your wiring and alignment. Sometimes, it can take a couple of tries to get everything just right.
Common Troubleshooting Tips
Even after replacing your safety sensors, you might run into some hiccups. Here are a few troubleshooting tips you can try:
- Check the connections: Ensure that all wires are properly connected. A loose connection can prevent the sensors from communicating.
- Clean the sensors: Dirt and debris can interfere with the sensors’ ability to “see.” Wipe them gently with a soft cloth.
- Inspect for damage: If your sensors are damaged or have cracks, it might be time for replacements again.
If none of these work, consider consulting the Genie manual or contacting customer service for further assistance. Sometimes, it’s tricky, but there are always solutions to even the stubborn problems.
Replacing your Genie safety sensor doesn’t have to be a daunting task. Armed with the right tools and a bit of patience, you can take this project on all by yourself. Remember, these sensors play a vital role in keeping your garage door safe.
By following these steps carefully, you’ve ensured that your garage door will function safely for you and your family. With a little maintenance and periodic checks, your new sensors should serve you well for years to come. If you ever feel unsure or face persistent issues, consider reaching out to a professional for help—after all, leaving safety to the pros isn’t ever a bad idea!
