
So, why would you need to consider replacing your Genie garage door opener? There could be several indicators: the door doesn’t respond, the remote doesn’t work, or strange noises are coming from the unit. It’s kind of like your car showing warning lights; you know it’s time for some maintenance. Let’s walk through the process of replacing your garage door opener step by step, so you can get back to smoothly opening and closing your door without a hitch.
Understanding Your Genie Garage Door Opener
Before diving into the replacement process, it’s essential to understand what you’re dealing with. Genie garage door openers typically come in several models, including chain-drive, belt-drive, and screw-drive units. Each of these has different features and lifespans.
– Chain-drive openers are the most common and are usually the most budget-friendly, but they can be noisier.
– Belt-drive openers are quieter and ideal if you have a room above the garage.
– Screw-drive openers tend to require less maintenance but may be less common in some areas.
Identifying which model you have will help you find the right replacement. If you’re unsure, you can usually find this information on a sticker on the side of the motor unit or within the user manual.
Gathering Tools and Materials
Now that you know your model, it’s time to gather the tools you’ll need for the job. Replacing a Genie garage door opener usually requires:
- A ladder
- A screwdriver (both Phillips and flathead)
- A pair of pliers
- A level
- A new Genie garage door opener
- The remote control
Having these items on hand will streamline the process and keep you from running to the store mid-project. Think of it as a cooking recipe—you don’t want to start cooking only to realize you’re missing ingredients!
Removing the Old Genie Garage Door Opener
Ready to start? First, you need to remove the old opener. This step might seem intimidating, but genuinely, it’s more like a puzzle than a renovation. Here’s how to tackle it:
1. Unplug the Opener: Always start by unplugging the unit. Safety first!
2. Remove the Garage Door from the Opener: Detach the door from the opener by pulling the emergency release cord. This usually hangs from the rail.
3. Unscrew the Mounted Unit: Use your screwdriver to unfasten the mounting screws holding the opener to the ceiling. Keep a firm grip; you don’t want the unit to drop suddenly.
Once all screws are removed, carefully lower the unit and set it aside. It might feel like a small victory when you see that space where the old unit was!
Handling the Garage Door Connection
Be mindful of the garage door’s connection to the opener. The emergency release cord is crucial for manual operation, especially during power outages. If you encounter any issues with the connection, don’t hesitate to refer back to your manual. You want to make sure this part is functioning smoothly before moving on.
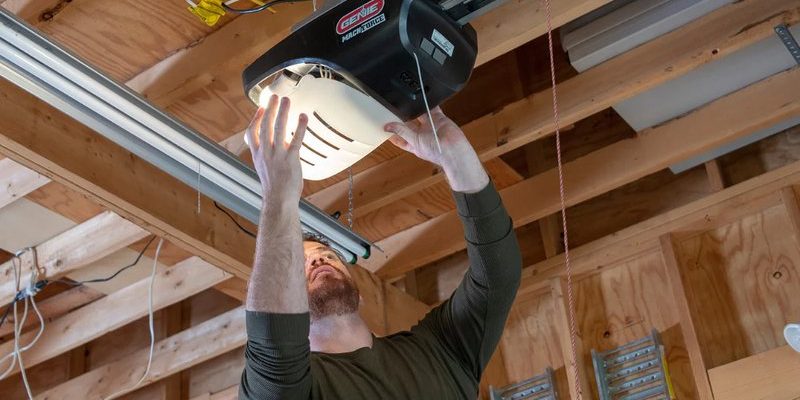
Installing the New Genie Garage Door Opener
Now for the exciting part—installing the new opener! Here’s the step-by-step breakdown:
1. Prepare the New Opener: First, check the contents of your new opener kit. You want to make sure all components are present. Typically, you will have the motor unit, rails, hardware, and the user manual.
2. Attach the Rail to the Motor Unit: The rail connects to the motor unit and is crucial for the door’s movement. Align the rail with the motor unit according to the manual, and ensure it’s secure.
3. Mount the Opener to the Ceiling: Using your level, position the new opener on the ceiling where the old one was mounted. Use the screws you gathered before to secure it tightly. Double-check it’s level—an uneven opener can lead to door function issues.
4. Connect the Garage Door: Now, attach the opener to the garage door again. Make sure the connection is firm but avoid over-tightening, as that can damage components.
Syncing Your Remote Control
Your new Genie garage door opener is likely compatible with a remote control. Syncing the two usually involves:
– Finding the “Learn” button on the opener – it’s usually located on the back or side.
– Pressing it until the light blinks.
– Within 30 seconds, press the button on your remote.
You might be wondering why this matters. Well, syncing ensures that your remote only communicates with your new opener, preventing interference from neighbors’ openers or devices.
Testing the New Genie Garage Door Opener
With the opener installed and synced, it’s time for the moment of truth—testing! Start by plugging the unit back in.
– Use the Remote: Press the remote button to see if the door opens and closes smoothly.
– Try the Wall Switch: If your setup includes a wall switch, test that as well. You want to ensure all components are communicating properly.
If something doesn’t work as expected, don’t panic. Sometimes, a simple reset or troubleshooting might resolve the issue. Refer to your manual for any specific troubleshooting tips related to error codes or malfunctioning parts.
Final Touches and Routine Maintenance
Once everything is functioning smoothly, don’t forget about maintenance. Regular checks can keep your garage door opener running efficiently.
– Inspect the Tracks: Keep the tracks clear of debris.
– Lubricate the Parts: Use garage door lubricant on moving parts to prevent rust and wear.
– Test Backup Battery: If your model includes a backup battery, make sure it’s charged.
This kind of routine care can extend the life of your Genie garage door opener, saving you time and hassle down the road.
Replacing a Genie garage door opener might sound like a project reserved for professionals, but with some basic tools and a little patience, you can take it on yourself. By understanding your unit, gathering the right tools, and following a simple step-by-step guide, you can empower yourself to tackle this task. Not only will you save time, but you’ll also feel a sense of accomplishment every time you use your new opener. So, roll up your sleeves and get started; your garage door will thank you!