Chamberlain remotes are popular for their reliability and ease of use. Imagine them as the trusty sidekick to your garage door — they make life just that much easier. But what happens when that sidekick starts failing to do its job? Don’t worry! We’ve got a simple guide that’ll help you swap out that remote with confidence.
Why Replace Your Chamberlain Remote?
If you’re here, you might be wondering why you’d even need to replace your Chamberlain remote. Let’s break it down. Over time, remotes can wear out, much like the soles of your favorite shoes. They might start to malfunction, buttons may get unresponsive, or the batteries could die, leaving you standing outside your garage, rain pouring down, wondering when you’ll get back inside.
Another reason to replace your remote is if you’ve recently moved. If the previous homeowner did a poor job clearing up, they might still have access to your remote. It’s a good idea to switch it out for your peace of mind. And finally, tech upgrades happen — new features can offer better range or more buttons for various devices.
In short, if your remote isn’t keeping up with your lifestyle, it’s time to consider a replacement. It’s not just about convenience; it can also be about safety.
Identifying Your Chamberlain Remote Model
Before you can swap out your remote, you need to know exactly which model you have. Think of it as needing the right fitting to open that stubborn jar of pickles. Chamberlain has multiple models, and even the same type can have different features.
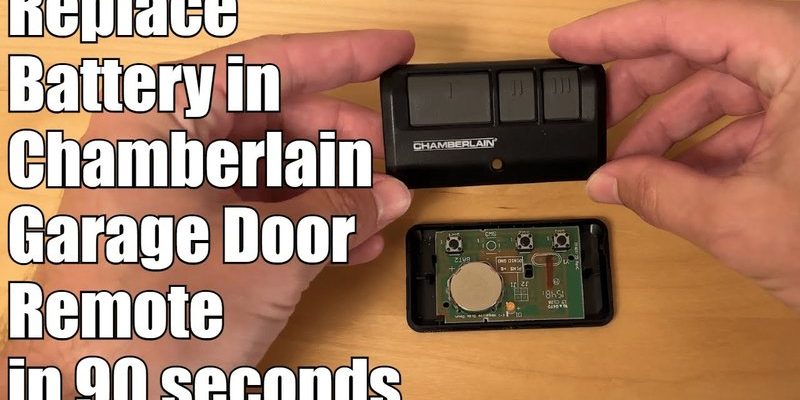
Begin by checking the back of the remote. You’ll typically find a model number there. It’s usually a series of letters and numbers that uniquely identifies your remote. If you’re having trouble spotting it, reference the manual you received when you bought the remote, or check Chamberlain’s website for guidance.
Once you’ve got your model number, you’ll know exactly what to look for when you head to the store or search online. Plus, having this information handy can make troubleshooting much easier.
Choosing the Right Replacement Remote
Now that you know your model number, it’s time to select the right replacement remote. You might be wondering if you should stick to Chamberlain’s line or consider a universal remote instead. Chamberlain remotes are designed for easy functionality with their garage systems, but universal remotes can sometimes offer more flexibility if you’ve got multiple brands or systems operating together.
When shopping, look for features that suit your needs. Some things to consider include:
- Range: Do you want a remote that works from a distance?
- Code Compatibility: Make sure it’s compatible with your model.
- Battery Type: Think about how easy it’ll be to replace batteries down the line.
Reading reviews can also help inform your choice. Look at what others have to say about their experiences. One model might be a hidden gem while another could fall short.
How to Program Your New Chamberlain Remote
Once you’ve got your new remote, it’s time to program it. Don’t sweat this part! It’s usually simpler than assembling furniture from that Swedish store. Just follow these steps:
1. Locate Your Garage Door Opener: This is typically hanging from your garage ceiling. There’s usually a “Learn” button on it.
2. Press the “Learn” Button: Press this button and watch for a light to start blinking. This indicates it’s in programming mode.
3. Press the Button on Your New Remote: Within 30 seconds, press and hold the button you want to program on your new remote. Keep holding until the light on the garage door opener blinks or turns solid.
4. Test the Remote: Give it a shot! Press the newly programmed button to see if it opens your garage door.
When in doubt, consult the instruction manual for your specific model. Some systems might have unique programming steps.
Troubleshooting Common Issues
If your new remote isn’t working flawlessly, don’t panic. Troubleshooting can feel as daunting as fighting a dragon, but it’s often just a matter of making small adjustments. Here are a few common issues and how to handle them:
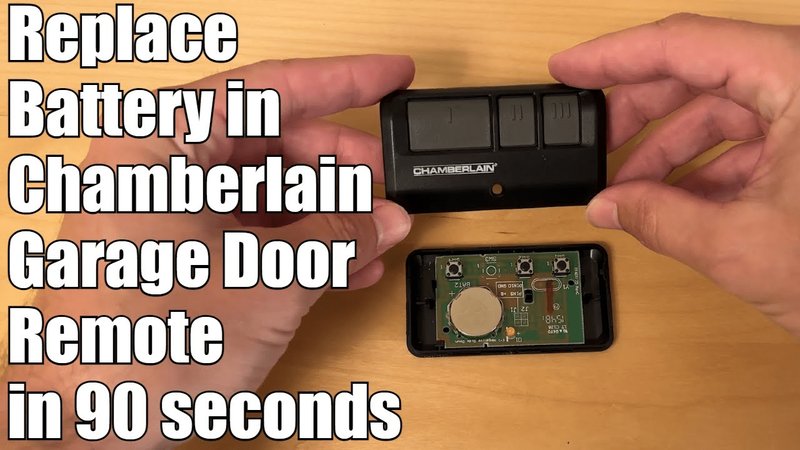
– Remote Doesn’t Work: First, ensure that the batteries are installed correctly. Wrong polarity can prevent it from functioning. If that checks out, press and hold the button longer during programming.
– Range Problems: If your remote only works up close, other electronics might be causing interference. Try unplugging other devices nearby and see if the range improves.
– Garage Door Won’t Respond: If your garage door isn’t opening at all, check if the opener is plugged in or if a fuse has blown. Sometimes, it’s not just the remote that needs a little TLC.
Remember, every problem usually has a simple solution. Make a note of what’s not working, and you can look up additional advice online if it’s not something you can fix.
Maintaining Your Chamberlain Remote for Longevity
Now that you’ve successfully replaced and programmed your remote, let’s talk maintenance. Just like a car, keeping your remote in top shape will extend its life. Here are some tips:
– Keep it Clean: Dust and dirt can get in the buttons and interfere with performance. A quick wipe with a soft cloth can help.
– Change Batteries Regularly: Even if the remote seems fine, if the battery is running low, you might experience glitches. Set a reminder to check it every six months.
– Store it Securely: If you’re prone to misplacing things, consider attaching it to your car keys or storing it in a secure spot in your garage.
Taking these simple steps can mean fewer headaches down the line.
Replacing your Chamberlain remote doesn’t have to feel like rocket science. With just a bit of knowledge and patience, you can upgrade your remote and keep your garage door running smoothly, saving yourself time and frustration when you least expect it.
So next time you find yourself faced with a malfunctioning remote, remember that a replacement is as easy as checking the back of the remote for the model number, picking a new one, and programming it with just a few clicks. Happy programming!