Let’s break down the process so you can confidently replace that motor unit. Whether you have a chain drive, belt drive, or a wall-mounted model, the principles are similar. Grab your tools, and let’s dive into this straightforward DIY project.
Understanding the Chamberlain Motor Unit
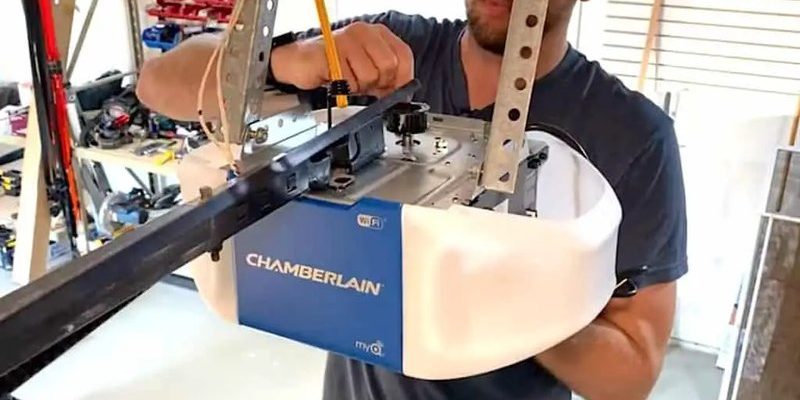
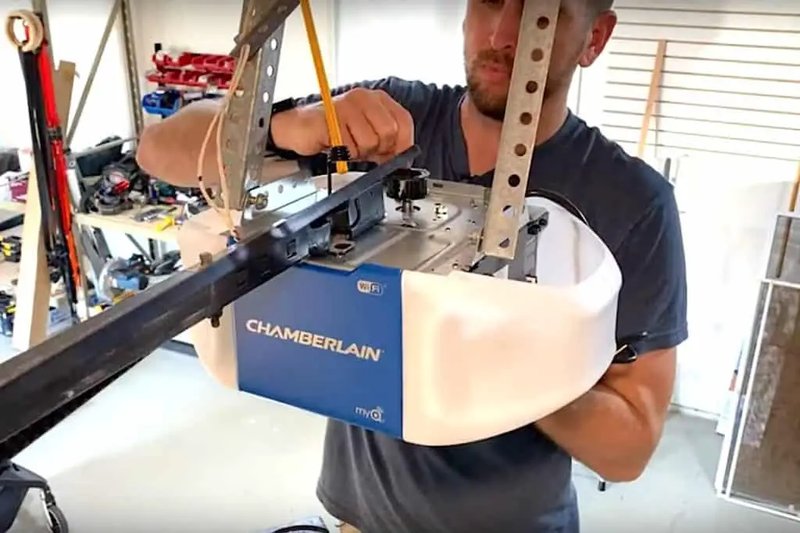
Before we jump into the replacement process, it’s essential to know what the motor unit actually does. At its core, the motor unit is the heart of your garage door opener. It’s responsible for lifting and lowering the door, which often weighs several hundred pounds. If you think about it as the powerhouse of the system, it makes sense why replacing it can restore the functionality of your garage door.
Chamberlain offers various models and types that might look different but share similar mechanics. They often come with convenient features like remote controls, smart technology, and battery backups. Familiarizing yourself with how the motor unit works will help you troubleshoot issues better in the future and understand the replacement process more thoroughly.
Gather Your Tools and Safety Gear
Before you disconnect anything, make sure you’ve got the right tools handy. Here’s a quick checklist of what you’ll need:
- Cordless drill or screwdriver
- Wrenches or pliers
- Safety goggles
- Gloves
- Step ladder
Safety first! Always unplug the garage door opener before you start working on it. You wouldn’t want to accidentally cause the door to move while you’re trying to fix it. Make sure your workspace is well-lit and clear of any hazards to avoid any unwanted accidents.
Removing the Old Motor Unit
Now that you have your tools ready, it’s time to get started. Here’s how:
1. Disconnect Power: Unplug the unit from the wall outlet. This is non-negotiable. You don’t want any surprises.
2. Remove the Cover: Most Chamberlain units have a cover you can easily remove with a drill or screwdriver. Once this is off, you’ll see the inner workings.
3. Detach the Motor: Look for the mounting bolts holding the motor unit. Use the wrench or pliers to carefully remove these bolts. Don’t rush this step; it’s crucial that you support the motor while detaching it.
4. Disconnect Wiring: You’ll see wires connecting the motor unit to the power source and other parts. Take a photo for reference, then gently disconnect these wires.
Be patient during this phase, as you’ll want to keep track of where everything goes for the next part.
Installing the New Motor Unit
With the old motor unit out of the way, it’s time to install the shiny new one.
1. Connect Wires: Refer back to the photo you took to reconnect the wires to the new motor unit. This is where you need to ensure everything is plugged in correctly; a loose connection could cause the unit to fail.
2. Secure It: Once the wiring is confirmed, position the new motor unit into place and secure it with the corresponding mounting bolts. Ensure it’s tight, but don’t overdo it—most bolts have a limit.
3. Replace the Cover: Put the cover back on, making sure it fits snugly.
It might feel like you’re putting together a puzzle, and that’s not far off! Each piece needs to fit just right for the whole system to function correctly.
Connecting the Remote Control
You might be wondering how to get your remote control synced with the new motor. This process is usually straightforward. Follow these steps:
1. Locate the Learn Button: The learn button is typically on the back of the motor unit. Press this button; you should see a small LED light blink.
2. Press the Remote Button: Within 30 seconds, press any button on your remote control. The light on the motor unit should blink to confirm that it has accepted the remote.
3. Test It Out: Once synced, test the remote to ensure everything is working. If it doesn’t respond, you might need to jump back to the learn button process and try again.
It’s like sending a text—if the message doesn’t go through, try hitting send once more!
Final Adjustments and Testing
After installing your new motor unit, it’s a good idea to make some final adjustments:
– Set the Limits: Follow the manual for setting the opening and closing limits on your garage door. This ensures the door doesn’t travel too far in either direction.
– Test Operation: Open and close the door several times to see if it works smoothly. Listen for unusual noises. A well-installed motor should run quietly and efficiently.
– Regular Maintenance: After this project, give a quick reminder to check the garage door system every few months. Keeping everything lubricated and clean can extend the life of your new motor.
By taking these steps, you’ll not only enhance the functionality of your garage door but also save yourself from impending headaches down the line.
Common Troubleshooting Tips
Sometimes, even after installation, things can go awry. Here are a few quick troubleshooting tips you might find handy:
– If the Door Doesn’t Open: Check the power connection and ensure your remote is properly synced.
– Unusual Noise: This could indicate loose bolts or something caught in the mechanism. A quick inspection usually solves the problem.
– Door Stops Midway: You may need to reset the limits again, or there might be an obstruction in the track.
Taking care of issues right away helps keep the garage door operation smooth.
Replacing a Chamberlain motor unit might seem like a daunting task at first, but with a bit of preparation and the right tools, it’s an achievable DIY project. By taking these steps, you not only save money but also gain a sense of accomplishment. Plus, you’re now equipped with the knowledge to tackle future maintenance.
So, the next time you find yourself facing an inoperative garage door opener, remember: a little patience and some elbow grease can go a long way. Happy tinkering!