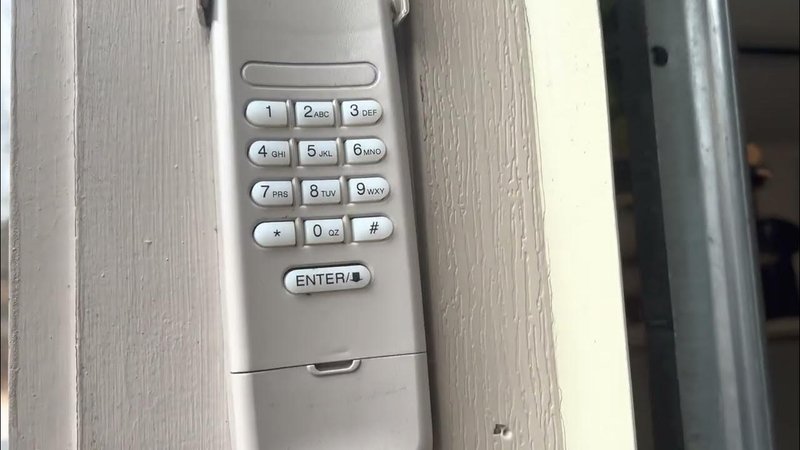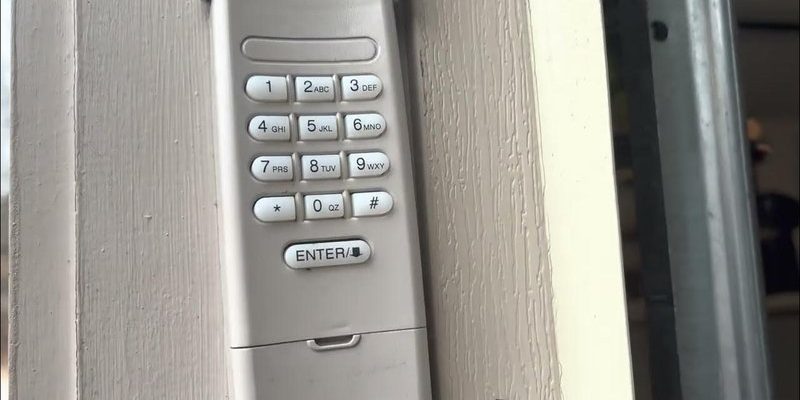
The Chamberlain keypad allows you to enter your garage effortlessly, providing an essential layer of security and ease. When it stops responding to your commands, it’s not just an inconvenience—it can be a significant hassle. In this guide, I’ll walk you through the steps to replace your Chamberlain keypad, and we’ll cover everything you need to make the process smooth and worry-free.
1. Gathering Your Tools and Materials
Before diving into the replacement process, let’s ensure you’re prepared. You’ll need a few basic tools and items. Think of this as your garage door makeover kit.
- Replacement Keypad: Make sure to purchase a Chamberlain keypad that matches your garage door opener’s model. Check your owner’s manual or the manufacturer’s website for the correct part.
- Screwdriver: A Phillips screwdriver is typically required, but sometimes a flathead may also come in handy. It’s like having a trusty sidekick by your side!
- Batteries: If your new keypad doesn’t come with batteries, grab a fresh set. Most keypads run on typical AA or AAA batteries, but double-check before you start.
Now that you have your supplies, it’s time to prepare for the replacement—let’s ensure the old keypad doesn’t hold you hostage any longer!
2. Removing the Old Keypad
To replace the Chamberlain keypad, you’ll first need to take the old one down. It’s like peeling off an old sticker—can be a bit tricky, but totally doable with a little patience.
1. Locate the Mounting Screws: Look at the keypad that’s currently installed. You should see a couple of screws holding it in place. Use your screwdriver to carefully loosen them.
2. Detach the Keypad: Gently pull the keypad away from the wall. If it feels stuck, wiggle it a bit, but be careful not to damage any wiring.
3. Disconnect the Wires (if applicable): Depending on your model, there may be wires connected to the old keypad. If so, disconnect them gently.
Once it’s off, take a moment to check the condition of the wires and the mounting surface. This will help you prepare for the new keypad.
3. Installing the New Keypad
Now that the old keypad is off, it’s time to put your new one in place. Think of it as fitting a puzzle piece into the perfect spot.
1. Connect the Wires (if any): If your new keypad requires wiring, connect it to the existing wires just like you disconnected them. Make sure the connections are tight—no one wants a faulty keypad!
2. Secure the Keypad to the Wall: If you’ve had to deal with wires, position the keypad on the wall, aligning it with the existing screw holes. Some models may have specific instructions for placement; consult your manual if needed.
3. Tighten the Screws: Secure the keypad in place by tightening the screws. Don’t overdo it; you want it snug, not stripped.
With that done, you’re almost there! Now let’s move on to syncing your new keypad.
4. Syncing Your New Keypad with the Opener
Just like pairing your phone with Bluetooth, syncing your Chamberlain keypad to the garage door opener is crucial to make everything work smoothly.
1. Locate the Learn Button: On the garage door opener motor (usually mounted on the ceiling), find the learn button—it’s easy to spot. It may be a bright color like orange, yellow, or green.
2. Press the Learn Button: Push the learn button once. You’ll likely see a light blinking or staying on, indicating it’s in learning mode. Here’s the thing: you usually only have about 30 seconds before it times out.
3. Enter Your Keypad Code: Now, head to your new keypad, and enter your desired code. This usually is a four-digit combination. After entering, press the enter button. If successful, the light on the opener may blink again—voilà, you’ve synced it!
If you run into trouble, try resetting the opener and repeating the process. It can be a little finicky sometimes—don’t lose hope!
5. Testing the Keypad
After all that hard work, let’s see if everything works as expected. Just like testing a new recipe, it’s best to be sure before serving it up.
1. Test the Entry: Go ahead and walk away from the garage door a little bit. Then, return, enter your code on the keypad, and hit enter.
2. Listen for Movement: Pay attention; the garage door should respond by opening or closing. If it doesn’t, you might need to double-check the connections and syncing.
3. Try a Few Times: To ensure everything’s functioning correctly, try your code several times. Sometimes, the opener might need to settle in before it’s fully operational.
If the keypad still isn’t responding, consult your manual, or consider reaching out to customer support for additional troubleshooting.
6. Troubleshooting Common Issues
Even with the best of plans, sometimes things don’t go as expected. If you run into snags, let’s tackle some common issues together.
– Keypad Not Responding: First, check the batteries. If they’re dead, no amount of pressing will help! Change them and test again.
– Code Not Working: You might have missed a step when syncing or entering your code. Make sure you’ve followed the process correctly. If not, go through it again.
– Out of Range: Ensure that the keypad is within a reasonable distance from the garage door opener. Sometimes, moving it closer can make all the difference.
It’s frustrating, but remember: every hiccup is a learning opportunity.
7. Maintaining Your New Keypad
Now that you’ve successfully replaced your Chamberlain keypad, you’ll want to keep it in good shape for years to come. Maintenance can be surprisingly simple!
– Keep It Clean: Dust and dirt can hinder its function. Wipe the keypad surface periodically with a soft cloth to keep it looking good.
– Check Batteries Regularly: Just like the smoke detectors at home, checking the batteries periodically can prevent last-minute surprises.
– Secure the Area: Ensure the vicinity around your keypad is safe and free from obstructions.
By taking these steps, you’ll ensure your keypad continues to serve you well, providing that easy access to your garage that you desire.
Replacing your Chamberlain keypad doesn’t have to be a daunting task. With a little preparation and some simple steps, you can get back to enjoying the convenience of your garage door opener. From gathering your tools to testing the new keypad, following these guidelines can transform the experience from something frustrating into a proactive, satisfying accomplishment.
So next time your keypad acts up, you’ll know just what to do. Happy home improvement!
