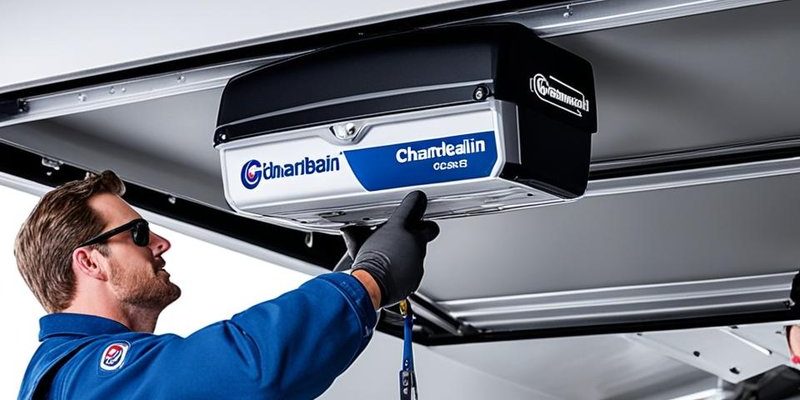
Let’s take a closer look at how to replace your Chamberlain garage door opener, step by step. Whether you’re dealing with a model that’s seen better days or just want to upgrade to a newer one, this guide will walk you through the process. And don’t fret if you aren’t a handyman; I’ll break it down as simply as possible.
Gather Your Tools and Materials
Before we get our hands dirty, we need to collect a few items. Having everything in place will make the replacement process smooth and straightforward. Here’s a quick list of what you’ll need:
- New Chamberlain opener: Choose based on your garage door’s specifications.
- Screwdriver: A Phillips screwdriver will do the trick.
- Drill: To make holes if necessary.
- Level: Ensure your new opener is aligned properly.
- Tape measure: For accurate measurements.
Honestly, gathering tools is half the battle. Take a moment to make sure you have everything on hand. Once you’ve got your gear, we can dive into removing the old opener.
Removing the Old Chamberlain Garage Door Opener
Getting rid of the old opener can seem tricky, but like peeling an onion, just take it layer by layer. Start by disconnecting the power supply to ensure safety. You don’t want any surprises while you’re up on a ladder.
Next, locate the mounting brackets on the ceiling. These are typically held in by a handful of screws. Use your screwdriver to remove them, and if they’re stubborn, a drill can come in handy. Once those are off, gently lower the opener from the ceiling.
If the opener is connected to the garage door via a rail, you might need to detach that too. Pay attention to how everything is connected; you’ll want to replicate that with your new opener. Taking a few photos during this process can also be a lifesaver later.
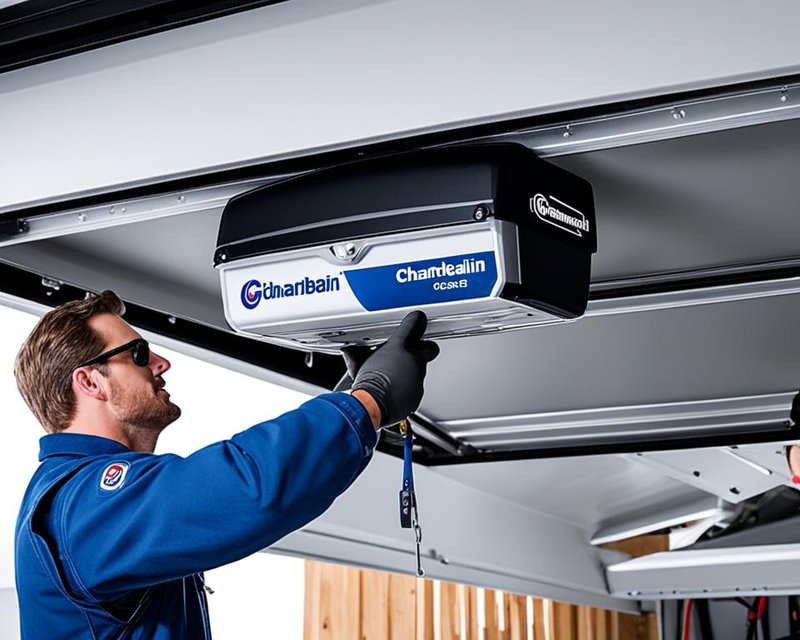
Installing Your New Chamberlain Garage Door Opener
Now we’re getting to the fun part—putting the new opener in place! Start by reading the installation manual that comes with your new Chamberlain opener. It’s like a treasure map showing you where to go.
Begin by hanging the opener at the same spot as the old one. Secure it to the ceiling using the same mounting brackets you just removed. Make sure it’s level, or your garage door might open lopsided. If you’re unsure, use that trusty level we gathered earlier.
After ensuring it’s secure, attach the rail to the garage door. This usually involves connecting it to the door arm. Most Chamberlain openers come with a quick-connect feature, making it easier. Just like putting a puzzle together, align the pieces and push them together until they click.
Wiring Your Chamberlain Garage Door Opener
Next up is the wiring. This step might feel like high school science class, but stick with me. First, you’ll need to connect the power supply to the opener. Most Chamberlain models operate on a simple plug-and-play system—just plug it into a nearby outlet.
Then, you’ll want to set up the safety sensors. These little devices prevent the door from closing on something (or someone) in the way. Typically, they mount around six inches off the ground, facing each other on either side of the garage door’s frame. Run the wire as indicated in the user manual and secure it properly.
You might be wondering, “What if my buttons don’t work yet?” Not to worry. We’ll get to that part next.
Syncing the Remote Control
Your new opener won’t do you much good if you can’t operate it from your car. Syncing the remote is straightforward. First, locate the “learn” button on the opener’s main unit. This button is usually near the wiring area, often colored brightly to stand out.
Press and hold the learn button until the indicator light blinks, then release. Within about 30 seconds, press the button on your remote control. If all goes well, you’ll see the indicator light glow steadily, meaning your remote is now paired with the new unit.
If you own multiple remotes, repeat this process as necessary. It’s kind of like inviting your friends to the party—everyone needs an invite to join in.
Testing Your New Garage Door Opener
Before you declare victory and celebrate with a high five, it’s time to put that opener to the test. Stand clear of the door, and press the remote button. What happens? Fingers crossed, the door should smoothly open and close.
Here’s the thing: if it starts acting up, like reversing unexpectedly, check the safety sensors again. Misalignment can cause hiccups. A quick adjustment might just do the trick.
If it works perfectly, congratulations! You’ve just tackled a project that many would consider a daunting task.
Troubleshooting Common Issues
Okay, let’s be real for a moment. Even the best projects can run into snags. Here are some common issues you might face after replacing your Chamberlain garage door opener and how to troubleshoot them:
- Nothing Happens: Double-check that the opener is plugged in. If it is, verify that the circuit breaker hasn’t tripped.
- Remote Not Working: Revisit the syncing process. Sometimes, it takes a few tries to get everything aligned.
- Door Reverses Quickly: Inspect the safety sensors. Ensure that they’re aligned and free from debris.
Remember, patience is key. Take it one issue at a time, and you’ll get it sorted.
Final Thoughts
Replacing your Chamberlain garage door opener doesn’t have to be a headache. By following these steps, you’ve empowered yourself not just to complete a DIY project, but to gain confidence in handling home repairs.
It’s a bit like learning to ride a bike—you might wobble and fall at first, but soon enough, you’ll be gliding along with ease. If you run into problems, remember that there are plenty of resources online, FAQs, and forums dedicated to troubleshooting.
Now that you know how to replace your Chamberlain garage door opener, enjoy that feeling of accomplishment. Your garage door is now ready to go!