Think of your garage door tracks as the tracks a roller coaster rides on. If those tracks are misaligned—even slightly—it can cause a real thrill ride that nobody wants. Misalignment can lead to pesky noises, or worse, the inability to open or close the garage door entirely. This guide will walk you through how to realign your garage door tracks for a smoother operation, no complicated mechanical knowledge required.
Whether you have a Chamberlain, LiftMaster, or another model of garage door opener, the steps below will help ensure that your garage door opens and closes without a hitch.
Identifying the Problem
Before you dive into the repair process, it’s essential first to know if the tracks are indeed the issue. Here are some signs that might signal a problem:
- The garage door makes loud grinding or rattling noises.
- The door appears crooked or doesn’t sit level when closed.
- It gets stuck or hesitates partway as it opens or closes.
Take a moment to observe how the door operates. Is it hesitating or making a strange noise? This could hint that your tracks are misaligned. If so, it’s time to roll up your sleeves and get to work.
Gather Your Tools
Realigning garage door tracks is a straightforward task if you have the right tools at hand. Here’s what you’ll need:
- Wrench or socket set
- Rubber mallet
- Screwdriver
- Level (a standard one or a laser level)
- Safety gloves
- Step ladder (if necessary)
By having all your tools ready, you’ll be able to focus on the task without running back and forth for forgotten items. Just to be safe, always wear your gloves while working to protect your hands.
Disconnect the Garage Door Opener
Before you start tinkering with the tracks, it’s vital to disconnect the garage door opener. This will help prevent any accidental operating of the door while you’re adjusting the tracks. Usually, you can find a disconnect cord hanging from the unit. Pull this cord to disengage the opener from the door.
Once it’s disconnected, push the garage door up or down slightly to see how loose it feels. This can also allow you to spot any other issues that may require attention before you start adjusting the tracks.
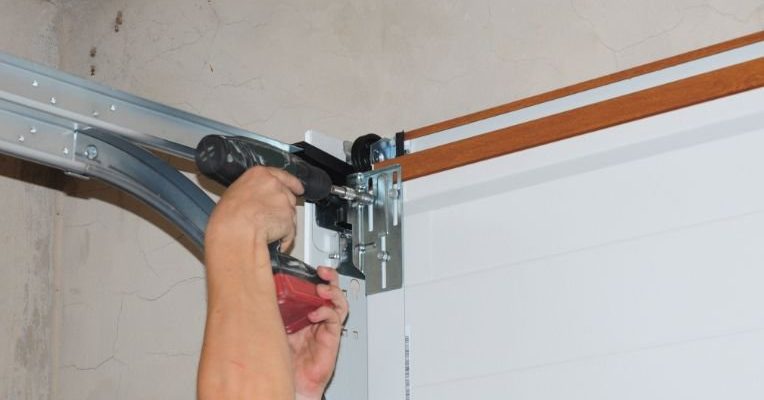
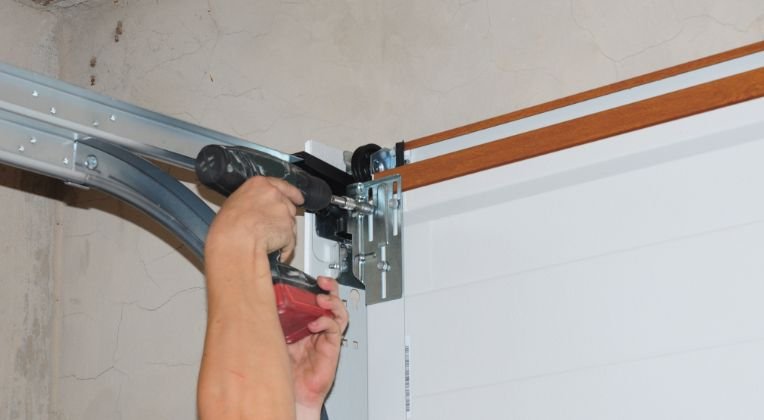
Loosen the Track Fasteners
Next, grab your wrench and loosen the fasteners that hold the tracks in place. It’s important not to remove them completely yet. Just loosen them enough so that the tracks can move slightly.
Consider using your rubber mallet to gently tap the tracks back into position. Don’t pound them too hard; you want to nudge them without causing any damage.
Check the Alignment
Now it’s time to ensure that your garage door tracks are aligned properly. Using your level, check both vertical and horizontal sections of the tracks.
– Vertical Track: This should be straight and even with the wall.
– Horizontal Track: Ensure it slopes slightly downward as it moves away from the door.
If the tracks are off, gently manipulate them until they are straight. The beauty of this process is that you can feel when they’re right; there’s no need for perfection, just a functional alignment.
Tightening the Track Fasteners
Once you’re satisfied with the positioning, it’s time to tighten the fasteners back up. Use your wrench to secure them snugly, but don’t overtighten—this can create new issues.
Keep checking the alignment as you tighten to ensure nothing shifts out of place. If you’ve done this correctly, your garage door should now sit evenly and smoothly along the tracks.
Test the Garage Door
Now comes the moment of truth. Reconnect your garage door opener. Use your remote—whether it’s a LiftMaster or a Chamberlain—to operate the door and see how it performs.
Watch closely for any signs of irregular movement or noise. If you notice anything off, it may be worth rechecking the alignments. It can take a few tries to get everything just right, but patience will pay off.
Lubricate the Tracks
With your garage door tracks now realigned, consider giving them a little love with lubrication. This helps to ensure smooth movement and reduce noise. Choose a silicone-based lubricant or garage door-specific spray.
Simply apply the lubricant along the length of the tracks and wipe away any excess with a rag. Regular maintenance like this can prevent future misalignments and keep your garage door operating smoothly.
Regular Maintenance Tips
Once you’ve accomplished the realignment, don’t forget to set a reminder for regular maintenance checks. Keeping an eye on your tracks can help prevent any misalignment in the future. Here are a few tips to keep everything in check:
- Inspect the tracks for dirt and debris – clean as necessary.
- Check for any bent sections and repair them as needed.
- Regularly lubricate the tracks and rollers every six months.
Consistency is key. A little preventative work goes a long way in avoiding major headaches down the road.
When to Call a Professional
While realigning your garage door tracks is often a simple task, there are times when you should consider calling in a pro. If you face any of these issues, it may be best to seek help:
– The tracks are severely damaged or bent.
– You’re unsure about your ability to make the repairs safely.
– There are additional issues like springs or cables that seem problematic.
Hiring a licensed technician can help you avoid further damage and ensure everything is working correctly. Your garage door is a significant part of your home’s security and should be treated with care.
Realigning your garage door tracks can seem like a daunting task, but with the right approach, it’s completely doable. By following the steps outlined above, you can restore smooth operation to your garage door opener and extend its lifespan.
Remember, keeping up with regular maintenance can save you time and hassle in the long run. If you run into any issues, don’t hesitate to reach out to a professional. Happy DIY-ing, and enjoy the smooth operation of your garage door!