Programming your Genie Intellicode remote is simpler than you may think. It’s not about understanding rocket science; it’s all about following a few steps. Think of it as mapping out a simple journey. Once you get the hang of it, you’ll be turning that remote into your tiny garage door superhero in no time. Let’s dive in and explore how to sync, reset, and get your Genie remote working again.
Understanding Your Genie Intellicode Remote
Before we get started with programming, let’s take a moment to appreciate what your Genie Intellicode remote actually does. This remote uses advanced technology that not only opens your garage door but also adds an extra layer of security. With every push of a button, the remote sends a unique code to your garage door opener, so it’s much harder for anyone to access your garage without your permission.
There are two main components at play here: the remote itself and the garage door opener. You might think of the remote as your personal assistant, while the opener is the garage door’s brain. They need to talk to one another, and programming ensures they’re on the same wavelength.
By understanding the components involved, you’ll make the programming process smoother and more efficient.
Gathering Your Supplies
Before you jump into programming your remote, let’s make sure you have everything you need. Don’t worry; it’s a short list:
- Your Genie Intellicode remote control
- The garage door opener unit
- A step stool (if your opener is mounted high)
- Your owner’s manual (for reference)
Having your owner’s manual handy can be a lifesaver. This guide typically contains diagrams or troubleshooting steps tailored to your specific model. Plus, you might come across some useful tips or extra features that you didn’t know about.
Now, with all your supplies gathered, you’re ready to embark on your programming journey!
Locating the Learn Button
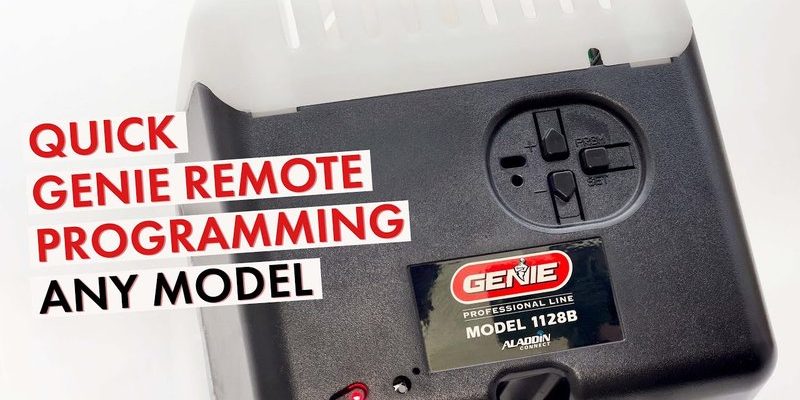
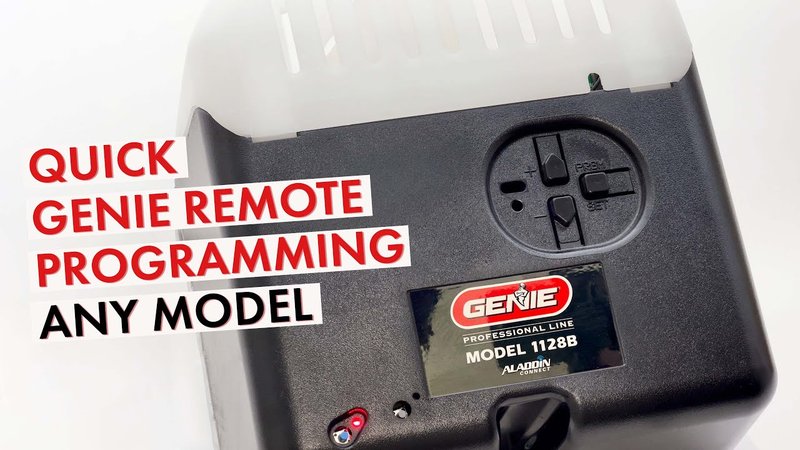
To program your Genie remote, you’ll first want to locate the “learn” button on your garage door opener. This button is typically found on the back or side of the motor unit. Here’s a handy tip: it’s often a bright color—like red or orange—so it should stand out against the unit’s usual casing.
Once you’ve found the button, you might be wondering how it works. Pressing this button puts your garage door opener into “learning mode.” Think of it like giving your opener a chance to meet your new remote.
Make sure to have your remote within a few feet of the opener when you’re ready to program it. This close proximity helps ensure a strong connection during the pairing process.
Programming Your Remote Control
Now comes the fun part! Here’s how to actually program your Genie Intellicode remote to sync with your garage door opener:
1. Press and Hold the Learn Button: Press the learn button for about 3 seconds until you see the indicator light turn on.
2. Grab Your Remote: While the light is on, take your remote and press the button you want to use for opening the garage door. Hold it down for about two seconds.
3. Watch the Light: Once you release the button, the light on the garage door opener should blink or turn off, indicating the remote is successfully programmed.
If you see the light blink, congratulations! Your remote is now synced with the opener. If it doesn’t work, don’t stress. You can try these steps again or check the manual for other troubleshooting tips.
Testing Your Remote
After programming, always test your remote to ensure it’s functioning as expected. Walk away from the opener to about 10-15 feet. This distance allows you to check if the signal is strong enough.
Now, press the button you’ve programmed. If everything went smoothly, your garage door should respond and open or close. If it doesn’t, don’t worry; it might just need a second try or a reset.
When testing, it’s important to observe the remote’s behavior. Does it reliably open the door? If it only works sporadically, you might need to check the battery or ensure that the remote is programmed correctly.
Replacing the Battery in Your Remote
Over time, batteries can drain, affecting how well your remote works. If you find that your remote isn’t responding as it used to, it might be time to change the battery. Here’s a simple way to keep your remote-powered:
1. Open the Battery Compartment: Find the seam or latch on the back of the remote and carefully open it.
2. Remove the Old Battery: Take out the old battery, noting its position and orientation – usually, the positive side will face one way while the negative is on the other.
3. Insert the New Battery: Place the new battery in the same position as the old one and make sure it clicks into place.
4. Close the Compartment: Snap the battery cover back into place.
Now give your remote another test! A fresh battery can dramatically improve performance.
Resetting Your Remote
If you’re still having trouble, you might need to reset your remote. Resetting clears any previous programming and gives you a fresh start. Here’s how to do it:
1. Locate the Learn Button: As before, find the learn button on the garage door opener.
2. Press and Hold the Learn Button: Hold it for about 10 seconds. The light will blink, then turn off, indicating a reset.
3. Reprogram Your Remote: Follow the previous steps to program your remote again.
After resetting, ensure that you follow the programming instructions carefully. Sometimes starting from scratch is the simplest way to solve nagging issues.
Common Troubleshooting Tips
If you’re still encountering difficulties after trying the above steps, it may be time for some troubleshooting. Here are some common issues and how to fix them:
– Check the Distance: Ensure you’re close enough to the garage door opener when programming or testing the remote.
– Inspect the Remote: Look for any physical damage or wear on your remote that could be affecting performance.
– Wiring Issues: Occasionally, wires within the garage door opener can become loose. If comfortable, you can inspect these or consult a professional.
Remember, a little troubleshooting can go a long way in saving you time and frustration, so don’t be quick to give up.
Exploring Alternatives
If programming your Genie remote feels like a hassle, you might consider other options. Universal remotes can be convenient since they often work with different brands of garage door openers. However, they might not offer all the features specific to Genie devices.
On the flip side, if you love your Genie products and want the best compatibility, sticking with a Genie remote can often provide better features and reliability. Take time to think about what works best for your needs.
Final Thoughts
Programming your Genie Intellicode remote control doesn’t have to be a headache. By following these steps, you can seamlessly sync your remote and have your garage door opening at the touch of a button. Always remember to check the basics—like batteries and proximity—to ensure everything runs smoothly.
With a little patience and the right tools, you’ll have your garage door powered by your new remote in no time. Don’t hesitate to refer back to this guide whenever you need a helping hand. Happy opening!