Think of your remote like the engine of a car. It won’t take you anywhere unless it’s finely tuned to the right settings. Similarly, once you program your Sears remote correctly, it’ll operate your garage door or other appliances seamlessly. Let’s break down the process into simple, bite-sized steps that even a beginner can follow.
Understanding Your Sears Remote
Before diving into programming, it’s essential to know the kind of remote you have. Sears has produced various models, but most fall into two main categories: universal remotes and brand-specific remotes. Universal remotes can learn to operate multiple devices from different brands, which is handy. Brand-specific remotes are designed to work with specific Sears products, which means they can program seamlessly.
So how do you tell which one you have? Usually, the model number is printed on the back of the remote. Identifying your remote type not only helps ensure you’re following the right steps for programming but also sets the stage for successful syncing.
Gathering Necessary Tools
Before programming your Sears remote, you’ll need a few tools on hand for a smooth setup. Don’t worry; you won’t need a toolbox—just the following:
- Your Sears remote
- The device you want to control (like your garage door opener)
- Fresh batteries for the remote, if needed
- The instruction manual that came with your device (if available)
Having these items ready will save you from rummaging through drawers mid-setup. If you don’t have the manual, don’t panic. You can often find it online with a quick search for “Sears [model number] manual.”
Installing Batteries in Your Remote
Before you can program the remote, you need to make sure it’s powered up. Start by installing fresh batteries, which is like putting gas in that car we talked about earlier. Here’s how:
1. Find the battery compartment on the back of the remote.
2. Open it carefully—it might slide off or pop open.
3. Insert new batteries, ensuring the positive (+) and negative (-) ends match the symbols in the compartment.
4. Close the battery cover securely.
It’s essential to use quality batteries. Low battery power can lead to erratic performance, leaving you frustrated while trying to program your Sears remote.
Basic Programming Steps
Now that your remote is ready to roll, let’s get into the nitty-gritty of programming it. Here’s a step-by-step guide:
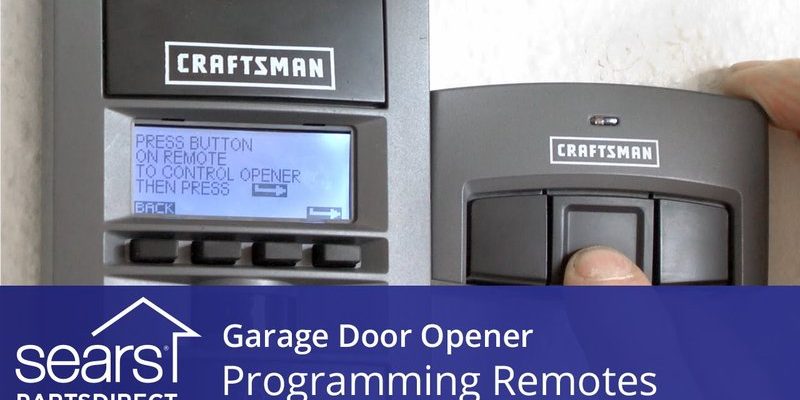
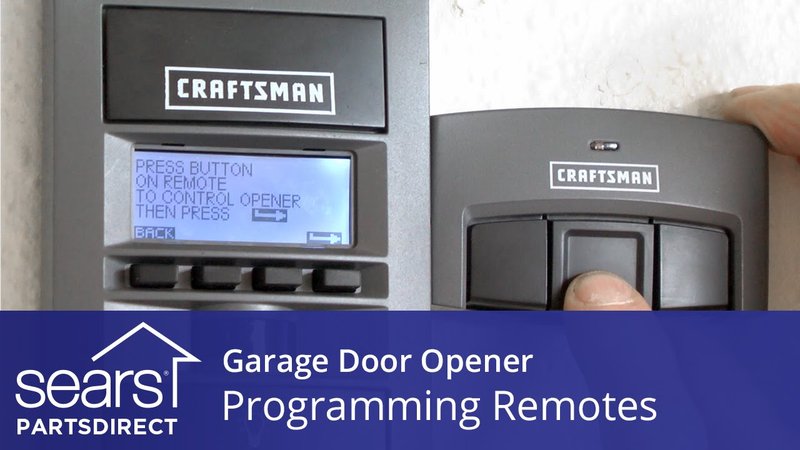
1. Locate the “Program” button: On most Sears remotes, this button is usually on the back or inside the battery compartment.
2. Prepare your device: If you’re programming a garage door opener, ensure it’s plugged in and powered on.
3. Press the Program button: Hold it down until the indicator light on the remote turns on.
4. Enter the code: Use the provided code list (found in the manual) that corresponds to your model. You might need to experiment with a few codes until the light blinks or turns off, signifying a successful connection.
If the remote light doesn’t react, reset the remote by removing the batteries for about 10 seconds and try again. Programming can feel like a puzzle sometimes, so don’t get discouraged if it takes a few tries.
Common Troubleshooting Tips
So, what happens if things don’t go as planned? Don’t worry; it’s completely normal to hit a bump while programming.
– Remote unresponsive: If your remote appears dead, double-check the batteries. Even a brand-new pack can sometimes be faulty.
– Device not responding: Ensure the device you’re trying to control is compatible and properly powered. This is often overlooked!
– Error blinking lights: If you see blinking lights instead of a steady glow after programming, refer back to the troubleshooting section of your manual for specific error codes.
Doing these checks can often save you time and frustration. Honestly, a good portion of remote programming is about patience and persistence.
Advanced Programming Techniques
If you’re feeling a bit more daring, you might want to explore advanced programming techniques. These can include customizing settings or even switching modes. For instance, some Sears remotes allow you to program additional functions like an “easy close” setting.
To dive into this:
– Refer to your instruction manual for any advanced programming options.
– Some remotes allow you to store multiple codes, which can be quite handy if you have various devices in your garage.
This gives you the power of customization, much like building a playlist of your favorite songs—you pick precisely what you want!
Why Programming Your Remote Matters
You might be asking yourself, “Why go through all this trouble?” Well, programming your Sears remote is not just a fun puzzle; it truly enhances your everyday life.
Think of the convenience: walking up to your garage, pressing a button, and having the door open without stepping outside, even in crummy weather. It’s all about adding simplicity and efficiency to your daily routines. Plus, it’s a great conversation starter!
When everything is programmed correctly, it becomes part of your home setup—a little tool that can transform your experience dramatically.
Closing Thoughts
Programming your Sears remote may seem a bit daunting at first, but breaking it down into these steps makes it practically a walk in the park. You’ve learned about the functions, how to install batteries, programming steps, troubleshooting, and even advanced techniques.
Remember, just like learning anything new, practice makes perfect. Don’t hesitate to refer back to this guide whenever needed. Soon, you’ll be operating your devices with the finesse of a pro! Enjoy the convenience your new remote brings, and don’t forget to share these tips with friends who may also be navigating the world of Sears remotes!