Think of your garage door opener as a bridge between you and your car. It makes life more convenient, especially when you’ve got your hands full. From the classic remotes to the nifty keypads, Sears provides several options for controlling your garage door. This article will cover everything you need to know to program your Sears garage door opener seamlessly.
Why You Might Need to Program Your Garage Door Opener
There are a few scenarios where programming your garage door opener becomes necessary. Maybe you’ve just moved into a new house, and previous owners didn’t hand over the remote. Perhaps you’ve purchased an additional remote for family members or your garage door stopped responding to the existing remote. In any case, knowing how to program your Sears garage door opener can save you time and frustration.
Sometimes, batteries run low, causing remotes to lose their connection. Other times, pressing the buttons may not yield results, and you might need to reset or reprogram. By learning how to establish a connection, you ensure your opener works smoothly and keeps your home secure. Remember, a functioning garage door opener is more than just a convenience; it’s a vital part of your home’s safety.
Gathering Your Tools: What You’ll Need
Before diving into the programming, it’s a good idea to gather a few essential tools. You don’t want to chase after items while trying to set everything up!
- A compatible remote: Ensure your remote matches your specific Sears garage door opener model.
- A ladder: If your opener is mounted high, you’ll need to reach it comfortably.
- A pencil or paper: Jot down any codes or settings you might want to remember.
- Your user manual: Keep this handy for model-specific instructions.
Having these items ready means you’ll move through the programming process smoothly without unexpected interruptions.
How to Program Your Sears Garage Door Remote
Now that you’re all set, let’s get into the nitty-gritty of programming your Sears garage door remote. Here’s a straightforward step-by-step approach you can follow:
1. Access the Motor Unit: Start by locating the garage door opener motor unit, typically found on the ceiling of your garage. This is where you’ll do most of your programming.
2. Identify the ‘Learn’ Button: Find the ‘Learn’ or ‘Program’ button on the motor unit. It’s usually colored (often green, red, or yellow) and might be near the antenna wire.
3. Press the ‘Learn’ Button: Push and hold this button for about 2 seconds until you see the indicator light turn on. This light usually stays illuminated throughout the pairing process.
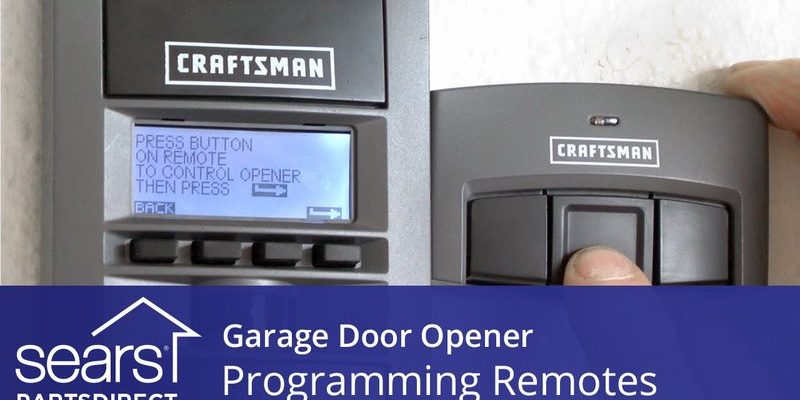
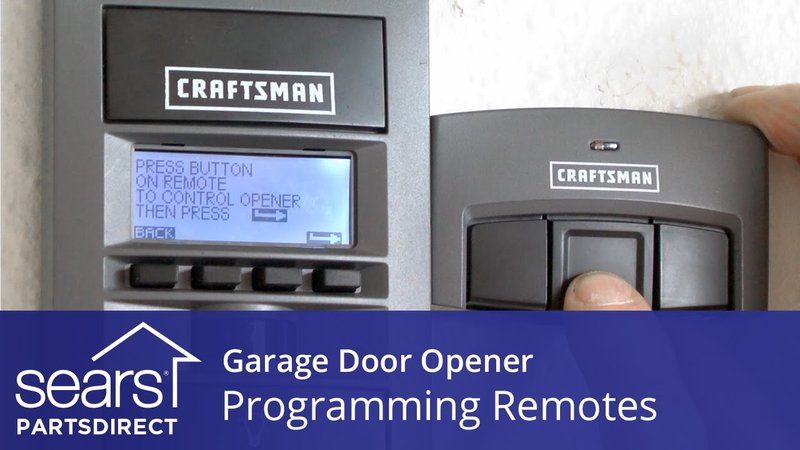
4. Press the Remote Button: While the indicator light is on, take your remote and press the button you want to use for opening the garage door. If done correctly, you should see the indicator light flash, confirming successful programming.
It may sound complicated, but once you’ve gone through this a couple of times, it’ll feel as easy as pie!
Dealing with Common Issues
Sometimes, despite following the steps, things still don’t work out as planned. Here are some common problems you might encounter and how to troubleshoot them:
– Remote Doesn’t Work: If your garage door doesn’t respond to the remote after programming, check the battery. It may need a replacement.
– Indicator Light Doesn’t Flash: If the indicator light doesn’t flash when you press the remote button, ensure you’re within range of the garage door opener. Move closer and try again.
– Multiple Remotes: If you have multiple remotes, remember that each one may need programming individually. You can easily follow the same steps for each remote, just ensure you program them one at a time.
Don’t get discouraged! With a small amount of patience, you’ll have everything running again smoothly.
Resetting Your Garage Door Opener
If you’re still having trouble, or if you’re moving into a new house and want to erase any previous codes, resetting your opener might be the best option. Here’s how you can do it:
1. Locate the ‘Learn’ Button: Just as before, find the ‘Learn’ button on the garage door motor unit.
2. Press and Hold the ‘Learn’ Button: For about 10 seconds, hold the button until the indicator light turns off. This action resets all programmed remotes.
3. Reprogram Remotes: You’ll now need to go back and reprogram your remotes as explained earlier. Once you do this, they should work just fine.
Resetting allows you to start fresh and ensure that any old codes or remotes are wiped clean from the system.
Alternatives to Original Remotes
You might be wondering if there are other options besides the original remotes. The good news? There are universal garage door openers out there designed to work with various brands and models, including Sears.
Universal remotes can save you money and provide extra features, like the ability to connect to multiple garage doors. However, keep in mind that installation and programming may require additional steps specific to the universal remote. Check the instructions provided with your universal remote for a smooth setup.
Maintaining Your Garage Door Remote
Keeping your remote in good shape can help you avoid programming pains in the future. Here are a few tips:
– Regularly Check Batteries: It can be easy to forget, but check the battery status every few months. If you notice a decrease in responsiveness, swap them out before they die completely.
– Keep Remote Clean: Dust and debris can accumulate in the buttons, affecting functionality. Wipe your remote down periodically to keep it clean.
– Store in a Safe Place: Make sure you store your remote in an area where it won’t get lost or damaged. Think about a designated spot in your car or your home.
By maintaining your remote correctly, you’ll reduce the likelihood of needing to program it frequently.
Wrapping Up: Enjoy Your Programmed Opener
Congratulations! You’ve learned how to program your Sears garage door opener like a pro. From the initial setup to troubleshooting common issues, you’re now equipped with the knowledge to keep your garage door functioning efficiently.
Honestly, once you get the hang of it, you’ll find programming remotes and managing your garage door opener is not so intimidating after all. Keep this guide on hand for easy reference in case you need it. Remember, simplicity is key, and soon you’ll have a well-functioning system that enhances your daily routine!
Now, go ahead and enjoy the convenience of a smoothly operating garage door opener, knowing you’ve got it all under control!