Sears garage door openers, particularly those with circuit boards, can be tricky. But don’t worry, whether you’ve just installed a new opener or are troubleshooting a remote that simply won’t respond, I’ll walk you through the process step-by-step. Grab a coffee, and let’s dive into the nitty-gritty of getting your circuit board programmed correctly.
Understanding Your Sears Circuit Board
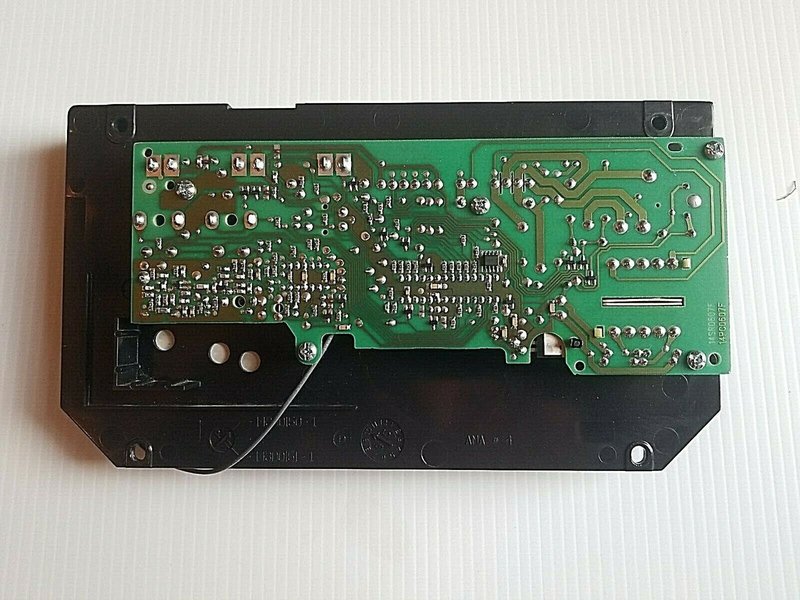
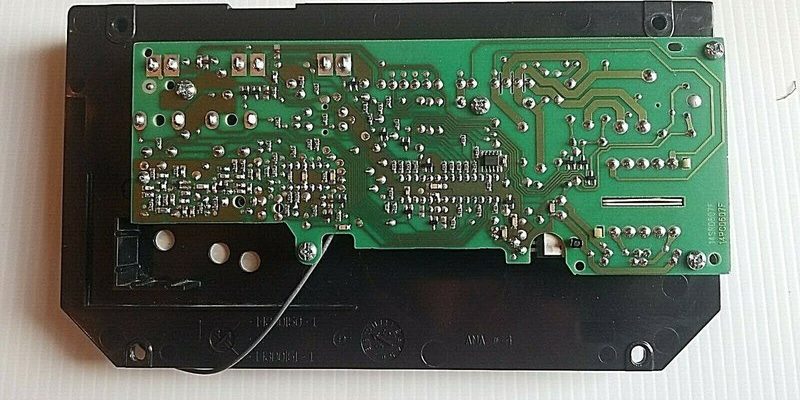
Before diving into the programming steps, it’s important to familiarize yourself with the basic components of a Sears circuit board. The circuit board is like the brain of your garage door opener; it controls everything, from the remote signal to the motor that lifts the garage door.
Most Sears models come with specific LED indicators that provide feedback on whether your programming efforts are successful. These lights are your friends and will guide you through the programming process. Knowing what to look for can mean the difference between success and staring at a non-responsive garage door.
Here’s a breakdown of the key components you’ll typically find on a Sears circuit board:
- LED indicator lights: Show the status of the unit and assist with troubleshooting.
- Remote control receiver: Where your remote sends signals to open or close the door.
- Motor control section: Powers the door to go up or down.
- Programming buttons: Used for syncing the remote with the garage door opener.
Gather Your Tools
Now that you’re familiar with the layout of the circuit board, it’s time to gather the tools you’ll need. Fortunately, programming a Sears circuit board doesn’t require a toolbox full of gadgets; in most cases, you’ll need just a few simple items:
1. Sears remote control. Make sure it has a working battery. A weak battery can cause all sorts of issues.
2. A ladder or stool. If your opener is mounted high, you might need to reach it safely.
3. The owner’s manual. If you’ve got it handy, it can serve as an excellent reference point throughout the process.
Having these items ready will make the programming process smoother and less frustrating. Remember that you’re in this together with your garage door opener. Think of it as a team effort.
Resetting the Sears Circuit Board
The first step in programming your Sears circuit board is to reset it. This clears any previous programming and prepares it for new instructions. Picture it like setting a blank canvas before starting a painting. Here’s how to do it:
1. Locate the learn button. It’s usually a brightly colored button on the circuit board.
2. Press and hold the learn button for about 10 seconds. You might notice the LED light flashing—this means you’ve successfully reset it.
3. Wait for the light to stop blinking and turn off. This indicates that the reset is complete.
It’s important to wait for the feedback before you move on. This step ensures that you’re starting fresh and that any previous settings don’t interfere with your new programming efforts.
Programming the Remote Control
Once you’ve reset the circuit board, it’s time to program your remote control to work with it. If the circuit board is the brain, this remote is like your voice; it sends commands. Here’s how to program it:
1. Press the learn button on the circuit board again. Hold it until the LED flashes then turns on.
2. Within 30 seconds, press and hold the button on your remote that you want to program.
3. Release the button on the remote. You should see the LED on the circuit board blink and then turn off.
This step may take a few tries, especially if you have a stubborn remote. Patience is key here, and if you sense that something’s off, revisit the reset step. It all ties back to the basic principle of ensuring every component is aligned.
Troubleshooting Common Issues
Sometimes, despite following all the steps carefully, things may not click into place. Here are a few common problems and solutions to consider:
– The remote doesn’t work. First, check the battery. Then, ensure you pressed the learn button on the circuit board correctly.
– The LED indicator isn’t responding. Ensure that the circuit board is receiving power. This could be as simple as checking if the opener is plugged in or if a circuit breaker has been tripped.
– Multiple remotes are programmed. If you have more than one remote, you might need to repeat the programming steps for each one. Instead of programming them all at once, consider doing it one at a time to avoid confusion.
Having these troubleshooting tips can make you feel more confident in your programming endeavor. Remember, it’s normal to encounter bumps along the way. Just breathe and try again.
Why Accurate Programming Matters
You might wonder why taking the time to program your Sears circuit board properly matters. Let’s break it down: a correctly programmed opener ensures safety and functionality. If your remote doesn’t connect correctly, you risk leaving your garage door open unintentionally, which can lead to theft or damage to your vehicle and belongings.
Furthermore, a well-programmed unit is less likely to malfunction, which saves you from those annoying moments of frustration when you’re rushing out the door. Think of it as setting the foundation for a home; a solid base is crucial for everything else to function properly.
When to Consult a Professional
While programming the Sears circuit board is doable, there are times when calling in a pro is the best route. If you find that you’ve attempted to program it multiple times without success, or if the LED indicators are showing unusual patterns, it might indicate a deeper issue.
A professional technician can diagnose problems beyond your expertise. They can offer solutions faster, ensuring your garage door opener is back in working order before you know it. Plus, it can save you a lot of time and stress in the long run.
Programming your Sears circuit board may seem daunting at first, but with a little patience and the right guidance, you can tackle it head-on. By understanding the components, resetting the unit, and carefully programming your remote, you can ensure your garage door operates smoothly and efficiently.
So, whether it’s for convenience, safety, or simply the satisfaction of DIY success, don’t hesitate to dive into this task. If at any point things feel overwhelming, remember it’s perfectly okay to seek expert help. You’ve got this, and soon enough, you’ll be opening that garage door with the push of a button like a pro!
