Imagine trying to operate your garage door during a storm and realizing there’s no way to get your car out. Frustrating, right? That’s where the Sears Battery Backup comes in, ensuring you’re never stuck in an emergency. Programming this system isn’t like solving a Rubik’s Cube; it’s more like following a recipe. You just need to follow the steps, and before you know it, you’re ready to go. Let’s dive into the nitty-gritty of programming your Sears Battery Backup.
Understanding Your Sears Battery Backup
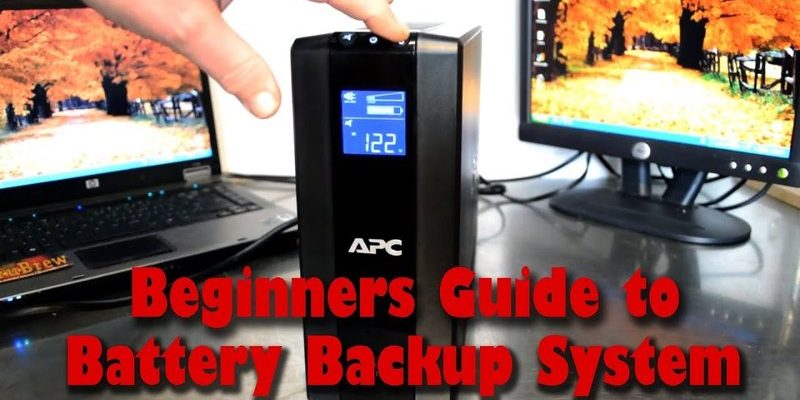
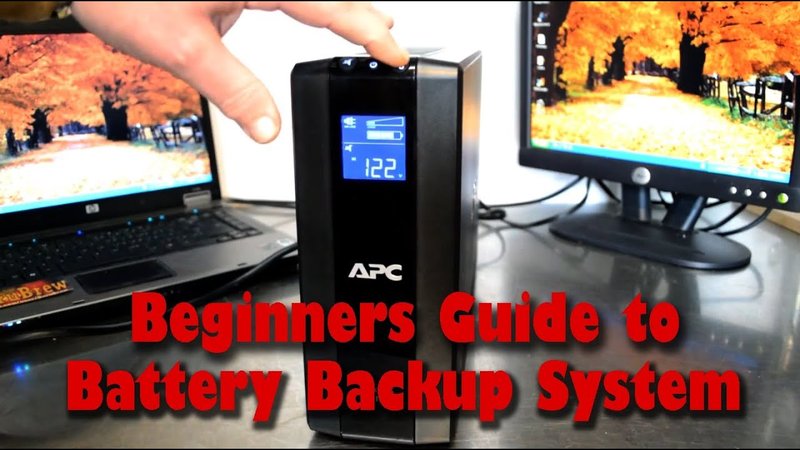
Before we jump into the programming part, it helps to know what you’re working with. The Sears Battery Backup is designed to connect with your garage door opener and keep it functional during power outages. The beauty of this system is that it not only powers your garage door but also gives you peace of mind—knowing you can still access your home even when the lights are out.
You might be wondering how it actually works. Essentially, when your garage door opener has power, it charges the battery. When the power goes out, the battery kicks in, giving you the energy needed to operate the garage door. It’s like having a rechargeable flashlight at the ready when the lights go out—only your flashlight is your garage door.
Now, let’s chat about what type of remote you might be using. Most Sears garage door openers use a standard remote, often featuring a couple of buttons to perform basic functions. Understanding your remote type is crucial since each model has its own quirks and programming steps.
Gathering What You Need
Before starting the programming, it’s essential to gather a couple of items to make the process smoother. Here’s a quick list of what you’ll need as you embark on this little adventure:
- Your remote control: This is the key player in the operation.
- Your Sears Battery Backup: Naturally, you’ll need the actual device.
- A step ladder (if your garage door opener is mounted high): This just ensures you can easily reach everything.
Having everything ready at your fingertips will make the process much less stressful. Nobody likes searching for tools while trying to focus on programming, right?
How to Program Your Sears Battery Backup
Now that you have everything, let’s get to the meat of the matter. Programming your Sears Battery Backup is about as simple as following a recipe. Here’s how to do it step-by-step:
Step 1: Locate the Learn Button
The first step is to find the learn button on your garage door opener unit. This little button is typically located on the back or side of the motor unit. It’s usually a bright color, making it relatively easy to spot.
Step 2: Press the Learn Button
Once you’ve found it, press the learn button once. You should see a light come on, indicating that your garage door opener is ready to receive signals from the remote. This light typically stays on for about 30 seconds.
Step 3: Press the Remote Button
With the learn button activated, it’s time to grab that remote. Press the button you want to program. After a brief moment, you should see the light on the motor unit blink. This tells you that the programming was successful!
Step 4: Test It Out
Now, what good is a program if it doesn’t work? Test the remote to see if it opens and closes the door properly. If it does, congratulations! You’ve successfully programmed your Sears Battery Backup.
If for any reason this doesn’t work, don’t panic! Many users find troubleshooting is just a matter of going back a step.
Troubleshooting Common Issues
Even though programming your Sears Battery Backup isn’t as daunting as it sounds, you may run into a few glitches along the way. Let’s tackle some common snags you might face.
Remote Not Responding
If your remote isn’t responding, it could be due to low batteries. Try replacing the batteries in the remote first. Sometimes, a simple fix is all it takes to get things working again.
Light Doesn’t Blink
If the light on the motor unit isn’t blinking after you’ve pressed the remote button, make sure you’re within range. You might also want to check if there’s any interference from other devices.
General Reset
If you’re still having trouble, a reset might be in order. Unplug your garage door opener, wait for about 30 seconds, then plug it back in to start fresh. Often, this simple reset can clear out any digital hiccups.
Maintaining Your Battery Backup
Now that your Sears Battery Backup is programmed, you’ll want to keep it in tip-top shape. Regular maintenance is crucial for ensuring longevity and reliable performance.
- Regular Testing: Every few months, test it by unplugging your garage door opener to see if it runs smoothly on battery power.
- Check Battery Life: If you’re noticing that your garage door struggles to open or close when the power is out, it might be time for a battery replacement.
- Professional Help: If you notice any persistent issues, don’t hesitate to call a professional. Sometimes, having a trained eye can save you time and trouble.
Maintaining your battery backup ensures it will be ready when you need it, just like a trusty umbrella on a rainy day.
Programming your Sears Battery Backup isn’t just about tech—it’s about peace of mind. Knowing that you can access your garage even during a blackout makes all the difference.
By following the steps laid out here, not only have you armed yourself with the knowledge of how to program this device, but you’ve also taken a step toward ensuring safety and convenience for you and your family. Just remember, if you run into any hiccups, troubleshooting is part of the experience. You’ve got this!