Most modern garage door openers, like those from Overhead Door, come with a control panel that allows you to operate your garage door effortlessly. This panel not only lets you close and open your door, but also gives you the ability to program it with additional features. You might be wondering how all this works and whether you can tackle it yourself. Spoiler alert: Yes, you can!
Understanding Your Overhead Door Control Panel
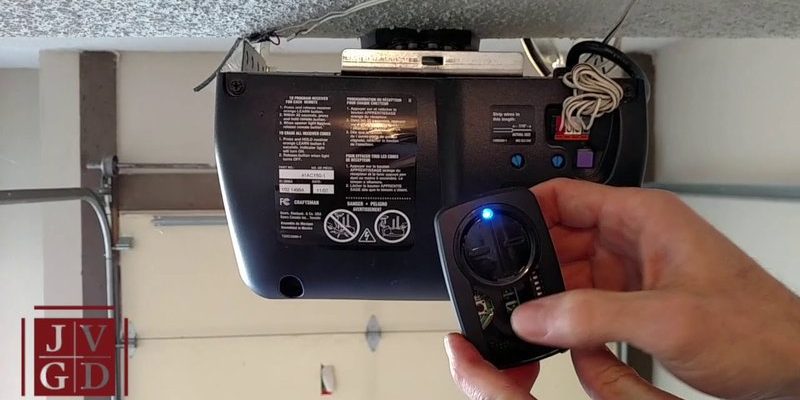
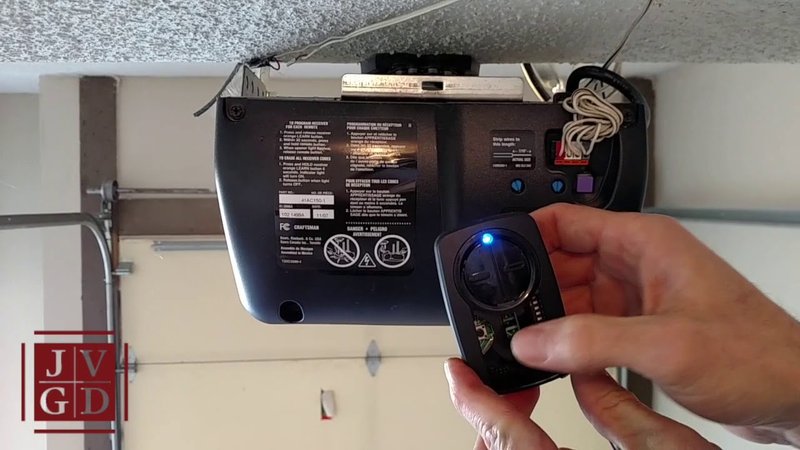
The first step in programming your overhead door control panel is understanding the layout and functions of the panel itself. Most panels will feature buttons for open, close, and possibly a keypad for entering codes.
Think of the control panel like your home’s remote control for the garage door. Just like how a TV remote has buttons to switch channels and control volume, your garage door control panel has specific buttons designed for various tasks. Familiarizing yourself with these buttons will make programming feel less daunting.
Often, the panels have a backlight or indicator lights to show you what’s happening—like a traffic light for your garage. This visual feedback is crucial, especially when you’re troubleshooting or resetting the system.
Components of Your Garage Door Control Panel
Most overhead door control panels contain:
- Open/Close Buttons: To manually operate the door.
- Programming Button: To start the programming process.
- Indicator Lights: To guide you through programming steps.
- Battery Backup Slot: In case of a power outage.
Knowing what each button does can help you feel more in control—pun intended!
Getting Started with Programming
Now that you have a good understanding of your control panel, it’s time to get into the nuts and bolts of programming. Before you dive in, ensure that your garage door opener is plugged in and functioning. A helpful tip is to give it a gentle test run to ensure everything is operational.
Here’s the thing: most overhead door openers come with a programming guide, which typically outlines step-by-step instructions specific to your model. In the absence of a guide, don’t fret! We’ll walk through a general procedure.
1. Locate the programming button on your control panel.
2. Press and hold this button until the indicator light flashes.
3. While the light is flashing, press the learn code button on your remote control. This is often found on the back or side of the remote.
4. The control panel light will flash again, indicating that the remote and the control panel are syncing.
By following these steps, you’re pairing your remote to the control panel—essentially teaching it to recognize your remote. Simple, right?
Syncing Multiple Remotes
If you have multiple remotes that you want to program, the process is similar. It’s like having several keys for your front door; you want to ensure they all work seamlessly.
To program multiple remotes:
1. Go through the sync process for each remote individually.
2. Repeat the steps from the previous section for each remote you wish to sync.
3. Just remember, each time you add a new remote, you may need to reset the system if you reach the maximum limit of programmed devices.
It’s easy to feel overwhelmed, but just take it one remote at a time, and you’ll have them all synced up in no time!
Troubleshooting Common Issues
Sometimes, despite your best efforts, the programming doesn’t quite work as planned. Here are a few common issues and quick fixes:
- No Response: Ensure the opener is plugged in and there are no power interruptions.
- Remote Won’t Sync: Try changing the battery in your remote first. A dead battery is often the culprit!
- Indicator Light Won’t Flash: This could indicate a problem with the control panel. Restarting the panel may help.
If you encounter persistent issues, consulting the manual or calling customer support may be your best bet.
Resetting Your Overhead Door Control Panel
Sometimes, the best solution is to start fresh. If you’re having trouble syncing or if the control panel is behaving weirdly, resetting it can often solve the issue.
To reset your overhead door control panel:
1. Turn off the power to the opener by unplugging it or flipping the circuit breaker.
2. Wait for about 30 seconds, then restore power.
3. Press and hold the programming button until the lights flash.
This process clears all programmed remotes and brings the system back to its original state. After resetting, you can start programming your remotes again, following the earlier instructions.
Programming your overhead door control panel doesn’t have to be intimidating. With a little patience and the right guidance, it’s straightforward and empowering. You’re not just learning to open and close your garage door—you’re taking charge of your space.
Remember that every effort you put into understanding the control panel is an investment in convenience. Once you get it programmed, you’ll be zipping in and out of your garage like a pro! Don’t hesitate to revisit this guide whenever you feel stuck. Happy programming!