Marantec brand garage door openers are reliable and efficient. Think of them as an extension of your daily routine—allowing quick access to your home with just a push of a button. Whether you’re looking to sync a new remote or reset an existing one, understanding the programming process can truly enhance your garage experience.
Understanding Your Marantec Garage Door Opener
Before diving into the programming steps, let’s take a moment to get to know your Marantec garage door opener. Most models have two main components: the motor unit (usually mounted on the garage ceiling) and the remote control that you hold in your hand. The motor unit communicates with the remote via a unique code, which is what you’ll be working to set or reset.
Most Marantec models feature either a standard remote or a smart remote. The standard remote is straightforward—think of it as a simple light switch: flip it on, and it works. On the other hand, a smart remote often has more features, including a programmable code that lets you connect your opener to a smart home system. Regardless of which type you have, taking the time to understand their workings will make the programming process feel less overwhelming.
You might be wondering why it’s important to correctly program your garage door opener. Well, setting up and syncing your remote with the motor unit ensures security and proper functionality. So, let’s roll up our sleeves and get into the step-by-step programming.
Gathering Your Tools
Before getting too far into the process, it’s good to have everything you need in one place. Honestly, nothing’s worse than getting halfway through and realizing you’re missing a critical tool. Here’s a simple list of items you’ll want to gather:
- Your Marantec garage door opener remote
- Access to your garage door motor unit (usually found on the ceiling)
- A step ladder if you need to reach the motor unit
- A pencil and paper to note down any important codes or settings
- Batteries for your remote if necessary
Make sure you’re in a comfortable space with good lighting—nothing too fancy, just a well-lit garage where you can easily see what you’re doing. If your remote is new, check to see if it needs a battery replacement; a fresh battery ensures you’re not troubleshooting when all you really need is some juice in the remote.
Preparing Your Garage Door Opener
Now that you have your tools ready, let’s prep your Marantec garage door opener for programming. The first step is to locate the “Learn” button on your motor unit. This button is usually found near the antenna. To help you visualize it, think of the Learn button as the doorbell for programming; it’s what you’ll ring to connect your remote.
Before pressing this button, ensure that the garage door is closed. With the remote control in hand, stand near the motor unit (you might need that step ladder again) and give the Learn button a quick press. After you do this, a little light on the unit may illuminate, indicating that it’s ready to sync up with your remote.
Here’s the thing: Your garage door opener often only holds a few different codes, so it’s crucial to know if there are any existing remotes programmed. If old remotes are still programmed, they might interfere with the connection. The clear concept here is that this Learn button opens the door for further steps, so make sure to press it before going on.
Programming Your Remote Control
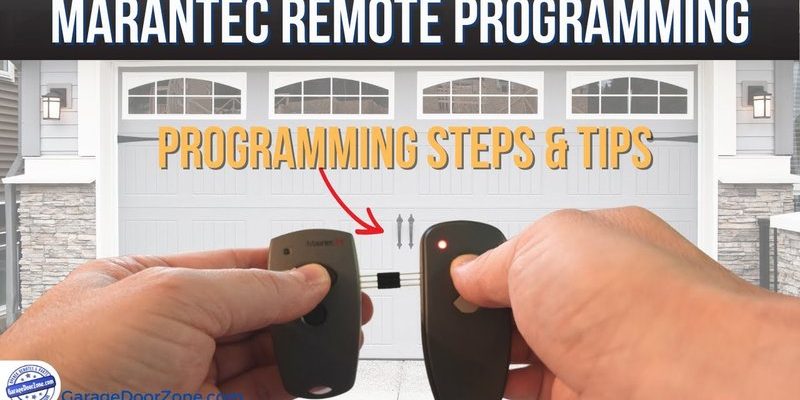
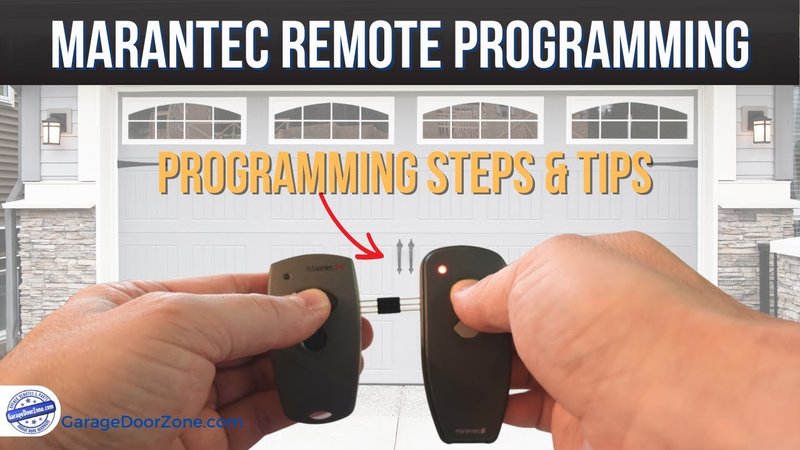
With the motor unit ready, it’s time to program your remote control. Take your remote in hand, and you’ll want to press and hold down the button that you wish to use for opening or closing the garage door. Make sure it’s a button that’s comfortable and easily accessible for you.
While you hold the button down, you should see the light on the motor unit blink—this indicates that it’s receiving the signal from the remote. After a few moments, the light will either turn on or blink rapidly. When this happens, you can release the button on your remote. Voilà! You’ve successfully programmed your Marantec remote!
If that light didn’t blink, no worries; it just means you need to try again. Make sure you’ve pressed the right button and hold it down long enough. Sometimes it just takes a little patience.
Testing Your Remote
Congratulations! You’ve programmed your Marantec garage door opener. But before you head inside to celebrate, it’s essential to test the remote. After all, you want to ensure that it works as intended. Approach your garage door, press the button you programmed, and watch for the magic.
This easy test is like taking your new bike for a spin around the block. When the door begins to move, you’ll feel that sense of accomplishment. If nothing happens, don’t fret—this is where we troubleshoot. This might mean you need to revisit programming or check that the battery in your remote is working. Don’t hesitate to check the connection at the motor unit as well. Sometimes, a simple reset of the system can be all that’s needed.
If after all this your remote still doesn’t work, it’s time to consult the manual or reach out to customer support. They can give more tailored advice for your specific model.
Syncing Additional Remotes and Keypads
Got more family members or perhaps a neighbor who needs access? Syncing additional remotes or keypads to your Marantec garage door opener is just as straightforward. You’ll follow many of the same steps as before, but here’s the twist: you’ll need to repeat the process for each remote or keypad.
To sync a new remote, don’t forget to press the Learn button on the motor unit first, just like before. Then, proceed to hold down the button on the new remote. It’s like hosting a party; one invite at a time. Make sure that each additional remote is close enough to receive the signal from the motor unit for the quickest setup.
If you’re working with a keyless entry pad, they generally have their own setup process, but the concept remains the same: activate the Learn button, follow the instructions specific to that device, and voilà—everyone now has access to the garage.
Resetting Your Marantec Garage Door Opener
You might have noticed that programming sometimes leads to changes that aren’t always intended—like if your remote is lost or if you want to erase all codes for security purposes. That’s where a reset comes into play.
To reset your Marantec garage door opener, you’ll generally need to hold down the Learn button on your motor unit until the light blinks off, indicating it has cleared all codes. This is your clean slate. After resetting, you’ll need to reprogram every remote and keypad; think of it as totally reorganizing your closet—it might take time, but it’s refreshing in the end!
Make sure to consult your manual for specifics on your model because different units can have unique reset processes.
In summary, knowing how to program your Marantec garage door opener empowers you to maintain your own home security and functionality. Plus, the process is simpler than you might think. So whether you’re replacing a lost remote or just wanting to add an extra one to your toolbox, it’s a straightforward journey that leads to easier, smoother access to your garage.
In conclusion, programming your Marantec garage door opener is all about getting familiar with its components and understanding a few simple steps. Now that you’ve got the tools and confidence, you can unlock a world of convenience at your fingertips. And if challenges arise, remember, troubleshooting is just part of the ride—like learning to navigate a new path. Happy programming!