You might be wondering, why bother? Well, these sensors ensure that your garage door operates reliably. They help avoid damage to your vehicle, pets, and family members. Plus, if your garage door isn’t working properly, it can become a hassle. Getting the sensors programmed correctly not only improves safety but also enhances the overall functionality of your opener.
So, let’s get into the nitty-gritty of programming your LiftMaster safety sensor. By the end of this guide, you’ll feel like a pro!
Understanding LiftMaster Safety Sensors
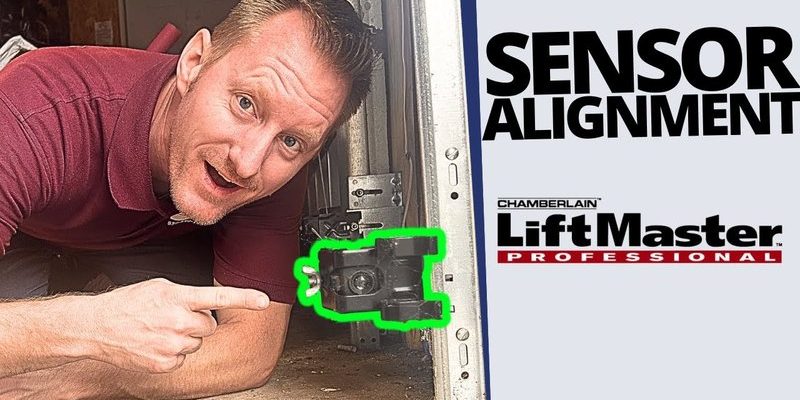
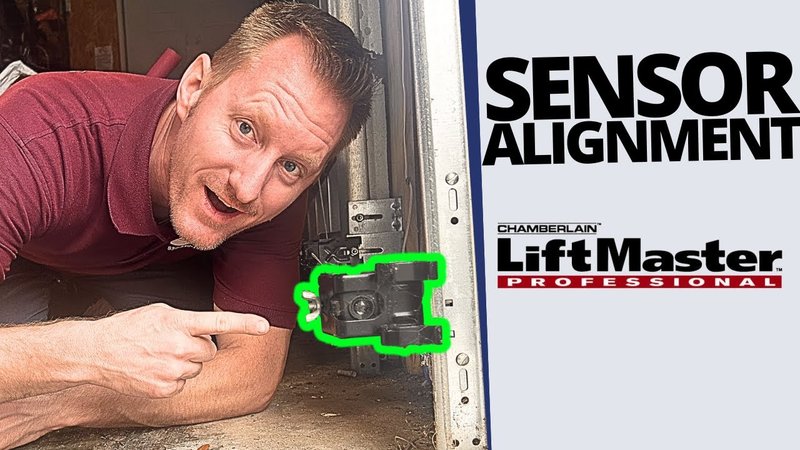
Before diving into programming, it’s helpful to understand what LiftMaster safety sensors are and how they function. These sensors are generally located about six inches above the ground on both sides of your garage door. They communicate with each other using infrared signals, creating an invisible “safety net” in front of the door.
When everything works as it should, the sensors allow the garage door to close only when the path is clear. If something interrupts the infrared beam—the family dog, a toy, or even a stray shoe—the door will reverse and open back up. This fantastic feature helps prevent accidents, injuries, or damage.
If you ever find that your garage door isn’t closing completely, it could be a sign that the safety sensors need reprogramming or are misaligned. Getting to know these parts is the first step toward smooth operation.
Gathering Necessary Tools
You might think programming LiftMaster safety sensors requires special equipment, but that’s not the case! However, having a few items on hand can make the process smoother. Here’s what you need:
- Owner’s Manual – This may come with your LiftMaster opener and will contain specific instructions tailored for your model.
- Flathead Screwdriver – This is helpful for adjustments, especially if your sensor is misaligned.
- Step Ladder – If your sensors are mounted high, having a ladder will help you reach them easily.
- Soft Cloth – Use this to clean the sensor lenses to prevent anything from blocking the signal.
With these tools in hand, you’re ready to start the programming process!
How to Align LiftMaster Safety Sensors
Proper alignment of the safety sensors is key to programming them successfully. If they’re even slightly out of place, the door might not function correctly. Here’s how to check their alignment:
1. Visual Inspection: Look at both sensors. They should be facing each other directly. If one looks crooked or is knocked out of position, gently adjust it until they point at each other.
2. Use the Screwdriver: If you need to, use your flathead screwdriver to loosen the screws on the sensor mounting brackets. Adjust the sensors carefully and retighten the screws.
3. Check the Indicator Lights: Most LiftMaster sensors have small indicator lights. When they’re aligned correctly, both lights will be steady. If one is blinking, realignment may be necessary.
Understanding this process helps ensure maximum safety during operation and is critical before programming.
Programming the LiftMaster Safety Sensor
Now, let’s get into the straightforward steps of programming your LiftMaster safety sensor. Don’t worry; it’s easier than it sounds! Just follow these steps:
1. Disconnect Power: First, disconnect the power supply from your garage door opener to prevent any accidental activation. This could mean unplugging it from the wall or pulling the emergency release cord.
2. Press the Learn Button: Locate the learn button on your LiftMaster unit. It’s usually found on the back of the motor unit. Press and release it, and you’ll see an indicator light blink.
3. Reconnect Power: Plug the unit back in or reconnect it to power.
4. Test the Sensors: After a minute, press your remote control or wall button to test the door. If it doesn’t close properly, repeat the steps or check the sensor alignment again.
After programming, you should notice your garage door operates smoothly.
Troubleshooting Common Sensor Problems
Even after programming, you might run into issues with your safety sensors. Here are some common problems and how to fix them:
– Blinking Lights: If either sensor light is blinking, it indicates a misalignment. Try adjusting the sensors again and check for any blockages.
– Obstruction in the Path: Ensure there’s nothing in front of the sensors, like bike tires or gardening tools.
– Dirty Sensors: Dust or grime can affect the sensor’s ability to “see” the other sensor. Use a soft cloth to gently wipe both sensor lenses.
If you’ve gone through these issues and still face problems, it might be time to consult with a professional.
Why Proper Sensor Programming Matters
You might wonder why going through all this trouble is necessary. Here’s the thing: properly programmed safety sensors not only protect your property but also safeguard your loved ones. It’s like having a wearable seatbelt in your car. You don’t think about it until you need it!
Moreover, ensuring these sensors are set correctly can prolong the life of your garage door opener. When sensors malfunction, they can strain the motor and lead to expensive repairs or replacements.
Taking the time to program and maintain your LiftMaster safety sensors pays off in the long run, giving you peace of mind every time you use your garage door.
Learning how to program your LiftMaster safety sensor doesn’t have to be daunting. With the right tools and a simple understanding of how the sensors operate, you can take charge of your garage door’s safety. Remember to align your sensors, program them carefully, and troubleshoot basic issues.
By verifying that your safety sensors are correctly programmed, you’re not just keeping your garage door functioning smoothly—you’re also ensuring the safety of your family and property. So grab your tools and get to it; your garage door will thank you!