
Programming a Liftmaster remote might sound a bit daunting, especially if you’re not tech-savvy. But trust me, it’s easier than it might seem. In this guide, we’ll walk through the steps to program your remote, troubleshoot common issues, and even explore the difference between different types of Liftmaster remotes. Let’s dive in!
Types of Liftmaster Remotes
Understanding the various types of Liftmaster remotes is the first step in our programming journey. Liftmaster offers several models, each with its unique features. The most popular ones include:
- Single-button remotes – Ideal for basic operation. These remotes control one door only.
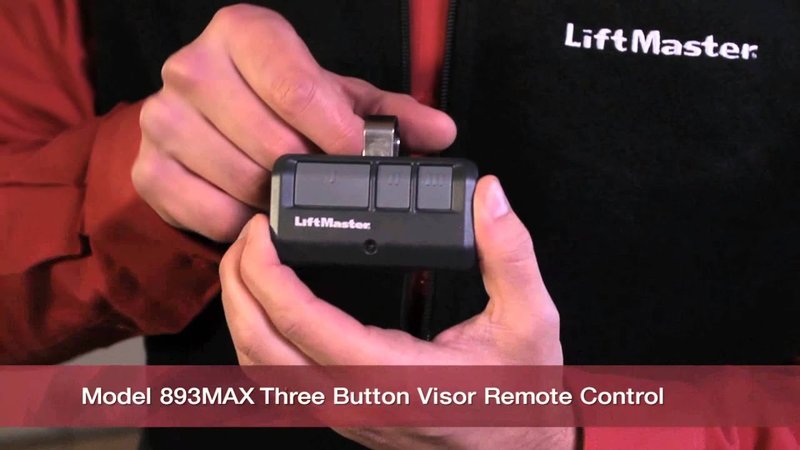
- Three-button remotes – A little more versatile, these can operate up to three different garage doors.
- Keychain remotes – Compact and handy for on-the-go use.
- Smart remotes – These can connect to Wi-Fi, allowing you to control your garage door remotely via phone apps.
You’ll want to identify which remote you have before the programming process begins. It’s just like knowing your car model before heading into a garage; it makes things smoother.
Gathering Necessary Tools
Before we get started with the programming, let’s gather some tools. Luckily, you won’t need much. Here’s a quick list of what you need:
- Your Liftmaster remote
- Your garage door opener
- A ladder (if necessary) – If your opener is mounted high up, you might need this.
- A fresh battery – A low battery can cause programming problems.
Having everything at your fingertips will make the process smoother and avoid any frustrating interruptions.
How to Program Your Liftmaster Remote
Now, let’s get into the nitty-gritty of programming. The steps will vary slightly depending on your specific model, but here’s a general guide.
1. Locate the ‘Learn’ Button:
This is often found on the back or side of your garage door opener. It might be a bit tricky to spot, so don’t hesitate to grab that ladder if needed.
2. Press the ‘Learn’ Button:
Once you’ve found it, press and hold down the ‘Learn’ button. A small LED light should illuminate. This means the opener is ready to sync with your remote.
3. Prepare Your Remote:
Grab your remote and press the button you want to program. You might have to hold it for a few seconds until you see the LED light on the opener blink or go out. This indicates that the remote has been successfully paired.
4. Test the Remote:
After programming, step back and push the button on your remote. If all went well, your garage door should start moving!
It sounds straightforward, right? But sometimes things don’t go according to plan. If the remote doesn’t work, we’ll talk about troubleshooting right after this.
Troubleshooting Common Issues
So, you’ve followed all the steps, but the remote isn’t working. What gives? Here are some common issues and their solutions:
- Dead batteries: It’s surprising how often this is the culprit. Replace the batteries in your remote, and you could solve the problem with ease.
- Interference: Make sure nothing is obstructing the signal between your remote and the opener. This could be walls, furniture, or even static from other electronics.
- Incorrect programming: It can happen to the best of us. Repeat the programming steps carefully, ensuring each button press is performed properly.
- Outdated opener: If your garage door opener is old, you might need a replacement to make it compatible with your remote.
Sometimes troubleshooting requires some detective work, so be patient—and don’t hesitate to start over if needed.
Resetting Your Liftmaster Remote
If all else fails, resetting your Liftmaster remote might be necessary. This is like giving your remote a fresh start. Here’s how you can do it:
1. Take out Batteries: Open up the remote and remove the batteries. Wait for about 30 seconds.
2. Reinstall Batteries: Put the batteries back in, making sure to observe the correct polarity.
3. Reset Programming: Most Liftmaster remotes have a small reset button on the circuit board. Press this button, which will clear all programming.
4. Re-program: Once reset, you can follow the previous programming steps again.
Eureka! You should be back in business.
Alternative Options: Universal Remotes
If you find that programming your Liftmaster remote is too tricky—or if you just want a backup—you might consider getting a universal remote. These remotes can work with multiple brands and are often easy to program.
When shopping for a universal remote, keep the following in mind:
- Compatibility: Ensure it explicitly states compatibility with Liftmaster.
- Features: Look for remotes with the same features you love about your current remote.
- Reviews: Check online reviews to see how easy or reliable others have found it.
Sometimes trying something new can save time and effort in the long run!
When to Call for Help
If you feel overwhelmed, that’s completely okay! Sometimes, DIY isn’t always the best route. If you’ve tried everything and still can’t get your remote to work, it might be time to call a professional. They can quickly diagnose the issue and help you find a solution.
Remember, your garage door is a crucial part of your home security. Don’t hesitate to seek help if you’re struggling.
In conclusion, programming a Liftmaster remote is a straightforward process that can easily be tackled with the right knowledge and tools. From understanding your remote type to troubleshooting any issues, you’ve got the power to regain control of your garage door. So the next time you pull up home with groceries in hand, you can rely on your trusty remote to do its job. Happy programming!