So, whether you’re trying to add a new remote or reset your existing one, the process is straightforward. We’ll walk through the steps together. Grab your tools and let’s dive into how to program that Liftmaster circuit board effectively.
Understanding the Liftmaster Circuit Board
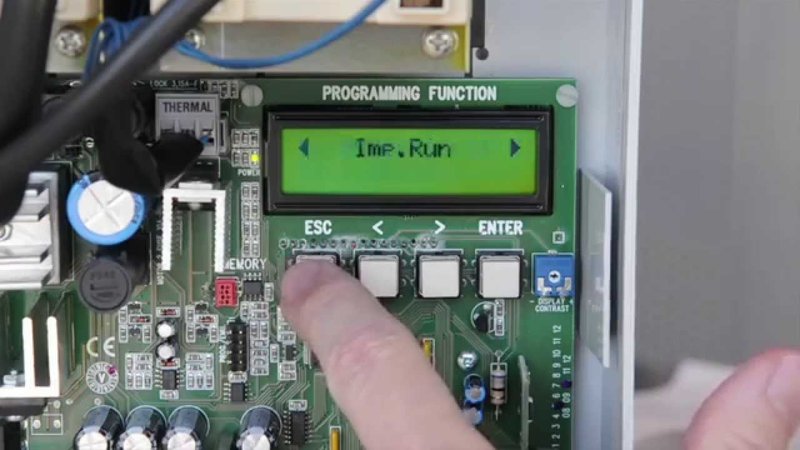
Before we dive into programming, let’s get familiar with the Liftmaster circuit board itself. You can think of it like the CPU in your computer. It’s responsible for processing commands from your remotes and ensuring that your door operates smoothly.
Most Liftmaster garage door openers come with a circuit board that contains specific dip switches or programming buttons. These parts communicate with your remotes. Each remote has a unique code that tells the circuit board what to do. Understanding this can help demystify the programming process—you’re just teaching the door how to recognize its remote!
When you’re looking at the circuit board, find the learn button; it’s typically part of the larger assembly. Once you know where it is, you’re halfway there.
Gather Your Tools
Programming the Liftmaster circuit board doesn’t require a toolbox filled with fancy gadgets. Most of the time, all you need are:
- Your Liftmaster garage door opener
- The remote control you want to program
- A small flathead screwdriver (optional, depending on your model)
The small flathead screwdriver may come in handy for loosening screws or opening the cover on your opener. Make sure to have your remote handy as you’ll be using it to sync with the circuit board. With these simple tools, you’re ready to get to work!
Locating the Learn Button
The next step is to pinpoint that all-important learn button on your Liftmaster circuit board. Depending on your model, this button could be situated on the back or bottom of the motor unit. Here’s how to find it:
1. Turn Off Power: For safety, start by unplugging the opener. You don’t want any surprises while you’re working.
2. Check the Manual: If you have the owner’s manual, it will show the exact location of the learn button. This is often marked with “Learn” or “Program.”
3. Identify the Color: Know that the button can be either yellow, red, or green, depending on your model.
Once you’ve located this button, you’re one step closer to programming your lift system!
Programming the Remote
Now it’s time for the fun part—programming your remote. Here’s how to sync it up with the Liftmaster circuit board:
1. Press the Learn Button: After finding the learn button, press it once. You should see a light illuminate on the opener.
2. Push the Remote Button: Within 30 seconds, press and hold the button on your remote that you want to use. You’ll know it worked when the opener light blinks or the motor makes a sound.
3. Test the Remote: Release the button and test the remote by pressing it again. If the door opens or closes, congratulations—you’ve successfully programmed it!
If you’re met with silence, don’t panic! Check the battery in the remote, or you may need to repeat the steps.
Troubleshooting Common Issues
Sometimes things don’t go as planned, and that’s just part of the process. If your remote doesn’t seem to sync with the Liftmaster circuit board, try these troubleshooting tips:
– Check the Batteries: Make sure the batteries in your remote are fresh. Low batteries can affect the signal strength.
– Reprogram If Necessary: It’s possible the remote lost its programming. Simply repeat the programming steps to reset it.
– Look for Interference: Ensure that there aren’t any obstacles or interference, like metal objects or other electronic devices, preventing the signal from reaching the circuit board.
– Inspect Connections: If your opener was recently installed, double-check all the wiring and connections to ensure everything is firmly attached.
By methodically checking each of these areas, you can pinpoint the source of the problem and get back to smoothly operating your garage door.
Understanding Limit Settings
After successfully programming your remote, it’s good to adjust the limit settings for the door operation. This ensures that the door opens and closes to the right positions:
1. Find the Limit Screws: These are typically located on the side or back of the motor unit. There are usually two screws: one for “up” and one for “down.”
2. Adjust the Settings: If the door isn’t opening or closing fully, adjust the respective screw in small increments. Turning it clockwise increases the travel distance, while counterclockwise decreases it.
3. Test Again: After making adjustments, test the door operation with the remote to check if the limits are functioning properly.
Adjusting these limits might seem tedious, but it guarantees that your door operates reliably and smoothly without risking any potential damage.
Why Maintenance Matters
Regular maintenance is crucial for keeping your Liftmaster circuit board and garage door opener in good condition. Think of it as putting fuel in your car; without it, you might end up stranded!
Try to:
– Inspect Regularly: Check the wiring, hardware, and light bulbs periodically.
– Clean Components: Dust and debris can accumulate, hindering performance. A simple wipe can go a long way.
– Test the Sensors: Ensure the safety sensors are clear of obstructions and function as they should.
By making maintenance a regular habit, you’ll extend the lifespan of your garage door opener and avoid unnecessary headaches down the road.
What to Consider When Replacing Your Remote
Eventually, you might find yourself needing a new remote. When that time comes, consider whether a universal remote or a brand-specific one is the way to go. Here are some points to weigh:
– Cost: Universal remotes can be more budget-friendly, but sometimes they lack specific features that brand remotes have.
– Compatibility: Ensure that any remote you choose is compatible with your Liftmaster model.
– Ease of Use: Some users prefer the features and ease of programming that come with the original brand remotes.
Remember, just like choosing a phone case, you want a remote that fits both your garage door and your lifestyle!
So there you have it—the steps to program your Liftmaster circuit board. It’s all about understanding the components and taking it step by step. With a little practice, you’ll handle programming like a pro. Just remember that your garage door is like a trusty friend in your daily life, and taking the time to care for it means fewer surprises ahead!
