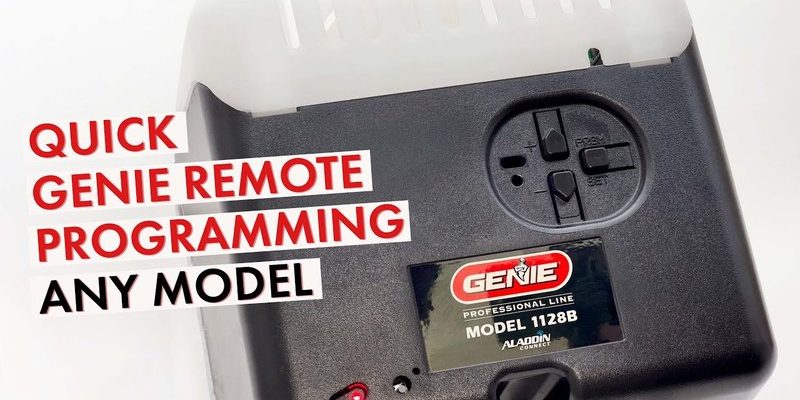
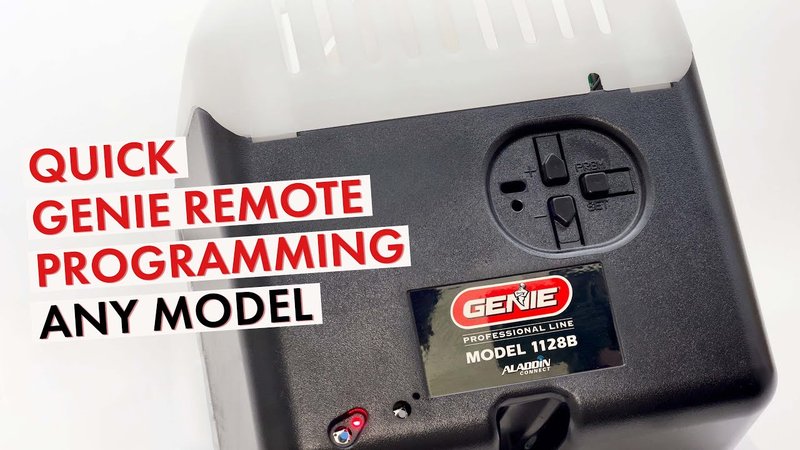
What Is a Genie Motor Unit?
Your Genie motor unit is at the heart of your garage door system. It’s where all the magic happens! Essentially, this unit is responsible for powering the door up and down. When you press the button on your remote, it sends a signal to the motor unit, telling it to either open or close the door. You might think of it as the brain of your garage door system, coordinating everything behind the scenes.
These units vary in design, but they typically come equipped with features like safety sensors, which help prevent accidents if something is in the way of a closing door. They’re designed to be user-friendly, but that doesn’t mean you won’t occasionally need to program your remote to ensure it works seamlessly with the motor. Having your remote synced correctly is crucial for the smooth functioning of your garage door system.
Types of Genie Remotes
You might come across different types of Genie remotes, each having its special features. Most commonly, you’ll find the single-button, multi-button, and keychain remotes. Here’s a quick rundown:
- Single-button remote: This is the simplest version, allowing you to control one door. It’s perfect for basic needs.
- Multi-button remote: This version can control multiple doors or devices, which is ideal if you have more than one garage door.
- Keychain remote: A compact option that you can easily attach to your keys, giving you quick access to your garage door.
Each remote has its own programming process. Before diving into how to program it, make sure you know which type of remote you have. Don’t worry—we’ll cover the specifics for each below!
Preparing to Program Your Genie Motor Unit
Before you start programming your Genie motor unit, grab your tools. Well, not tools in the usual sense—just your remote and your Genie motor unit manual will do! Make sure your remote has a fresh battery, as a weak battery can lead to frustrating performance issues. You wouldn’t want to find yourself mid-programming with a dead remote, right?
Next, locate the learn button on your Genie unit. This is usually found on the back or side of the motor unit. It might be a little tricky to find, but turn your unit around and look for a small button, often paired with a light. This learn button is your gateway; pressing it allows you to input the new remote’s code onto the unit.
As you prepare, consider where your Genie unit is located. If it’s hard to reach, you might want to gather a ladder or a sturdy step stool. Safety first!
Steps to Program Your Genie Remote
Now that you’re ready let’s get into the nitty-gritty of programming your remote. Here’s a straightforward, step-by-step process to follow:
1. Press the Learn Button: Start by pressing the learn button on the Genie motor unit. Hold it until the indicator light turns on.
2. Select Your Remote: Within 30 seconds, press and hold the button on your remote that you want to program.
3. Wait for Feedback: Keep holding the button until you see the light on the motor unit blink, indicating the signal has been received. This usually takes a few seconds.
4. Test It Out: Try pressing the button on your remote again. Your door should move! If it doesn’t, repeat the steps or check if the battery in your remote needs replacing.
This method works for most Genie remotes, but always check your specific remote’s manual for any additional instructions. Programming your remote should only take a few minutes—much easier than assembling that new IKEA furniture, right?
Troubleshooting Common Issues
Even with the best instructions, things can sometimes go awry. If your remote isn’t working after programming, don’t panic! Here are a few common issues and quick fixes:
– Weak Battery: First, check the battery in your remote. Even a slightly drained battery can lead to malfunction.
– Interference: Sometimes, nearby electronics or thick walls can interfere with the signal. Try moving closer to the unit when programming or testing.
– Improperly Programmed Code: If you think the code didn’t register, run through the programming steps again and see if that resolves the issue.
Addressing these small hiccups can save you a trip to the repair store and a lot of time. Plus, troubleshooting is a bit like solving a mystery; a little persistence usually pays off.
When to Reset Your Genie Motor Unit
You may find yourself in a situation where you need to reset your Genie motor unit completely. This can be useful if you’ve lost your remote or if multiple remotes are clashing with each other. Here’s when and how to do that:
1. When You Get a New Remote: A new remote may not automatically sync with your unit, so resetting and then programming is essential.
2. If You’ve Moved or Changed Batteries: Moving your unit or changing the batteries can sometimes cause lost connections.
3. For Multiple Remotes: If family members or friends have their own remotes, it’s a good idea to reset the unit to ensure only those you trust can operate it.
To reset, locate the learn button again and press it for about 10 seconds until the light turns off. This will clear all programmed remotes, allowing you to start fresh!
Programming your Genie motor unit might seem intimidating at first, but as we’ve seen, it can actually be quite simple! With just a little patience, you can program your remote and keep your garage door running smoothly. Remember to keep an eye on the battery life of your remote, and don’t hesitate to reset if things get a little tangled.
Soon enough, you’ll wonder how you ever managed without the convenience that your Genie motor unit provides. So go ahead and enjoy the ease of opening your garage door with just the push of a button. Happy programming!