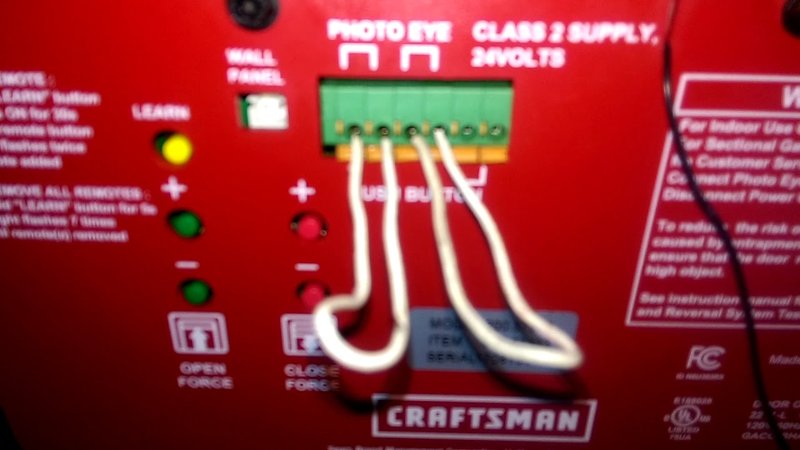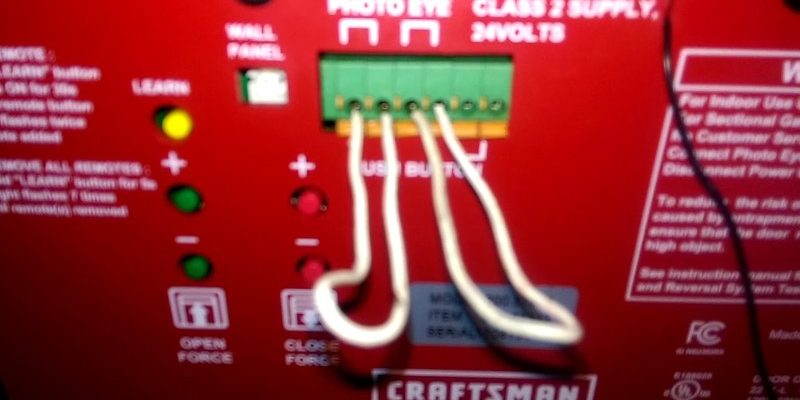
If you’ve ever found yourself scratching your head over how to program these sensors, don’t worry—it’s not as complicated as it sounds. Programming your Craftsman safety sensor is like following a recipe: you just need to take it step by step, and soon you’ll have it down pat. Whether you’re dealing with a new setup or troubleshooting an existing system, this guide will walk you through the process.
Understanding the Role of Safety Sensors
Safety sensors are designed to prevent accidents and injuries by stopping the garage door from closing if something is in the way. They work by using an infrared beam. If this beam is interrupted while the door is closing, it triggers the door to reverse or stop entirely.
Here’s why this matters: imagine you’re in a hurry, and your kid’s bike rolls out into the path of the closing door. The safety sensors can prevent that potential disaster. This feature makes your garage not just a place for your vehicle but also a safer space for your family and pets.
If you find your garage door isn’t responding properly, it could be an issue with the sensors. Before programming them, it helps to check that they are aligned and free from obstacles—like pesky cobwebs or dirt—so they can “see” clearly.
Gather Your Tools and Supplies
To get started programming your Craftsman safety sensor, you don’t need a toolbox full of complicated equipment. Here’s what you’ll typically need:
- Craftsman garage door opener with safety sensors
- Owner’s manual (in case you need to refer to it)
- Possibly a step ladder (to reach higher sensors)
- Soft cloth for cleaning sensors, if needed
- Safety glasses (if you’re working overhead)
It’s always a good idea to have your owner’s manual handy, as it might contain specific instructions or codes relevant to your model. Make sure to read through it; knowledge is power when it comes to troubleshooting!
Locating the Sensors
Now that you have your supplies, the next step is finding those sensors. On most Craftsman models, the safety sensors are located at the bottom of the garage door tracks—usually about six inches above the ground.
You might see two sensors facing each other, like a pair of friends having a conversation. One sensor sends out a signal, while the other receives it.
Check for any obstructions or dirt that could block the sensors. If they aren’t aligned properly, they might not work. You can easily fix this by adjusting the sensors slightly until they are at the same height and pointed at each other.
Programming the Safety Sensors
Here’s where the magic happens! Follow these steps to program your Craftsman safety sensors:
1. Disconnect the power: Safety first! Unplug the garage door opener or remove the surge protector before getting started.
2. Align the sensors: Use your hands to gently adjust the sensors until they are lined up properly. You might need to bend down or use your ladder for this.
3. Reconnect the power: Plug the opener back in and watch to see if they light up. Most sensors will show a green light when working correctly.
4. Test the system: Manually close the garage door and see if it stops when you walk through the beam of light. If it doesn’t, check the alignment and try again.
Proper programming ensures that your safety sensors are vulnerable to interruptions but are quick to react. This can save lives and safeguard your property.
Troubleshooting Common Issues
Sometimes, even when you think everything is set up perfectly, issues can still occur. Here are some common problems you might face:
– Misalignment: If the sensors aren’t perfectly aligned, they won’t function. Just a slight bump can throw them off, so be sure to double-check.
– Dust and Debris: A dirty lens can block the sensor’s view. Gently wipe them down with a soft cloth to ensure they catch that all-important infrared signal.
– Wiring Issues: Inspect the wires connected to the sensors for any frays or breaks. If any wiring looks damaged, it may need repair or replacement.
If you try these steps and the sensors still don’t respond correctly, you might need to refer to the owner’s manual for specific troubleshooting steps or contact customer support.
Considerations for Advanced Users
If you’re feeling adventurous, there are a few advanced tips to keep in mind:
– Check the Remote: Ensure your Craftsman remote is functioning properly since it plays a key role in communication with the opener. Sometimes, simply reprogramming it can resolve sensor issues.
– Alternative Remote Options: If you find your Craftsman remote is outdated or troublesome, consider investing in a universal remote. Make sure it’s compatible with Craftsman models to avoid headaches.
– Syncing Other Features: As you get comfortable with the safety sensor programming, you might consider syncing additional features like keypads. This expands your control and accessibility.
The beauty of working with Craftsman products is the level of support and resources available. When you’re well-informed, there’s nothing to hinder you from getting the most out of your garage door system.
Final Thoughts
Programming your Craftsman safety sensor doesn’t have to be a daunting task. With a few easy steps, you can ensure your garage door operates smoothly and safely. Remember, it’s all about taking your time and being thorough with each step.
If at any point you feel overwhelmed, don’t hesitate to refer back to this guide or consult your owner’s manual. Garage door safety should never be rushed. Ultimately, these sensors are there to protect you, your family, and your belongings. A little attention today can lead to a safer tomorrow. Happy programming!
