Programming your Craftsman keypad might seem a bit daunting at first, but it’s not rocket science. Think of it like setting the time on a microwave—once you get the hang of it, it becomes second nature. This handy little device not only offers quick access to your garage but also boosts your home’s security. Let’s dive into how to set it up so you can enjoy hassle-free entry.
Tools You’ll Need for Programming
Before we jump into the programming process, let’s gather everything you need. Honestly, it’s like prepping before a big meal. You don’t want to be halfway through cooking and realize you forgot a key ingredient! Here’s a basic list:
- Your Craftsman garage door opener – Ensure it’s within range.
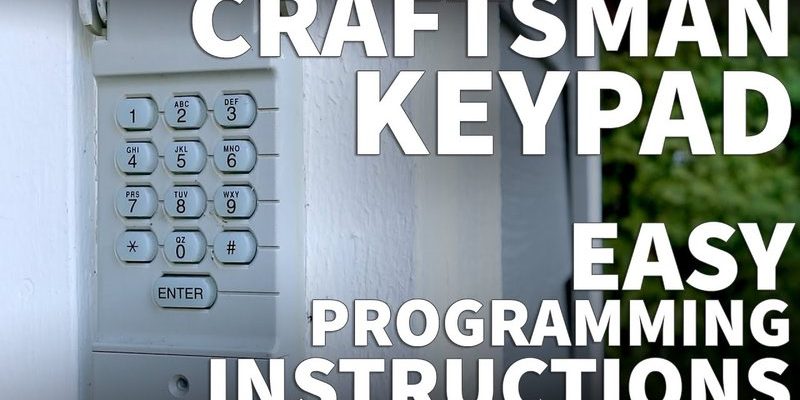
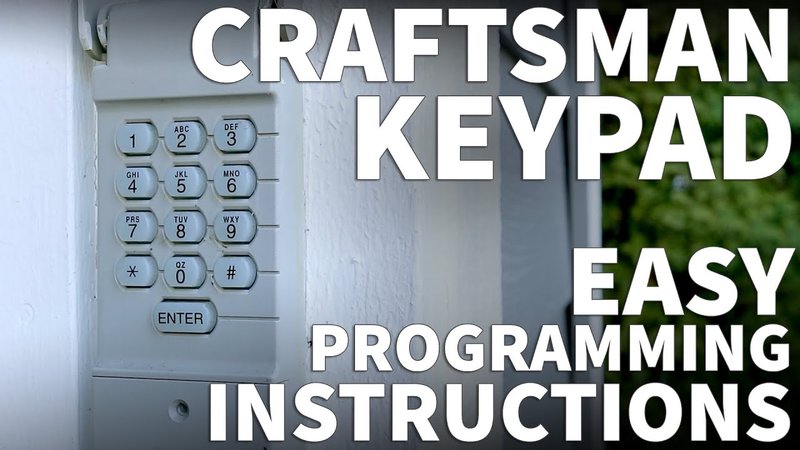
- The Craftsman keypad – This is where you’ll enter your secret code.
- New batteries – Fresh batteries for your keypad ensure it functions effectively.
- Your user manual – This can be a lifesaver if you get stuck.
Having these items on hand makes the whole process smooth. Imagine ultimately having the freedom of access at your fingertips without the stress of last-minute scrambling!
Finding Your Garage Door Opener’s Learn Button
Now, let’s take a closer look at where your Craftsman total garage door opener’s learn button is located. This is the brain behind pairing your keypad with the opener, and without it, we’re at a standstill.
Typically, you’ll find the learn button on the back of the opener unit. Look for a small, brightly colored button. Sometimes it’s yellow, red, or purple. Once you spot it, just press it briefly. Don’t hold it down like it’s a test! This tells the opener that it’s ready to “listen” for a new code.
Here’s the thing—some models might have the learn button hidden under a light cover. Pull that off gently if it’s in your way. Trust me; it’s a small task that can yield big rewards. You wouldn’t want to miss any details, would you?
Programming Your Keypad
Alright, time to get the keypad programming underway! Think of this like entering a secret clubhouse—only members (or codes) get in. Here’s a step-by-step guide to help you through it:
1. **Press and hold the ‘
2. Enter your four-digit code you wish to set.
3. Press the ‘Enter’ button to commit this code. You should see the lights on the keypad blink to confirm it worked.
Once you’ve done this, your keypad should now be programmed to your garage door opener. Doesn’t that feel great? Now you can enter with just a few taps!
Testing Your New Code
Just like any new gadget, testing is crucial. Let’s ensure that everything works seamlessly together. To test your new code, step outside your garage, shut the door, and head over to the keypad.
Enter your newly set four-digit code, and remember to hit the ‘Enter’ button again after typing. You should hear the garage door motor whir to life as the door opens. If it works, you’ve nailed the programming!
If it doesn’t work, don’t worry. Let me explain what might be going on. Sometimes, the keypad might need a simple reset or the batteries could need changing. It’s all a part of the troubleshooting journey.
Troubleshooting Common Issues
Even with the best of intentions, things can sometimes go wrong. Let’s tackle a few common issues together:
– Keypad not responding: First, check the batteries. They could be dead or improperly installed. Also, ensure the keypad is within range of the opener.
– Code not working: If it worked before but now doesn’t, hold down the learn button on the opener, and try reprogramming the keypad. Sometimes a fresh start is all it needs.
– Interference: Other devices can sometimes interfere with your keypad. Check for anything electronic nearby. They might create a signal interference, making it hard for your devices to communicate.
In troubleshooting, patience is key. The chances are high that if you tackle a small issue, you’ll get everything fixed quickly.
Resetting Your Craftsman Keypad
Need to reset your Craftsman keypad back to factory settings? It’s easier than you think. Maybe you’ve changed your mind about which code you want, or perhaps there’s been a security scare. Here’s how to do it:
1. Identify the learn button on the garage door opener.
2. Press and hold this button until the light turns off; this typically takes around 6 seconds.
3. This action erases all codes, including your keypad code.
Now your keypad is factory reset, ready for a new start. Just follow the programming steps above again, and you’ll be set.
Maintaining Your Craftsman Keypad
Now that you have everything programmed, you will want to maintain your keypad for the long haul. Think of it like regular car maintenance—you keep tabs on it to avoid bigger problems down the line.
– Battery check: Regularly check the keypad’s batteries, especially if you notice a delay in response. Changing them every 6-12 months is a safe practice.
– Outdoor elements: If your keypad is outside, clean it gently from time to time to avoid wear and tear from the weather. A quick wipe can keep those buttons functioning smoothly.
– Update codes regularly: Just like you would change your passwords, updating your keypad code periodically adds an extra layer of security. It keeps your garage safe and sound.
Incorporating these simple maintenance points can save you from headaches in the future.
In conclusion, understanding how to program a Craftsman keypad unlocks convenience and security for your home. Whether you’re coming home from a long day or just heading out for a quick errand, this small device packs a powerful punch. With the right steps, a little patience, and a willingness to troubleshoot, you can master your Craftsman keypad and enjoy easy access to your garage effortlessly. Happy programming!