In this guide, we’ll dive into programming the Craftsman control panel, whether you have a wall-mounted unit or a remote control. It doesn’t matter if you’re a tech whiz or someone who prefers to stick to the basics; I’m here to break it down so you can stress less and enjoy the ease of your Craftsman opener.
Understanding Your Craftsman Control Panel
Before diving into the programming steps, it’s crucial to understand what you’re working with. Your Craftsman control panel usually comes with buttons that allow you to operate your garage door, a light that indicates status, and perhaps a lock feature to prevent unauthorized access. This panel is your command center, and knowing how it works is half the battle.
Most Craftsman models come equipped with a wireless remote as well. This remote is what gives you the freedom to open your garage door from inside your car or while carrying groceries. Familiarizing yourself with the buttons on both your control panel and remote will make the programming process much more straightforward.
Let’s talk briefly about the types of Craftsman remote controls available. If yours uses a code on a small sticker usually found inside the battery compartment, it’s a model called a “dip switch.” On the other hand, more modern models use a “rolling code” technology that changes the access code each time the remote is used. Understanding which type you have affects how you program your system.
Gathering Your Materials
Before getting started, gather what you need for this project. You’ll want to make sure you have:
- Your Craftsman remote control
- Access to the control panel (usually mounted near the garage door)
- A step ladder (if your panel is hard to reach)
- A user manual (if you have it on hand for reference)
Having everything ready can make the process smooth and less frustrating. Trust me; you don’t want to get halfway through just to realize you’re missing the remote control or the ladder.
You might also want a friend to help if you’re particularly unsure about balancing on that ladder. Plus, they might appreciate being first in line for the garage door opener once it’s up and running!
Programming Your Craftsman Control Panel
Now that you have all your materials in place, it’s time to get into the nitty-gritty. To program your Craftsman control panel, follow these simple steps, and you’ll be in and out before you know it.
1. Locate the Learn Button: This button is usually found on the back of the control panel. It might be labeled as “Learn,” “Programming,” or even a small dot in some models. Pressing this button activates the programming mode.
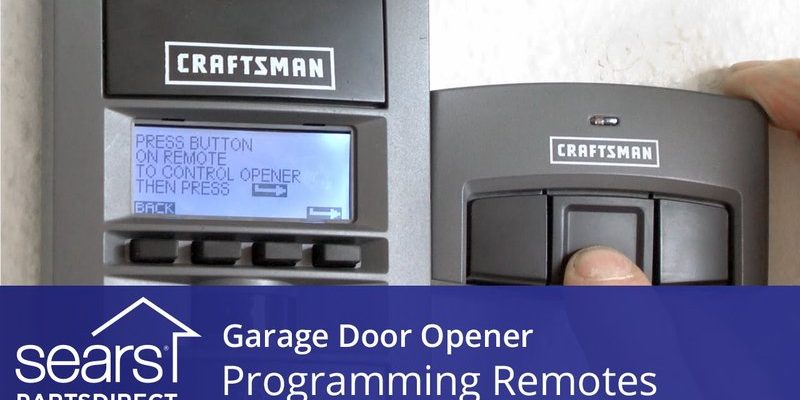
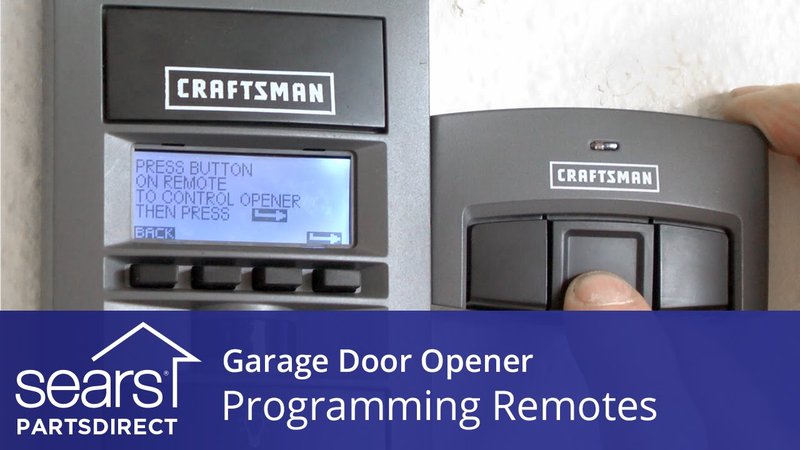
2. Press the Learn Button: Once you’ve found it, press and release the “Learn” button. A light on the control panel should illuminate, indicating that you are now in the programming mode.
3. Input Your Remote Control: Take your Craftsman remote and press the button you want to program. Hold it down for a few seconds until you see the light on the control panel blink or turn off. This means your remote has successfully paired with the opener.
4. Test the Remote: Hit the button you just programmed to see if the garage door responds. If all went well, you should see your garage door moving up or down without a hitch!
If the door doesn’t respond, don’t panic. It could be that you need to reset the remote or check the batteries. Also, ensure there’s no obstruction or blockage in the path of the garage door.
Syncing Additional Remotes
If you’re like most people, you might have more than one remote for your Craftsman garage door opener. Adding another remote is just as easy! Just repeat the steps above for each additional remote you’d like to program. The best part?
Your control panel can usually handle multiple remotes, especially if it employs that nifty rolling code technology. Just remember that you need access to the learn button each time you want to add a new remote.
If you run into trouble, keep in mind that sometimes a simple battery change can save the day. Lifespan for batteries in remotes varies, but it’s usually around 1-2 years, so if yours are older, it’s worth considering a swap.
Troubleshooting Common Issues
Even with instructions this simple, hiccups can happen. Here are some common troubleshooting tips if things don’t go quite as planned:
– Remote Not Responding: If your remote controls refuse to communicate with your opener, check the batteries first. They might be drained. After changing the batteries, try the programming steps again.
– Panel Won’t Enter Programming Mode: If pressing the learn button doesn’t activate the light, make sure it’s not blocked by debris or damaged in some way.
– Garage Door Only Moves Partially: This could indicate a misalignment or a sensor issue, which is separate from the control panel programming. Make sure nothing is blocking the sensors and that they’re properly aligned.
Don’t be afraid to consult the user manual for more advanced troubleshooting steps tailored for your model. Honestly, each model can have its quirks, and knowing what those are can save you a lot of time and headache.
Resetting Your Craftsman Control Panel
Sometimes it’s best to start fresh. If you’ve made a mistake or if the remotes just won’t sync, resetting the control panel may be necessary. Here’s a general way to go about it:
1. Locate the Reset Option: Depending on the model, this could be a specific button or might involve some steps like holding down the learn button for an extended period.
2. Follow the Reset Process: Once you find the reset option, follow the instructions in your manual carefully to reset the entire system.
3. Reprogram Everything: After a proper reset, you’ll need to go through the programming steps again for all remotes and any additional code input required.
This can feel like a lot of work, but think of it as cleaning out your closet. Sometimes, a fresh start is what you need.
Best Practices for Maintaining Your Craftsman Opener
Once you’ve programmed your Craftsman control panel successfully (pat yourself on the back!), there are a few best practices to keep your system running smoothly:
- Regularly check battery levels in the remote controls to ensure steady operation.
- Inspect the sensors regularly to keep debris from obstructing them.
- Keep the control panel clean from dust and grime to maintain clear signals.
- Test your remotes every few months to catch any issues early on.
By keeping up with these practices, you’ll enhance the longevity and performance of your Craftsman system. It’s all about maintaining what you own—just like you wouldn’t let your car go without oil changes.
Programming your Craftsman control panel doesn’t have to be a complicated endeavor. With a little patience and the right steps, you can have a fully functioning system in no time. Remember that understanding how your remote works in tandem with your control panel is key to making your garage door operate smoothly.
If you encounter any bumps along the way, refer back to this guide for simple troubleshooting and effective solutions. Ultimately, the more you familiarize yourself with your Craftsman garage door opener, the easier it’ll be to manage. And once you’ve got it programmed, enjoy the convenience of a system that works just for you. Here’s to stress-free garage access!