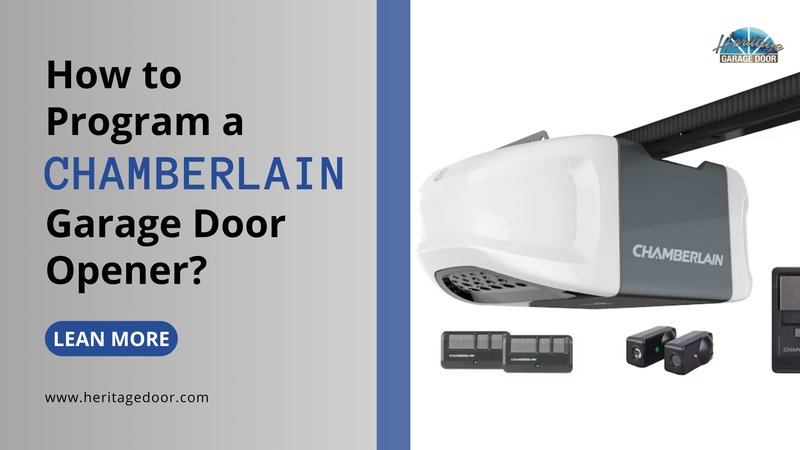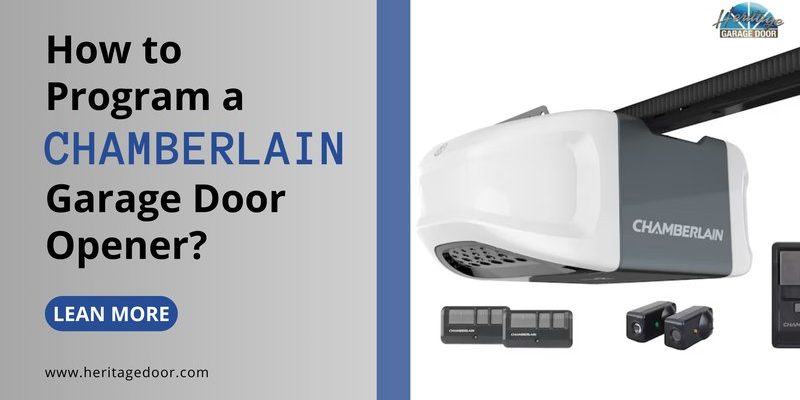
Chamberlain is among the top brands in garage door technology, and they make it easier than ever with their user-friendly remotes. Whether you’re pairing their mini remote or syncing a smart device, the process can be smooth if you follow the steps. So, let’s get into it and get that opener working like a charm!
Understanding Your Chamberlain Garage Door Opener
Before diving into the programming process, it helps to understand what you have. Chamberlain garage door openers typically come in a few different types: chain drive, belt drive, and screw drive. Each has its unique features but programming them generally follows the same pattern. You might have a traditional remote, a keypad, or even smartphone compatibility with certain lift systems.
The best way to identify your specific model is to check the owner’s manual or the label on the motor unit itself. Often, the model number is right there on the side—quick and easy! If you don’t have the manual, you can find it online by searching your model number along with “manual.” This is your start point; it’ll have essential details about programming and troubleshooting.
Getting Your Remote Ready
Before you can program your garage door opener, you need to prep your remote. This part is like getting your playlist ready by choosing your device. Start with ensuring that the remote has fresh batteries. You wouldn’t want to dive in only to find out your remote is a dud.
To change the batteries, look for a small latch or tab on the back of the remote. Gently push it to reveal the battery compartment. Replace the old batteries with new ones, paying attention to the (+) and (−) markings. Once you close it up, give it a test push. If the light on the remote flashes, you’re good to go!
Programming the Remote to the Opener
Now that your remote is primed and ready, let’s get to the meat of programming your Chamberlain garage door opener. First, locate the ‘Learn’ button on your garage door opener. This button is usually found on the back or side of the unit, and it’s often a bright color like orange or green, so it stands out.
Next, press and hold the ‘Learn’ button until the indicator light turns on and then off—it usually takes about six seconds. Now, within 30 seconds, press and hold the button on your remote that you want to program. If you’ve done this correctly, the garage door opener light should blink, signaling that it’s paired successfully.
Congrats! You’ve just programmed your remote. That wasn’t so hard, right?
Using a Keypad for Entry
If you’re looking to add convenience, programming a keypad is another excellent option. A keypad allows you to control your garage door without a remote; it’s like having a secondary playlist of access. To start, mount the keypad on an exterior wall near your garage door. Make sure it’s in a spot that you can easily reach.
Once it’s in place, you’ll follow a similar process as with your remote. Press the ‘Learn’ button on your opener until the indicator light confirms it’s ready for pairing. Go to your keypad and input your desired four-digit code followed by the ‘Enter’ button. The lights on the garage door opener should blink to indicate successful programming.
Remember, you can change your code anytime—think of it as updating your playlist whenever you want something fresh!
Troubleshooting Common Issues
Sometimes, things don’t go as smoothly as planned. If your remote isn’t working after programming, don’t panic. Here are a few quick troubleshooting tips:
- Check battery installation: Ensure they’re oriented correctly, as mentioned earlier.
- Repetition: Sometimes it helps to go through the programming steps again if the garage door doesn’t respond.
- Check distance: Make sure you’re within range of the garage door opener when trying to program.
- Reset the system: If all else fails, locate the reset button (often works like the learn button) and follow the manufacturer’s instructions.
You might find that some issues are mere hiccups. Taking a deep breath and following these steps can often lead you back on track.
Now that you know how to program your Chamberlain garage door opener, you can enjoy the convenience of opening your garage at the touch of a button—or code. Remember, programming isn’t just a one-and-done task; as mentioned, you can adjust or add more remotes and keypads whenever needed.
Take a moment to test everything and familiarize yourself with your newly set-up system. If anything goes awry, don’t hesitate to revisit the steps or consult the manual for additional troubleshooting. With practice, you’ll find it as easy as switching between your favorite playlists. Enjoy that seamless access to your garage knowing you’ve tackled this task like a pro!
