Different brands might have slightly different processes, but the general idea is fairly simple across models. The remote communicates with the opener unit, just like your phone connects to your Wi-Fi. Whether you have a Chamberlain, LiftMaster, Genie, or Craftsman, the basics are similar. Let’s break it down step-by-step and make it as easy as pie.
Why Pairing Your Garage Door Opener Remote Is Important
Pairing your new garage door opener remote is crucial for a couple of reasons. First off, it ensures that the remote is programmed specifically for your garage door unit. Think of it as giving your remote a VIP pass to operate your door. Without pairing, the remote will just be a pretty piece of plastic—useless in your pocket.
Secondly, it enhances security. When you make sure your remote is synced with your opener, it minimizes the chances of someone else gaining access to your garage. It’s like changing the locks on your door after moving into a new place. By pairing your remote, you’re essentially creating a unique code between the two devices.
Gathering the Necessary Tools
Before diving into the pairing process, it’s important to ensure you have everything you need. This will make your experience smooth and hassle-free. Here’s what you’ll want close by:
- Your new garage door remote: Make sure it’s compatible with your opener.
- Your existing garage door opener unit: This is where the magic happens.
- Step ladder (if needed): For reaching the opener, especially if it’s mounted high.
- A friend or family member (optional): Sometimes it’s easier to have someone help you out.
Getting these items ready beforehand will save you time and potential frustration later. Now that you have your materials in order, you’re on the right track!
Understanding the Types of Garage Door Remotes
Garage door remotes come in various types and brands, and knowing which one you have can simplify your pairing process. Most commonly, you might encounter:
- Standard Remotes: These usually have a few buttons and can open multiple doors.
- Keychain Remotes: Compact and easy to carry, these are great for quick access.
- Universal Remotes: Designed to work with various brands, these can be a lifesaver if you have multiple types of doors.
If you’re unsure which type you have, check the instruction manual. Some remotes have specific codes or sequences that are important for pairing. Understanding what type of remote you have can save time during the setup.
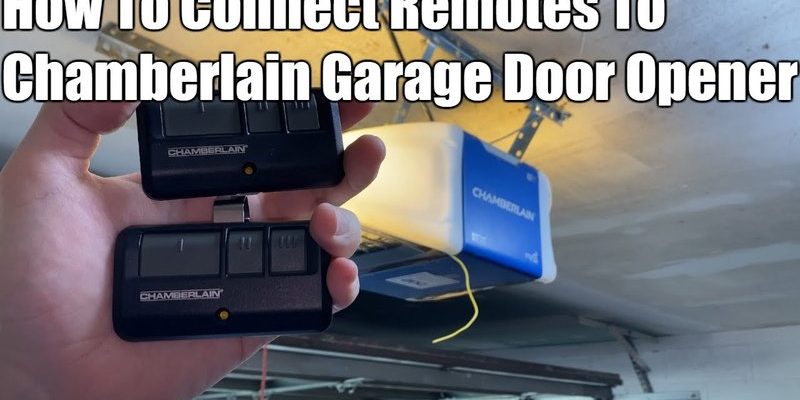
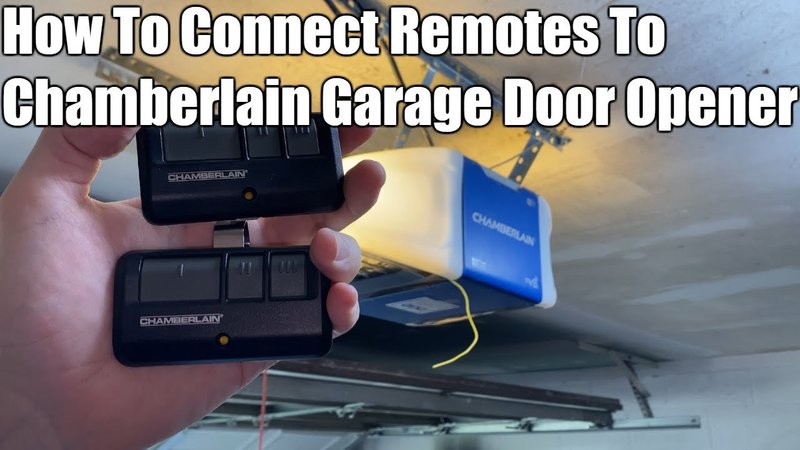
Finding the “Learn” Button on Your Opener
The next step is locating the elusive “learn” button on your garage door opener. This button is often the key to unlocking the pairing process. Here’s what to look for:
– Location: The learn button is typically found on the back or side of the garage door opener unit.
– Appearance: It may be colored differently—usually yellow, red, or orange—and labeled “Learn” or “Smart.”
– Reset Capability: Pressing and holding this button usually resets any previous pairings, giving you a fresh start.
Once you’ve found it, you’re ready for the next step in the pairing process.
How to Pair the Remote with the Opener
Now for the fun part! Pairing your new remote to the garage door opener is straightforward. Here’s a step-by-step guide:
1. Press the “Learn” button: Briefly press and release the learn button on your garage door opener. You’ll see a light blink, signaling that it’s ready for pairing. Make sure you do this within 30 seconds.
2. Press the remote button: After pressing the learn button, immediately press the button on your new remote that you want to use for opening the door. Hold it down for a second or two.
3. Watch for confirmation: The light on the opener should flash to confirm the pairing was successful. If it doesn’t, repeat the steps. Sometimes it takes a couple of tries to sync things up.
Remember, keep an eye on the light indicators. They’re your friends in this process.
Troubleshooting Common Issues
Sometimes, the pairing process doesn’t go as smoothly as you’d like. Here are some common problems and how to fix them:
– Remote isn’t working: If the remote doesn’t work after pairing, check its battery. Sometimes, low battery power can cause communication issues.
– Light on the opener doesn’t flash: If the opener doesn’t respond, you may need to reset it by holding the learn button down for 10 seconds until the light goes off. Then, try pairing again.
– Multiple remotes: If you’re adding a new remote to an existing system with other remotes, make sure none of the old remotes are interfering with the new one. You may need to reset everything.
Don’t worry if it takes a couple of tries—patience is key!
Maintenance Tips for Your Garage Door Opener
Once you’ve successfully paired your new remote, it’s a good time to think about maintaining your garage door opener to keep it running smoothly:
- Regularly check batteries: Replace batteries in both the remote and the wall control every 1-2 years.
- Inspect hardware: Look for loose screws or damaged parts that may affect operation.
- Test the door balance: You can do this by disconnecting the opener and manually lifting the door. It should stay open at halfway.
Regular maintenance can save you hassle later. A well-functioning opener enhances safety and security, giving you peace of mind.
Using Universal Garage Door Remotes
If you chose a universal garage door remote, there might be additional steps for pairing, depending on its brand. Here’s how to approach pairing a universal remote:
1. Consult the manual: Each universal remote might have specific instructions, so start by reading through the guide.
2. Enter the code: Many universal remotes require you to enter a code corresponding to your specific garage door opener brand. The code is usually listed in the manual or online.
3. Follow the same pairing process: After entering the code, follow the same “learn” button instructions to finalize the process.
Universal remotes can be handy, especially if you have different brands in your garage.
Now that you’ve paired your new garage door opener remote with the existing unit, you can enjoy the ease and convenience it brings. Just like getting a new set of keys, it can make day-to-day tasks a little smoother. Plus, the security improvements add peace of mind.
Whether you use it daily or just occasionally, knowing how to properly pair and troubleshoot your remote will ensure it functions when you need it most. So, go ahead and celebrate your accomplishment. Your new remote is ready to roll—just push that button and enjoy!