Installing a circuit board might seem daunting at first, but with a few tools and a good dose of patience, you’ll be on your way to getting your garage door back in action. So grab a cup of coffee, and let’s dive into how to install a Sears circuit board like a pro. I’ll walk you through it as if we’re tackling this together at the kitchen table, one step at a time.
Gathering Your Tools and Materials
Before you jump into replacing your circuit board, let’s gather everything you’ll need. Think of this as prepping your ingredients before cooking—it’s essential for a smooth process.
Here’s a list of tools and materials you should have on hand:
- A replacement Sears circuit board
- Screwdriver set (both Phillips and flat-head)
- Wire cutters/strippers
- Electric tape
- A multimeter (optional for testing connections)
Double-check that you have the right replacement circuit board for your specific Sears model. It’ll save you a trek back to the store. Once you have everything ready, we can move on to the next steps!
Powering Down Your Garage Door Opener
Before doing anything else, safety first! You don’t want any unexpected shocks or accidents while you’re working. Start by unplugging the garage door opener from the outlet. If your model is hardwired, shut off the power at the circuit breaker.
Think of it as putting on an apron before you start cooking: you want to protect yourself and your space. After ensuring there’s no power, you can proceed with disassembling the opener.
Secure the area where you’re working. You don’t want any accidents with children or pets running around.
Removing the Old Circuit Board
Now that you’re powered down, it’s time to carefully remove the old circuit board. Most garage door openers have a cover that protects the internal components.
1. Find the cover screws: Using your screwdriver, locate and remove the screws on the cover of your opener.
2. Take off the cover: Gently lift it off to expose the circuit board. If it’s stuck, give it a slight wiggle—not too hard, though!
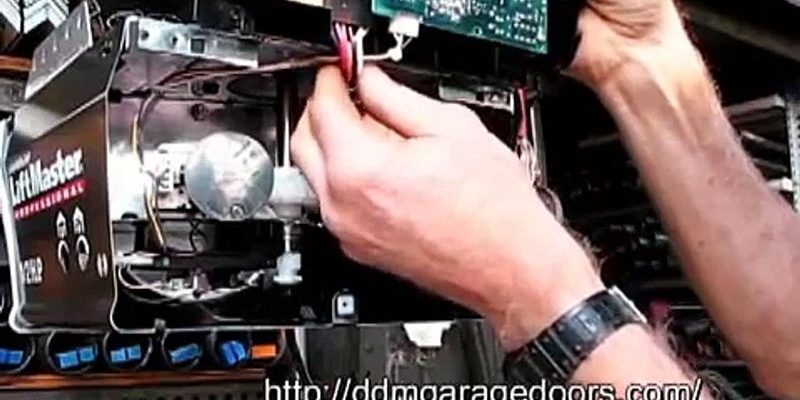
3. Disconnect the old board: You’ll see wires connected to the board. Remember, it’s important to take notes or pictures of how things are connected. This is like keeping a recipe handy while you cook. Disconnect each wire carefully, taking care not to damage them.
That’s it for the old board! You’re on your way to an upgrade.
Installing the New Circuit Board
With the old circuit board out of the way, it’s time for the new one to shine.
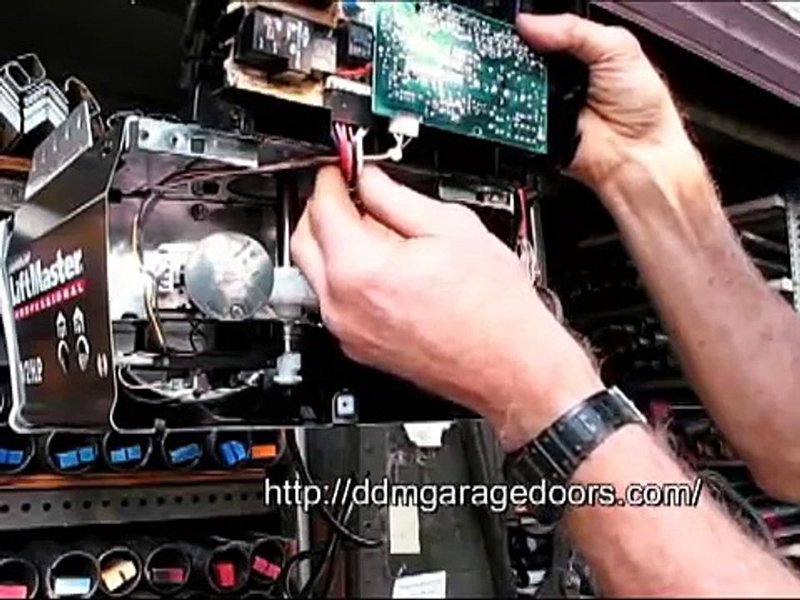
1. Position the new board: Align it with the wiring harness of your opener. This is where your earlier pictures or notes come in handy; you’ll want to replicate the connections from your old board.
2. Connect the wires: Start reconnecting the wires to the correct terminals. Make sure they are snug and secure. It’s like fastening the buttons on your favorite shirt; they need to be tight to keep everything together.
3. Mount the new board: Secure the board with screws to ensure it doesn’t shift during operation.
Once everything is in place, you can replace the cover of the garage door opener and screw it back into position.
Testing Your Installation
Now comes one of the most exciting parts: testing if your installation was successful! Before turning the power back on, take a moment to double-check all your connections.
Once you’re confident that everything looks good, restore power to your garage door opener by plugging it back in or flipping the circuit breaker.
Next, grab your remote:
– Press the button on your remote: If the door opens or closes without any problems, congratulations! You did it!
– If it doesn’t respond: Don’t panic! Sometimes it takes a moment for everything to sync up, or you may need to reset or pair your remote with the new circuit board.
Pairing the Remote with Your New Circuit Board
Sometimes, after swapping the circuit board, your remote might need to be reprogrammed or paired again.
1. Locate the learn button: This is usually on the back of your garage door opener unit. It’s often labeled and should be easy to find.
2. Press the learn button: Once you click this, you’ll typically have about 30 seconds to press the button on your remote. This allows the new circuit board to recognize the remote.
The light on the garage opener will blink, indicating it has successfully learned the remote’s signal. If it doesn’t work right away, just give it another try. Sometimes it takes a second go.
Troubleshooting Common Issues
Even with the best intentions, things don’t always go as planned. Here are a few common issues and how to troubleshoot them:
– Remote not responding? Double-check the battery in your remote. Sometimes, a new circuit board is perfect, but you might be looking at a dead battery.
– The garage door won’t open or close? Make sure all connections are secure and the wires haven’t been pinched or damaged during your installation.
– Motor runs but door doesn’t move? This could indicate that the opener needs adjusting, or there’s a mechanical issue, not an electrical one.
Remember, troubleshooting is all about patience. If something doesn’t seem right, take a step back, review your steps, and try again.
Final Thoughts
Installing a Sears circuit board might sound like a complex task, but with the right tools and a little guidance, it can be manageable and even rewarding. You’re not just fixing your garage door; you’re gaining a skill that helps you take control of your home maintenance.
If you’ve followed these steps and everything’s running smoothly, sit back and enjoy the satisfaction of a job well done. It’s like conquering a recipe that once intimidated you—you’ve now turned a small corner of your home into a buzzing hub of activity. So, the next time you approach your garage door opener, remember you’ve got the skills to keep it running smoothly!