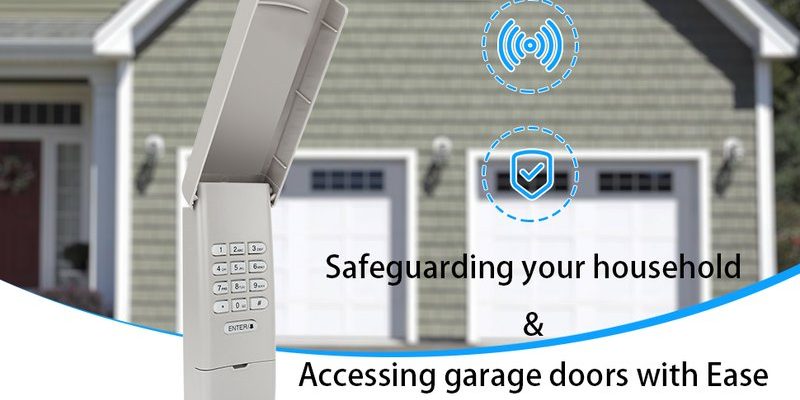
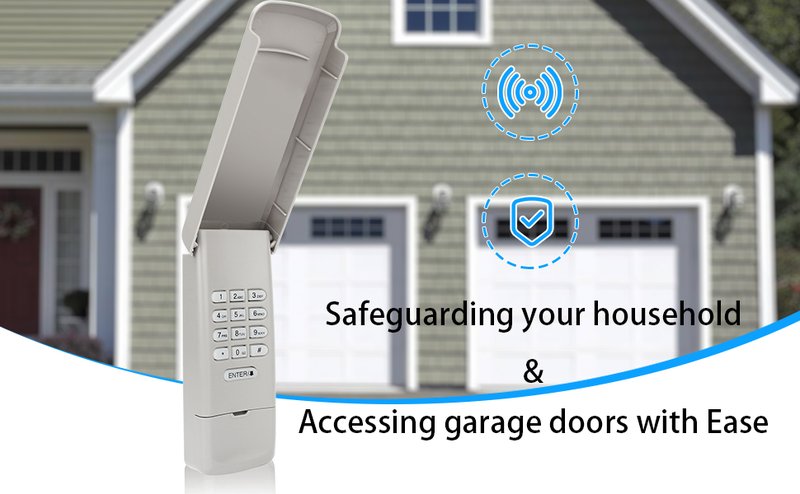
Imagine stepping out of your car on a rainy day, holding an umbrella in one hand and juggling groceries in the other. With a keypad, you can easily access your garage without fumbling with keys or remotes. Plus, it adds a layer of security to your home, allowing you to grant access to friends or family without needing to hand over a physical key. So, let’s dive into how to install your Raynor keypad.
Gather the Necessary Tools
Before you start your installation journey, you need to gather a few tools. Don’t worry, you won’t need anything too fancy, just basic household items. Here’s what you’ll need:
- A screwdriver (usually Phillips is best)
- A drill with a drill bit if required
- Level (to ensure your keypad is straight)
- Measuring tape
- Maybe a hammer or a rubber mallet
Once you’ve got your tools ready, take a moment to decide where you want the keypad to go. It’s best to install it about 5 feet off the ground and close enough to your garage door for convenience but far enough away to avoid accidental presses by pets or small children.
Finding the Right Location
Choosing the right spot for your keypad is crucial. You want easy access while also ensuring it doesn’t interfere with the garage’s aesthetics. Think about it like picking the perfect spot for a picture frame; you want it to be convenient, but it should also look good.
Ideally, you’ll want to place the keypad on the wall beside your garage door. Make sure there’s adequate lighting so you won’t struggle to see your code at night. Also, check that the area you’ve selected is free from obstacles and safe from elements like rain and snow, which can affect performance over time. Once you’ve settled on a spot and measured your height, mark the location with a pencil—this helps to visualize and keep everything neat.
Mounting the Keypad
Now it’s time to drill some holes and mount your keypad! Most keypads come with a mounting bracket to hold it in place. Using your screwdriver, attach this bracket to the wall at the location you marked. If drilling is required, be cautious, and always ensure your drill bit is the right size for the screws you’re using.
Here’s the trick: if you’re drilling into concrete or brick, you may need different screws and a masonry bit. If you’re unsure, just refer to the instructions that come with your Raynor keypad. Follow steps closely to avoid any mishaps. Trust me, there’s nothing worse than having to patch up a wall just because you weren’t paying attention!
Connecting the Keypad to the Garage Door Opener
You might be wondering, how does the keypad actually work with the garage door? Well, it needs to sync up with your garage door opener before you can use it. Most Raynor keypads work similarly, so here’s a generalized process to follow:
1. Locate the learn button on your garage door opener motor unit, which is usually found on the back or side of the device.
2. Press this button until the indicator light blinks or turns on, signaling that it’s ready to learn a new code.
3. Go to your keypad and enter your desired code (usually 4 digits).
Once you’ve entered the code, press the enter button. If all goes smoothly, you’ll see a light indicator turn on or hear a sound from your opener, meaning it’s paired! If at any point things don’t work as planned, simply reset the keypad and try again.
Testing Your Keypad
Before you celebrate, it’s essential to test your new installation. Think of it as the moment of truth after putting together a complex puzzle.
Stand a few feet away from the garage door and enter the code you just set up. Make sure to press the enter button if your model requires it. If everything is working properly, the door should open or close in response. If not, you may need to check your connections again or ensure you entered the code correctly.
If it seems like the keypad still isn’t working after troubleshooting, taking a moment to reference your product manual can be a lifesaver. Sometimes the setup can be tricky, so don’t hesitate to look for specific details about your model.
Maintaining Your Keypad
Once your keypad is up and running, the last thing you want is for it to malfunction due to neglect. Think of it like caring for a pet; it requires a little attention every now and then! Here’s how to keep it in top shape:
– Check the batteries: Most Raynor keypads run on batteries, so keep an eye on battery life. Replace them at least once a year or sooner if you notice any inconsistency.
– Keep it clean: Dust and dirt can affect performance. Wipe it down regularly with a damp cloth to prevent buildup that can block signals.
– Reset your code periodically: For security reasons, consider changing your code every few months. This way, you keep your garage secure from any unwanted access.
Staying on top of these small tasks can help keep your keypad working smoothly for years to come.
Troubleshooting Common Issues
Sometimes, things don’t go as planned, and that’s okay! It’s normal to face a couple of hiccups along the way.
If your keypad isn’t working after installation, first double-check the battery. A dead battery means no power! If that’s not the problem, look at the connection to your garage door opener. You might need to re-sync it. If you keep having issues, remember—no installation is perfect the first time! Consulting the manual or customer service can help clarify any tricky steps. You got this!
If it’s a more persistent issue, it could be beneficial to compare your keypad with a universal garage door remote. These can be used interchangeably in some cases and can provide a backup option when your original device isn’t cooperating.
In the end, remember that installing your Raynor keypad not only makes access easier but also adds convenience and security to your life. So, while the installation process might have its challenges, the rewards are absolutely worth it. Enjoy your newfound easy access to your garage!