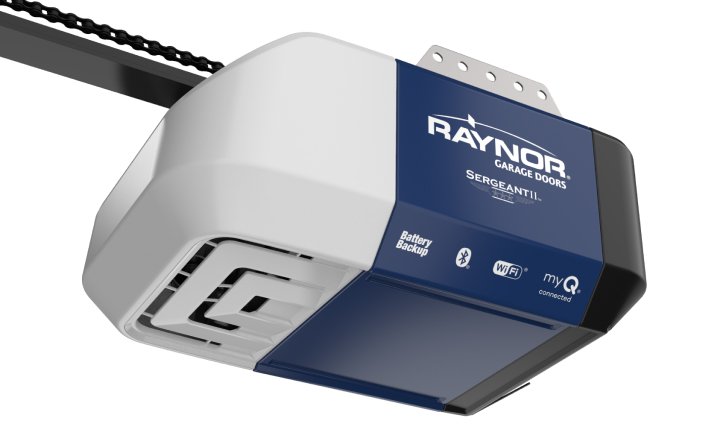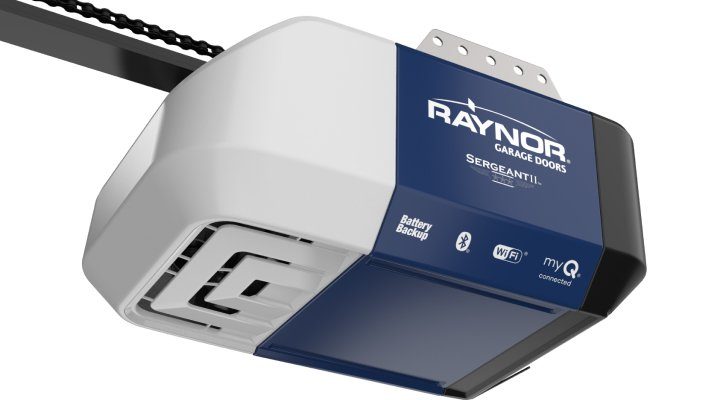
Before we dive into the installation process, let’s quickly touch on what you’ll be working with. Raynor battery backups are designed to offer backup power specifically for Raynor garage door openers. If your remote is acting cranky, or you find it challenges syncing, don’t worry—this system will ensure your opener has a reliable power source whenever you need it. Now, grab your tools, and let’s walk through how to install your battery backup step by step!
Gather Your Tools and Materials
Before you start installing the Raynor battery backup, it’s vital to have everything you need on hand. This setup typically doesn’t require an extensive toolkit, but you’ll want to make sure you have:
- A Philips screwdriver
- A flathead screwdriver
- Your Raynor battery backup kit
- Thunderous teamwork (optional, but helpful!)
Each kit usually comes with comprehensive instructions. It’s always a good idea to check for any extra tools or materials required in your specific model. If you have children or pets, it’s wise to clear the area to ensure a stress-free installation process.
Find the Right Location
Once you’ve gathered your tools, the next step is to decide where to install the battery backup. Imagine the battery as a heart—it’s got to be centrally located to share its life-giving power effectively.
You’ll typically want to place the battery backup system near your garage door opener. Look for a spot where it won’t be exposed to moisture or extreme temperatures. A space on a shelf or right next to the opener itself is ideal for easy access and maintenance. Make sure nothing is obstructing the area—this will make your work a lot easier and safer down the road.
Turn Off the Power
Here’s the thing: safety first! Before you start opening up your garage door opener or working on the battery backup, make sure to turn off the power at the circuit breaker. This is a crucial step that many beginners might overlook. You don’t want any surprises while you’re in the middle of installation.
Once you’ve shut off the power, take a moment to double-check that the garage door opener is really unplugged. You may even want to try pressing the remote or opener button to ensure there’s no power coming through. Safety is key when dealing with electricity.
Remove the Garage Door Opener Cover
Now we’re getting to the good stuff! With the power off, it’s time to remove the cover from your garage door opener. Use your Philips screwdriver to take out the screws holding the cover in place. These screws are usually located at the back or bottom of the opener. Carefully lift off the cover, keeping it aside.
As you work, try to remember the order and location of each screw. Trust me, it will save you frustration later. If you have a smartphone, snap a quick photo of the insides; that way, you have a reference if needed.
Connect the Battery Backup
You might be wondering about the actual process of connecting the battery backup. It’s pretty straightforward! Inside the opener, you’ll see a pair of terminals. These are where you’re going to connect the wires from the Raynor battery backup.
Follow these steps:
1. Locate the battery connector – Usually, there will be a color-coded connector specifically designed for battery backup connections.
2. Connect the wires – Attach the positive (+) and negative (-) cables from the battery to the corresponding terminals in the opener.
3. Secure the connections – Use the flathead screwdriver to tighten the terminals, ensuring that they are firmly connected without wobbling.
This process is quite simple, but it’s also crucial. Loose connections can lead to power flickers or even the battery not working when you need it.
Replace the Cover and Power Up
With the battery backup securely connected, it’s time to replace the cover on your garage door opener. Align it properly, and with your Philips screwdriver, put the screws back in the original spots. Applying a little pressure as you replace the cover helps ensure a snug fit.
Once everything is back in place, head back to the circuit breaker and turn the power back on. After you flip the switch, your garage door opener should power back up. Give your remote a try—does it work seamlessly now? If so, congratulations! You’re one step closer to a functional system.
Test the Battery Backup Functionality
This part is crucial. You want to make sure the battery backup is working correctly. Simulate a power outage to see if everything functions properly. If you have a friend or family member around to help, here’s a fun way to test:
1. Unplug the garage door opener from the outlet while someone holds the remote.
2. Press the remote button—if the door opens or closes, you’re golden!
If it doesn’t respond, don’t panic. First, check your connections to make sure everything is secure. You can also consult the operating instructions for troubleshooting advice, often included in your battery backup installation booklet.
Maintain Your Battery Backup System
Now that you’ve installed your Raynor battery backup, maintaining it is essential for optimal performance. Regular checks will ensure everything runs smoothly. Here are a few tips:
– Inspect the connections every few months to ensure they’re tight and free of corrosion.
– Test the backup feature every 6 months, just like you would with a smoke alarm.
– Replace the battery as needed—Raynor typically recommends every 3-5 years, depending on usage.
Remember, a little maintenance goes a long way in preventing unexpected parking adventures during power outages.
In summary, installing a Raynor battery backup is a task that anyone can tackle with the right tools and a little patience. You’ll not only gain peace of mind but also have a reliable garage door opener ready to work for you, rain or shine. Happy installing!
