The Overhead Door Smart Hub is designed to work seamlessly with various models. If you’ve recently purchased one, you might be eager to dive in and get it set up. Even if you’ve never tackled an installation task before, I’ll break it down into manageable parts. By the end of this article, you’ll have a smart garage door system ready to go.
Gather Your Tools and Materials
Before we start the installation, let’s make sure you have everything you need. Think of this like preparing an artist’s toolkit before painting a masterpiece; the right tools make all the difference.
Here’s what you might need:
- Overhead Door Smart Hub
- Smartphone with the Overhead Door app
- Wi-Fi connection
- Screwdriver
- Drill (if required for mounting)
- Measuring tape
- Step ladder (for reaching high places)
Once you gather your supplies, find a comfortable workspace. It’s easier to install the hub when you don’t have to navigate around clutter. Trust me, less chaos equals less frustration!
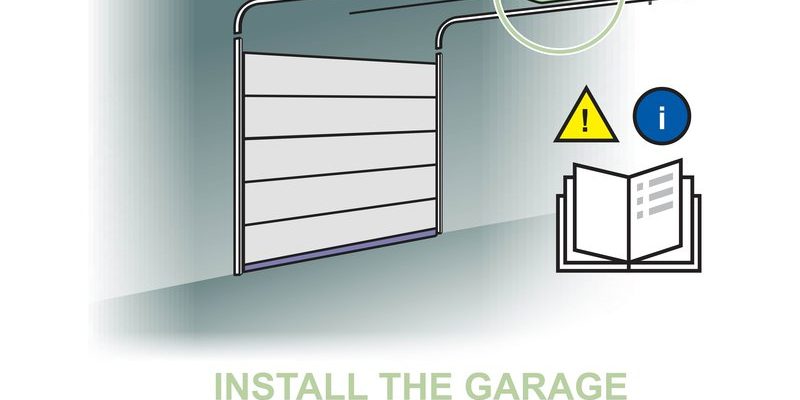
Locate Your Garage Door Opener
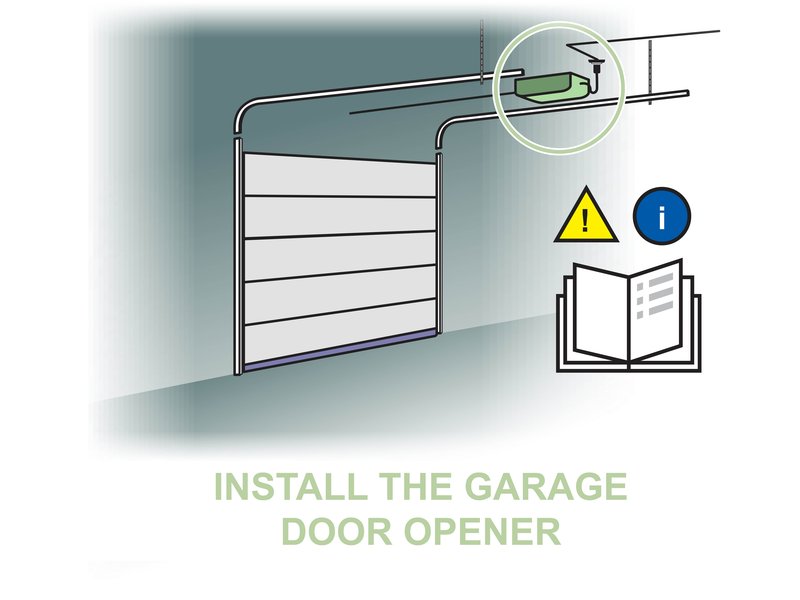
Now that you have your tools ready, the next step is to locate your garage door opener. Usually, this is mounted on the ceiling. Picture it as the heart of your garage door system, pumping energy to the door.
Stand underneath it and look for the brand and model number. This information is crucial—it ensures your Smart Hub is compatible. Most Overhead Door models are compatible, but it’s always best to double-check. If you’ve misplaced the manual, don’t fret! Many manufacturers offer digital versions online.
Connect Your Smart Hub to Power
Your next move is to connect the Smart Hub to power. This step is akin to plugging in your computer to get it running. Most Smart Hubs come with a power adapter that you’ll need to plug into a nearby outlet.
Here’s how to do it:
1. Choose the Right Location: The hub should be close enough to your Wi-Fi router for a strong signal but not too far from the garage door opener.
2. Plug It In: Connect the power adapter to the Smart Hub and then plug it into the wall.
3. Check for Lights: Once plugged in, check for any indicator lights. These lights usually tell you if the hub is powered and ready to set up.
If everything looks good, you’re on the right track!
Set Up the Overhead Door App
With the Smart Hub powered up, it’s time to set up the app on your smartphone. Think of the app as your remote control, all in one place. If you’ve ever set up a new app, this part will feel familiar.
Here’s how to get started:
1. Download the App: Search for the Overhead Door app in your app store and download it.
2. Create an Account: Open the app and create an account or log in if you already have one. This step is essential, as you’ll need an account to access smart features.
3. Follow On-Screen Instructions: The app will typically guide you through the setup process. You’ll be asked to add your Smart Hub.
Pro Tip: Ensure your smartphone is connected to the same Wi-Fi network that you want the Smart Hub to use. It’s like ensuring your TV is on the right channel before you start binge-watching.
Connecting the Smart Hub to Your Garage Door Opener
At this stage, you’ll connect your Smart Hub to the garage door opener. Think of this as introducing two new friends—you want them to get along perfectly.
To do this:
1. Locate the Learning Button: On your garage door opener, find the “learn” button. This is usually located on the back or the side of the unit.
2. Put the Hub into Pairing Mode: In the app, select the option to add a new device, and follow the prompts to put the Smart Hub into pairing mode.
3. Press the Learn Button: While the hub is in pairing mode, press the “learn” button on your opener. You might notice that the lights on your opener will blink, indicating it’s ready to connect.
Let the app guide you through any prompts until you can confirm the hub is successfully paired with your opener.
Testing Your Setup
It’s time for the fun part: testing your Smart Hub setup! Picture it like an exciting experiment—will it work?
1. Open the App: Make sure you’re logged in and navigate to the controls for your garage door.
2. Test the Door: Try opening and closing the garage door via the app. If it opens and closes smoothly, congrats—you’ve just leveled up your garage experience!
3. Check Notifications: Ensure that notifications are working. Try sending yourself a test alert to see if everything is responding as it should.
If your Smart Hub isn’t responding as expected, it’s okay! Common troubleshooting steps can often resolve the issues.
Troubleshooting Common Issues
Even with the best intentions, you might run into some hiccups. Here are a few common issues and simple fixes.
1. Connection Issues: If your Smart Hub isn’t connecting to your garage door opener, make sure both devices are within range. Try moving closer or resetting the Smart Hub.
2. App Not Responding: If the app crashes, close it and restart your phone. Sometimes, a simple reset can solve minor glitches.
3. Battery Problems: If you’re using a battery-powered remote for the opener, check the battery life. Weak batteries can cause communication problems.
Honestly, installing technology can sometimes be a little tricky, but most issues have simple solutions.
Enjoy Your Smart Garage!
You did it! With your Overhead Door Smart Hub installed, you’re now equipped to enjoy the modern conveniences of smart garage technology. Think about how much more effortless your day-to-day can be—no more running out in the rain to grab something from your car!
Here’s the exciting part: you can integrate more smart home features as you go along. Maybe consider adding a smart camera to keep an eye on your garage, or even explore compatibility with other home automation systems.
From here on out, you can easily monitor and control your garage door from anywhere. So sit back, relax, and enjoy the peace of mind that comes with your new installation!