Before diving into the details, let’s get familiar with the overhead door motor unit. Often referred to as a garage door opener, it’s an essential piece of equipment that allows you to operate your garage door remotely. Most modern units come with either a remote control or a wireless keypad, making the whole operation seamless. Brands like Chamberlain, LiftMaster, and Genie are popular for their reliability and innovative features. So, grab your tools and let’s get started!
Gather Your Tools and Materials
Before you install your new overhead door motor unit, it’s crucial to gather all the necessary tools and materials. This step helps ensure you won’t have to pause midway through your project to hunt for a missing tool. Here’s a quick checklist to keep you organized:
- Overhead door motor unit (check the model specifications)
- Drill with drill bits
- Measuring tape
- Level
- Socket set and wrenches
- Screwdriver (both flat-head and Philips)
- Ladder
- Safety goggles and gloves
It’s also a good idea to have a helper on hand. Whether it’s a friend or family member, having someone around can make lifting and aligning the motor unit easier and safer. You might be wondering, “do I need all these tools?” While it’s technically possible to install the motor unit with just a few basic tools, having everything on hand will streamline the process.
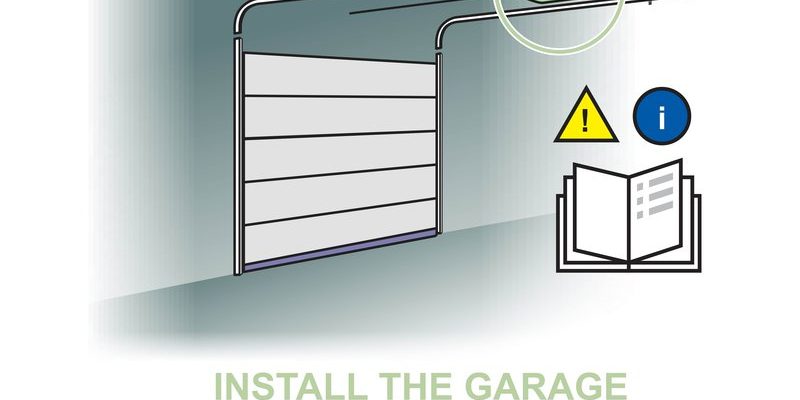
Prepare the Garage Door
Next up, you’ve got to prepare your garage door for the motor installation. Think about it; this is like setting the stage before the performance. A few adjustments and checks can make a world of difference. Start by ensuring that your garage door is in good condition:
1. Check the Tracks: Make sure the tracks are clean and free from debris. Any blockages could interfere with the door’s movement.
2. Inspect Springs and Cables: Look for any signs of wear or damage. If your springs are old or frayed, it’s wise to replace them before adding a motor.
3. Test the Door’s Operation: Manually open and close the door to ensure it moves smoothly. If it sticks or makes noise, address those issues now rather than later.
Here’s the thing: if your overhead door isn’t functioning properly without the motor, it certainly won’t work well with one. Taking care of these details now saves you headaches down the line and ensures a smoother installation.
Install the Motor Unit Bracket
Once your garage door is prepped and ready, you can start installing the motor unit bracket. This part is crucial because it’s what holds your motor in place. Here’s how to do it:
1. Mark the Ceiling Location: Using your measuring tape, find the center of your garage door. Measure where you want the motor mounted and mark it clearly.
2. Install the Bracket: At this point, bring out your drill and securely attach the bracket to the ceiling using screws and anchors as needed. Make sure it’s level; otherwise, your motor operation could get wonky later on.
3. Check Alignment: Use a level to double-check that the bracket is installed straight. This step is key for a smooth-running system.
You might be thinking, “Why is this bracket so important?” Well, it’s the backbone of your setup. A well-installed bracket will make the entire motor unit more reliable and longer-lasting. So take your time here, and don’t rush the installation!
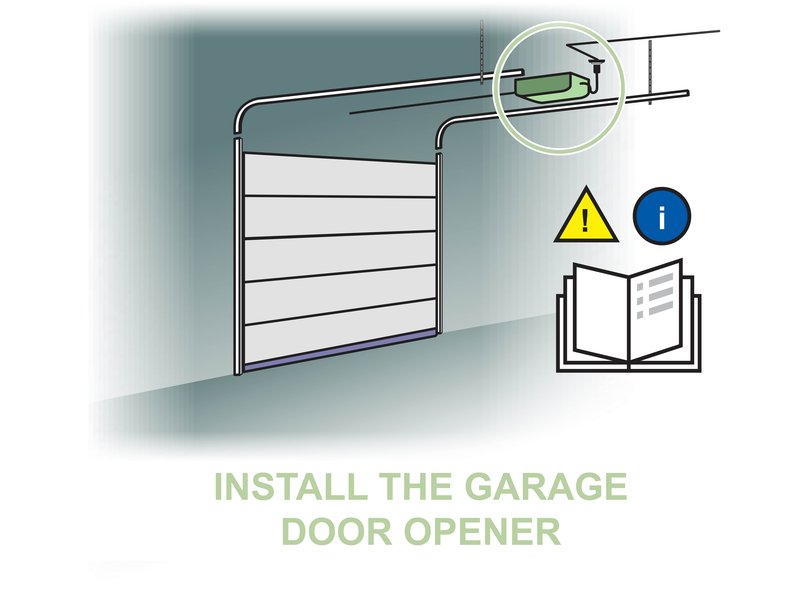
Mount the Overhead Door Motor
Now comes the exciting part—mounting the overhead door motor! This is where all your hard work starts to pay off. Here’s a step-by-step approach:
1. Lift the Motor: With a helper, position the motor unit on the bracket. It’s often bulky, so take your time and ensure it’s aligned correctly.
2. Secure the Motor: Once the motor is in place, secure it using the screws that came with it. Make sure everything is tightened but don’t overtighten and risk damaging any plastic components.
3. Connect it to Power: Plug in the motor and ensure the outlet is working. You can do a quick test at this point to make sure the motor kicks on.
Honestly, many people get nervous at this step. Remember, take your time and double-check your alignment. It’s essential for the longevity of your motor. This isn’t just assembly; it’s about creating a system that will work harmoniously for years.
Attach the Rail and Chain or Belt
With your motor unit mounted, it’s time to attach the rail and chain or belt. This part is responsible for doing the heavy lifting—literally! Depending on your specific model, you might have a chain drive or a belt drive. Let’s walk through it:
1. Connect the Rail: Start by attaching the rail to the motor unit. Follow the manufacturer’s instructions to ensure a proper fit. Make sure it’s secure and can handle the weight of the door.
2. Install Chain or Belt: If using a chain, loop it through the rail, making sure it’s tight. With a belt, follow similar steps, ensuring it’s properly aligned and taut.
3. Adjust Tension: This often involves adjusting a screw or lever to keep the chain or belt from sagging. A nice tension will ensure that everything runs smoothly.
Here’s the kicker: improper tension can lead to the motor straining to pull the door, which can result in wear and tear over time. So after installation, keep an ear out for unusual noises. Adjust as needed to ensure smooth operation.
Connect the Safety Features
Safety should always come first, especially when working with heavy garage doors. Modern overhead door motors come equipped with safety features, and you must connect them. Here’s how:
1. Install Safety Sensors: These sensors are usually mounted on either side of the door’s base. They work by sending a signal to the motor unit, so if anything interrupts the beam while the door is closing, it reverses.
2. Wire Connection: Follow the specific wiring instructions from your manufacturer to ensure proper function. Often, this involves snapping the sensors into place and running two wires to the motor unit.
3. Test the Safety Features: Once installed, plug in the motor unit again and test the sensors. Place an object in the path of the door to see if it reverses correctly. If not, recheck your wiring and alignment.
You might be wondering why these features are so critical. Well, they help prevent injuries and damage to your vehicle or belongings. So don’t skip this step. It can make all the difference for safety.
Sync Your Remote and Final Testing
Finally, it’s time to sync your remote! After all your hard work, this is the moment when your garage door can officially start operating remotely. Here’s how to do it:
1. Locate the Learn Button: On your motor unit, find the learn button, often located near the wiring terminal. This button is essential for pairing your remote.
2. Put Remote in Pairing Mode: Press the learn button until you see a light turn on. Then, press the button on your remote. If done correctly, the motor light will blink or turn off.
3. Test the Remote: Try pressing the remote to open and close the garage door. It should respond smoothly, showcasing the beauty of your efforts.
Here’s the thing: it’s wise to have a backup battery ready for your remote or consider using a model that has a battery indicator. Regular maintenance and checks can save a lot of hassle later on.
Troubleshooting Common Issues
Even with careful installation, sometimes things don’t go as planned. It’s perfectly normal; troubleshooting can quickly get everything back on track. Here are some common issues you might encounter:
1. Door Doesn’t Open or Close Completely: Check the travel limits on your motor. You might need to adjust how far the door should go up or down.
2. Remote Control Not Working: If the remote fails to operate, check its battery first. If that’s fine, re-pair it again using the learn button.
3. Unusual Noises: Grinding or squeaking sounds may indicate a problem with the chain or belt tension. Be sure to realign or tighten as necessary.
Remember, if any issue feels beyond what you can handle, it’s always a good idea to reach out to a professional. They can help get everything running again, saving you time and energy.
Installing an overhead door motor unit is not just about convenience; it’s about adding a touch of modernity to your home while improving functionality. With tools in hand and a little patience, you’ve transformed your garage door into an automated marvel.
Take pride in your work! Each time you click that remote and watch your door glide open, you’ll know you accomplished something great. Just remember to keep up with maintenance and check those safety features regularly. Enjoy your hassle-free access to your garage!