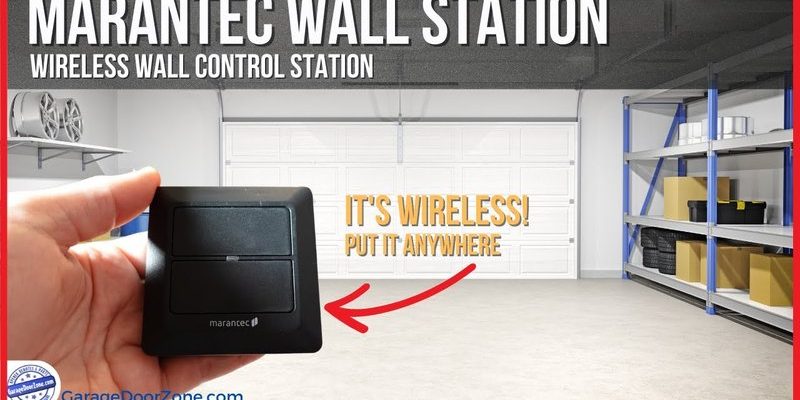
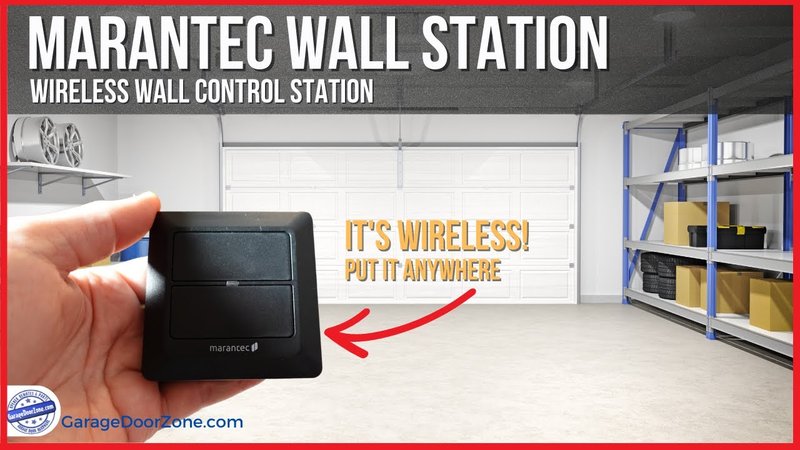
Marantec is known for their reliable garage door openers and accessories, and their wall buttons are designed with ease of use in mind. Imagine walking into your garage and being able to open the door without fumbling for a remote. You’ve got a sturdy button right there on the wall, just like those light switches that make life so convenient. With the right tools and a bit of guidance, you can install your Marantec wall button in no time.
Gather Your Tools
Before you start this DIY project, let’s make sure you have everything you need. Proper preparation is crucial, and having your tools handy will save you from running back and forth. Here’s a quick list of items you’ll need:
- A Marantec wall button kit
- Drill with drill bits
- Wire stripper or cutter
- Screwdriver (usually a Phillips head)
- Level (to ensure your button is straight)
- Electrical tape (for safety)
Now, you might be thinking, “Is this really all necessary?” Good question! Having the right tools makes the installation process smoother and more enjoyable. You don’t want to get halfway through and realize you’re missing a wire stripper, right?
Choose the Ideal Location
Next up, you have to decide where to install the wall button. Location is key, just like picking the best spot for your favorite chair in the living room—comfort is everything. Here are a few tips to consider when selecting a spot:
– Height: The button should be accessible to everyone in your household, typically around eye level.
– Visibility: Make sure the wall button is visible from both inside and outside your garage for convenience.
– Safety: Avoid installing it near any area that obstructs regular foot traffic to prevent accidental hits.
Think of this like deciding where to put a family photo—location matters! You want it to be functional yet unobtrusive.
Wiring the Wall Button
Alright, it’s time to get into the nitty-gritty: wiring the wall button. This step is crucial, so let’s walk through it together. First, safety first! Ensure that the power to your garage door opener is turned off before you start. Nobody wants a surprise zap while working on this.
When you open the wall button kit, you’ll find two wires inside. One wire connects to the power supply, and the other goes to the motor unit. Here’s how to wire it:
1. Strip the wires: Use your wire stripper to expose about half an inch of the copper inside the wire.
2. Connect the wires: Twist the exposed ends of the wall button wires onto the corresponding wires from the opener.
3. Secure with electrical tape: After twisting, wrap them individually with electrical tape to insulate any exposed wire.
It’s a simple process, but you’ll want to double-check your connections. An incorrect wiring setup can lead to malfunction or, worse, damage to your system.
Mount the Button
Now that the wiring is done, it’s time to mount the wall button on the wall. Like a painter applying the final brush strokes to a canvas, this step will bring your project to life. Here’s how to go about it:
1. Position the wall button: Use a level to ensure it’s straight. Mark the drill holes using a pencil.
2. Drill holes: Use your drill to make holes where you’ve marked.
3. Attach the wall button: Screw the wall button into the wall using the screws provided in the kit.
Once it’s securely mounted, step back, take a look, and admire your handiwork! You’ve just added a functional touch to your garage area.
Testing the Installation
Before you sit back and relax, it’s vital to test your hard work. The moment of truth is here! Reconnect the power to your garage door opener and get ready to see your installation in action. Follow these steps to ensure everything is working correctly:
1. Press the wall button: If everything was done right, the garage door should open smoothly.
2. Observe the response: Check how the door operates with the button. Does it open all the way? Does it stop at the right place?
3. Troubleshoot if needed: If it doesn’t work, check the wiring again and ensure everything is connected properly.
If the door does open without a hitch, you can give yourself a pat on the back! You’ve successfully installed your Marantec wall button—and that’s no small feat.
Common Troubleshooting Tips
Like any DIY project, sometimes things don’t go as planned. If your wall button isn’t responding, don’t panic. Here are a few troubleshooting tips to help you figure out what might be going wrong:
– Check the power supply: Ensure that the garage door opener is plugged in and that the circuit breaker hasn’t tripped.
– Inspect the wires: Make sure all wires are connected properly and that there are no frayed ends touching other wires.
– Reset the system: Sometimes, a simple reset of the garage door opener can fix the issue. Look for the reset button on your unit.
By thinking through these potential problems, you can often fix things without needing to call for help. And remember, sometimes it just takes a little patience!
Maintaining Your New Installation
After all that hard work, the last thing you want is for the wall button to fail in a few months. Regular maintenance will keep your system running smoothly. Here are some tips:
– Check connections regularly: Periodically inspect the wires and connections for any signs of wear.
– Test the button: Make it a habit to test your wall button every couple of months. If it begins to feel sticky or unresponsive, it may need cleaning or adjustments.
– Replace batteries periodically: If your system uses batteries, keep an eye on their life, and swap them out as necessary.
Taking a few minutes to check your installation can save you time and hassle down the road. Just like keeping your bike tires inflated before a ride, it keeps everything running smoothly.
In conclusion, installing your Marantec wall button might take a bit of time, but it offers a convenient way to access your garage. With the right tools, a thoughtful approach, and a sprinkle of patience, you’ll have it up and running in no time. And trust me, it’s a rewarding feeling to see your hard work translate into a more functional space. Happy installing!