Marantec garage door openers are known for their durability and ease of use, and their remotes are no exception. Let’s walk through the installation process together, step by step. By the end, you’ll be able to use your remote effortlessly, just as if you’ve got your hand on a well-oiled machine.
Gathering Your Tools and Equipment
Before diving into the installation process, it’s important to gather everything you need. Having the right tools on hand will make this task a breeze.
What You’ll Need:
- Your Marantec remote
- Your garage door opener
- A ladder (if necessary)
- A flathead screwdriver (optional)
- User manual for your specific model
- Fresh batteries for your remote
First things first: check the batteries in your new remote. It’s always better to start with fresh batteries to avoid any hiccups later. Typically, Marantec remotes run on either CR2032 or CR123A batteries, depending on the model.
Once you have your tools ready, you’re essentially equipped to tackle the next steps. Here’s the thing—having everything organized will help keep your mind clear and focused.
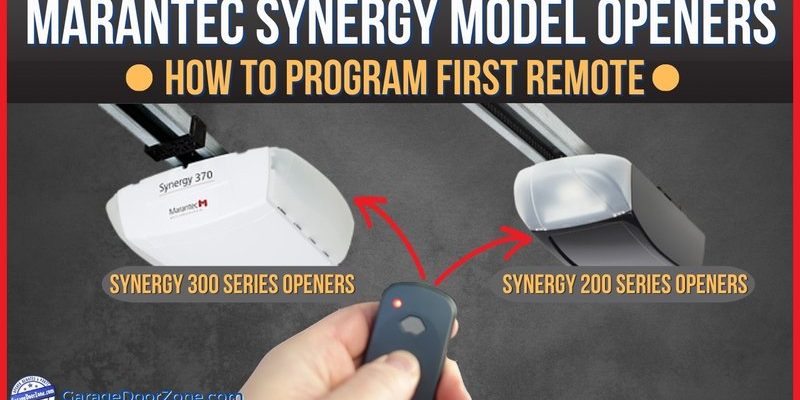
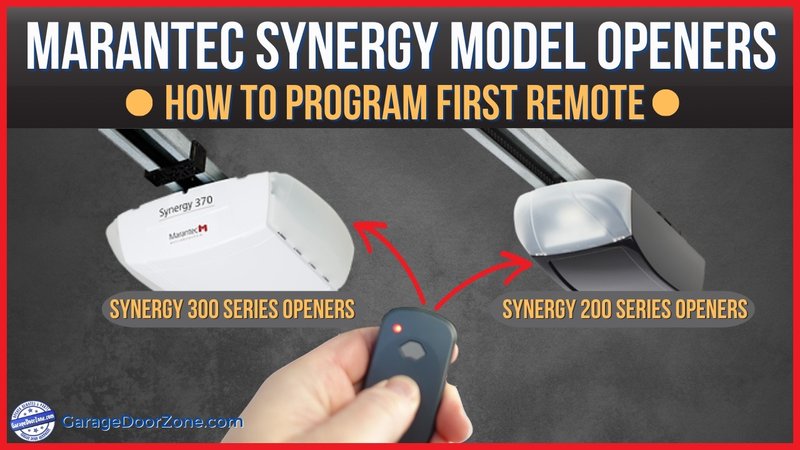
Identifying Your Garage Door Opener Model
Marantec produces various models of garage door openers. Knowing the specific model you have can make the installation go much smoother.
Why This Matters: Different models might have slightly different programming methods. You can often find the model number on the motor unit itself. If you have the user manual handy, that’s a great reference too. It’s kind of like knowing the instructions for assembling a new piece of furniture—different models can come with their own unique setups.
If you can’t find the model number, don’t stress! Marantec has a limited range of openers, so it should be relatively easy to narrow it down. Common models include the Marantec M4047 and Marantec M50.
Programming Your Marantec Remote
Now that you’ve got your tools in order and identified your garage door opener, it’s time to program your remote. This step ensures that your remote communicates with your garage door opener.
Here’s How To Do It:
1. Locate the Learn Button: This button is usually on the back or side of the motor unit. You might need your ladder, depending on where your opener is installed.
2. Press and Hold the Learn Button: Hold it until the indicator light turns on (this typically takes about 3 seconds). This indicates that the opener is in learn mode.
3. Press the Remote Button: Within 30 seconds of pressing the learn button, press and hold the button on your remote that you want to program. You should see the motor unit light flash or hear a click, confirming the programming was successful.
If at first, your remote doesn’t seem to sync, don’t worry! This might happen sometimes, but a bit of patience usually does the trick. You might be wondering what to do next if it still doesn’t work, and that’s a good question—let’s cover troubleshooting.
Troubleshooting Common Issues
Sometimes, things don’t go as planned when installing your Marantec remote. Here are some common issues and how to handle them.
Remote Not Working?
– Check the Batteries: Even if you just put new batteries in, it’s worth double-checking. Sometimes batteries can be faulty right out of the package.
– Revisit the Programming Steps: It’s easy to miss a step, especially if you’re trying to rush it. Go through the steps one more time.
– Ensure Proper Distance: Sometimes, being too far from the garage door opener can hinder the connection. Stand within a reasonable distance—typically around 10-20 feet—when pairing.
If you check all these boxes and it still doesn’t work, consider consulting the user manual or contacting customer support. They can often offer specific advice based on your model.
Syncing Multiple Remotes
Do you have more than one Marantec remote to sync? Perhaps you want to share access with family members.
Here’s How To Sync Multiple Remotes:
1. Repeat the Programming Steps: The process is the same as before. You can program multiple remotes using the learn button on your garage door opener.
2. Quickly Press the Remote Buttons: After pressing the learn button, don’t forget to press each remote button quickly, just like before.
This way, you can ensure everyone in your household has access to the garage. Imagine it like getting everyone in the family a set of keys—the convenience makes life a lot smoother.
Maintaining Your Marantec Remote
Like anything else, a little maintenance goes a long way. Taking care of your Marantec remote ensures it lasts longer and functions better.
Tips for Remote Maintenance:
– Store It Safely: Keep the remote in a designated spot in your car or home so that it doesn’t get lost.
– Regularly Check the Batteries: Change your batteries every year, even if the remote still seems to be working. It’s like changing the oil in your car; it’s a proactive step you won’t regret.
– Clean It Up: If your remote gets dirty or grimy, clean it gently with a soft cloth. Ensure that no liquid enters the remote’s casing.
By following these simple tips, you’ll not only enjoy using your Marantec remote but also extend its life span.
Wrapping Up Your Installation
Installing your Marantec remote doesn’t need to be intimidating. Once you have the right steps in mind, everything becomes straightforward.
In summary:
– Gather your tools, identify your garage door opener model, and program your remote.
– Know how to troubleshoot common issues and sync multiple remotes.
– Finally, don’t forget about maintenance!
Now that you’ve got this guide, you’re ready to tackle your installation confidently. Enjoy the convenience of your Marantec remote, and remember: the goal is to make your life easier, one button at a time. Happy closing!