Gather Your Tools
Before you get your hands dirty, you need to gather a few tools. Besides your new Marantec keypad, you’ll likely need a small screwdriver, fresh batteries (which often come with the keypad), and a pencil. Having a clear workspace also helps—you want to avoid hunting for tools once you start.
Here’s a quick checklist for you:
- Marantec keypad
- Small screwdriver
- New batteries
- Pencil
- Drill (if needed)
Once you have everything, you’re ready to move on to the fun part: installation!
Choose the Perfect Spot
Now that you have your tools, the next step is selecting where to install your keypad. It’s essential to find a location that’s both convenient and secure. Generally, you’ll want the keypad to be close to the door or garage entrance but out of sight of prying eyes.
Consider these points when choosing a spot:
– Height: The keypad should be easily accessible, so a height of about 48 inches from the ground is ideal. This makes it easy for adults and kids alike to reach.
– Protection from Weather: If your garage is exposed to the elements, try to pick a place that provides some cover, like near an awning or eave. This helps prolong the keypad’s life.
– Visibility for Wiring: You’ll need to run some wires if you’re connecting it to the opener, so ensure there’s a clear path for that.
Take a moment to visualize where the keypad will live because this choice affects the overall convenience of your setup!
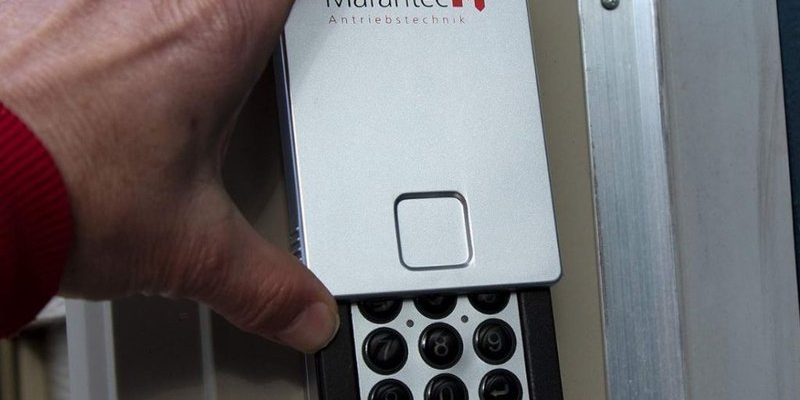
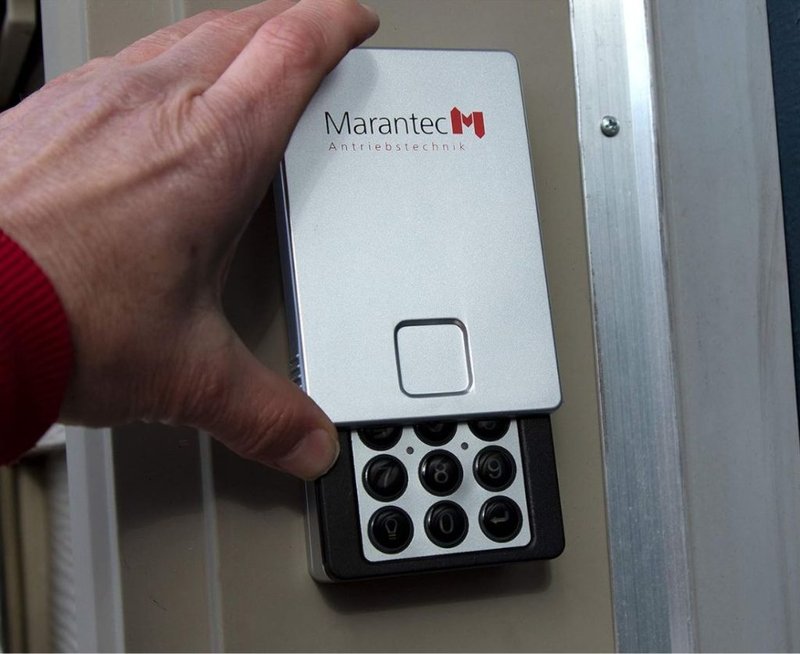
Install the Keypad
Now for the moment you’ve been waiting for: it’s time to install the Marantec keypad. Let’s go through this step-by-step.
1. Mark the Position: Using your pencil, mark the positions where you’ll drill holes according to the keypad’s backplate.
2. Drill Holes: If you have a brick or concrete wall, a masonry bit might be needed. Be cautious; dripping sweat down your face can distract you from drilling straight!
3. Attach the Backplate: Using your screws, attach the backplate to the wall. Use your screwdriver to secure it firmly; you don’t want it falling off at an inconvenient time.
4. Add Batteries: Open the keypad and insert the batteries provided. This usually involves just sliding a compartment open—easy-peasy!
Once you’ve done this, step back and make sure everything looks good before moving on.
Connect the Keypad to Your Garage Door Opener
Now let’s connect the keypad to your Marantec garage door opener. It sounds tricky, but it’s just about taking things slowly. Here’s how to go about it:
1. Locate the ‘Learn’ Button: Your garage door opener has a ‘Learn’ button, usually found on the back or side. It’s often easy to spot; it might even have a colored light around it.
2. Activate the Keypad: Press and hold the “*” and ”
3. Press the Learn Button: Lightly press the ‘Learn’ button on your garage door opener. You should see the indicator light on the opener start to blink, signaling that it’s in pairing mode.
4. Enter Your Code: Now, on the keypad, type your chosen code (usually four digits). Press the “Enter” button, and you should see a light blink on both your opener and the keypad, confirming they’ve been paired.
And voilà! You’ve just connected the keypad to your opener. It’s like syncing two devices—the magic is in the technical connection!
Test the Keypad Connection
After the install and connection, it’s time for the all-important test. Testing ensures everything functions properly and you’re not left standing outside your garage.
Here’s what to do:
1. Stand about an arm’s length from the keypad and enter your code.
2. Press “Enter” and watch for any response from the door. Ideally, it should smoothly open.
3. If it doesn’t work, double-check the connections and make sure you entered the right code. You’ll also want to check the batteries if that’s the issue—because a dead battery makes for a frustrating day.
If everything opens and closes without a hitch, you can finally feel like a pro installer!
Troubleshooting Common Issues
Now, let’s talk about some common hiccups you might encounter after installation. No one wants to be left in the cold, right?
Here are a few issues that might pop up and how to handle them:
– Keypad Not Responding: First, make sure your keypad has fresh batteries. If it’s still not working, you may need to reset it—hold down the “*” and ”
– Opener Not Activating: If the opener doesn’t respond, check the syncing process. You may need to repeat the pairing steps.
– Code Memory Issues: If your keypad seems to forget the code after a power outage, consider programming it again. Losing its memory isn’t common but can happen.
Seeing troubleshooting as part of the journey can make the experience less stressful. Just keep a level head, and you’ll get through it!
Maintaining Your Marantec Keypad
Once everything is set up and working, you’ll want to ensure your keypad stays in good shape. Maintenance isn’t a tedious task; think of it as giving your keypad some TLC.
A few simple tips include:
– Check for Wear: Every few months, inspect the keypad for any signs of wear or damage. If anything seems off, it might be worth considering a replacement.
– Replace Batteries Early: Avoid interruptions by changing the batteries regularly, like before winter. This will help ensure you’re not left in the lurch when temperatures drop.
– Keep it Clean: Dust can buildup, so a simple wipe now and then keeps the keypad functioning well. You wouldn’t want grime messing with your connections.
Taking these small steps means your Marantec keypad will serve you well for years to come. After all, you want to get that easy garage access every day!
In summary, installing a Marantec keypad can be an empowering DIY project. With the right tools, steps, and a little patience, you’ll have your keypad up and running before you know it. It’ll be a quick and reliable way to access your garage without fuss. By staying mindful of maintenance and troubleshooting tips, you can enjoy the convenience of your new setup for a long time. Happy installing!