
Think of the garage door opener as the heartbeat of your garage. It effortlessly opens and closes your door with just the click of a button. Marantec offers reliable openers that are designed for ease of use, providing both convenience and security. Whether you’re replacing an old unit or adding one for the first time, I’ll guide you through the process step by step. Let’s roll up our sleeves and dive into the installation!
Gather Your Tools and Materials
Before you even think about starting the installation, let’s gather all the tools and materials you’ll need. Having everything at your fingertips will save you time and potential hassle later on.
- A Marantec garage door opener kit
- Power drill with drill bits
- Screwdrivers (flathead and Phillips)
- Pliers
- Level
- Measuring tape
- Wrenches
- Safety goggles
It’s also important to have some safety gear—especially goggles—on hand. You’ll be working with tools and overhead equipment, so protect your eyes! Besides the tools, read through the Marantec manual that comes with your garage door opener. Think of it as your roadmap, guiding you through this installation journey.
Prepare Your Garage Door
Before you install your new opener, it’s vital to prep your garage door. This step ensures that everything is in good working order for the opener to function correctly.
First, check the door’s balance. You can do this by disconnecting the opener (usually by pulling the release cord) and manually raising the door halfway. If it stays in place, it’s balanced. If it slides down or up, you may need to adjust the springs or call in a pro. A well-balanced door will not only open and close smoothly but also protect your new opener from undue stress.
Next, make sure your tracks are clean and free from obstructions. If there’s any debris, clear it out. You wouldn’t want your shiny new opener struggling with a clogged path, right? In summary, a little prep work now will lead to better performance later.
Assemble the Opener Components
Now we’ve reached the fun part: assembling the opener itself. Just like putting together a model airplane, each piece has a specific function, and you’ll want to get it right.
Start by laying all the components out according to the instructions. Most Marantec openers include a motor unit, the drive arm, the mounting brackets, and safety sensors. As you assemble, pay close attention to the strong drive arm; this will connect the motor to your garage door.
It’s also a good time to ensure the battery in the remote is fresh—this avoids future frustrations. Following the manual step by step will ensure that you’re putting everything together correctly. Don’t rush through this part; it’s essential for smooth operation.
Mount the Header Bracket
To mount the garage door opener, you’ll need to affix the header bracket first. This job will take a bit of muscle and measuring.
Start by finding the center of your garage door’s top panel. This is where your header bracket will be mounted. Use a level to mark where the bracket will go. It’s crucial to ensure that everything is straight, as a crooked installation can lead to problems later on.
Next, secure the header bracket to the wall using your power drill and appropriate screws. Depending on the material of your garage wall, you may need to use different types of anchors or screws. Be sure to tighten them well—after all, this bracket is going to support the weight of the opener!
Hang the Motor Unit
With the header bracket in place, it’s time to hang the most critical part of the system: the motor unit. This is where all the magic happens!
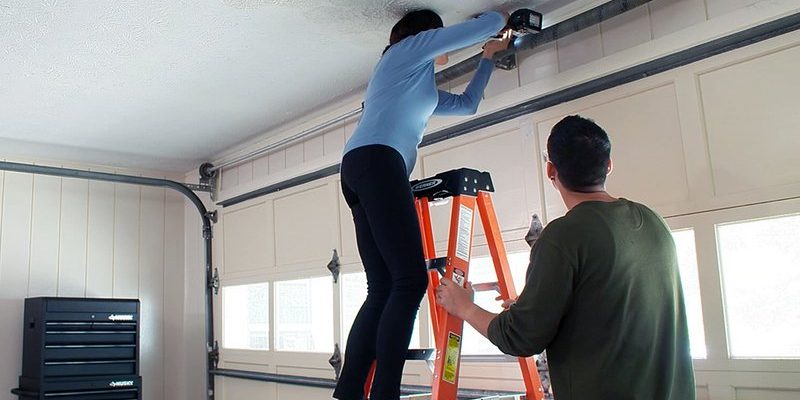
Lift the motor unit to the ceiling. Use a ladder if necessary; safety first! Align it with the header bracket you’ve just installed. Depending on your ceiling height, you may need help from a friend for this part. It’s always easier when there’s an extra pair of hands.
Once you’ve aligned it properly, secure it using the recommended screws and ensure that it’s level. A well-mounted motor unit is important to prevent any vibrations from disturbing the peace of your garage at night.
Connect the Drive Arm and Door
Now that the motor unit is securely in place, it’s time to connect the drive arm to the garage door itself.
Take the drive arm and attach it to the trolley on the motor unit. Depending on the design of your Marantec opener, there might be a specific clip or locking mechanism to use. Next, you’ll want to connect this arm to the garage door.
Center the arm attachment on the garage door and secure it. Make sure everything is tight, as a loose connection can lead to safety hazards. After these connections are made, manually test the door to ensure that the opener is engaging correctly. If you notice any unusual gaps or resistance, double-check your connections.
Install Safety Sensors
Safety should be your top priority, and Marantec garage door openers come equipped with safety sensors for a reason. These sensors prevent the door from closing on anything in its path.
You’ll typically want to install the sensors about 6 inches off the ground on either side of the garage door. Use your drill to attach them to the wall, ensuring they face each other correctly. Most Marantec models come with clear instructions about the positioning.
After installing, run a quick test. Place an object in the door’s path and attempt to close it. If the sensors are working correctly, the door should reverse automatically. This added layer of safety is invaluable, especially if you have pets or kids around.
Power Up and Program the Opener
You’ve made it! With everything installed, it’s time to power up your Marantec opener and program it for use.
First, find an outlet near your motor unit and plug it in. You should hear a beep, signaling that the system is powered. Now, follow the instructions in your manual to sync or program your remote. This usually involves pressing the learn button on the motor unit and then clicking your remote.
You might be wondering, “Why is this step so important?” Well, pairing the remote ensures that it communicates effectively with the opener—like tuning a radio to the right station. If you skip this, you may find yourself standing in the driveway, remote in hand, wondering why the door isn’t responding!
Testing Your Garage Door Opener
After everything is installed and programmed, it’s time for the moment of truth: testing your garage door opener.
Start by using the remote to open and close the garage door. Watch closely to ensure everything is moving smoothly. If you notice any strange noises or if the door hesitates, it’s a good idea to revisit and check your connections. It’s better to troubleshoot now than to deal with problems later.
Make sure to test the safety sensors one more time too. This helps ensure everything will function correctly every time you need it. Once you’re satisfied, take a moment to celebrate your hard work—a new garage door opener is a big win!
In conclusion, installing a Marantec garage door opener, while detailed, can be done successfully with some time and effort. Think of it as a rewarding challenge rather than a chore. Before you know it, you’ll be enjoying the convenience of your new opener, which allows you to open and close your garage door with just a button press. Happy installing!