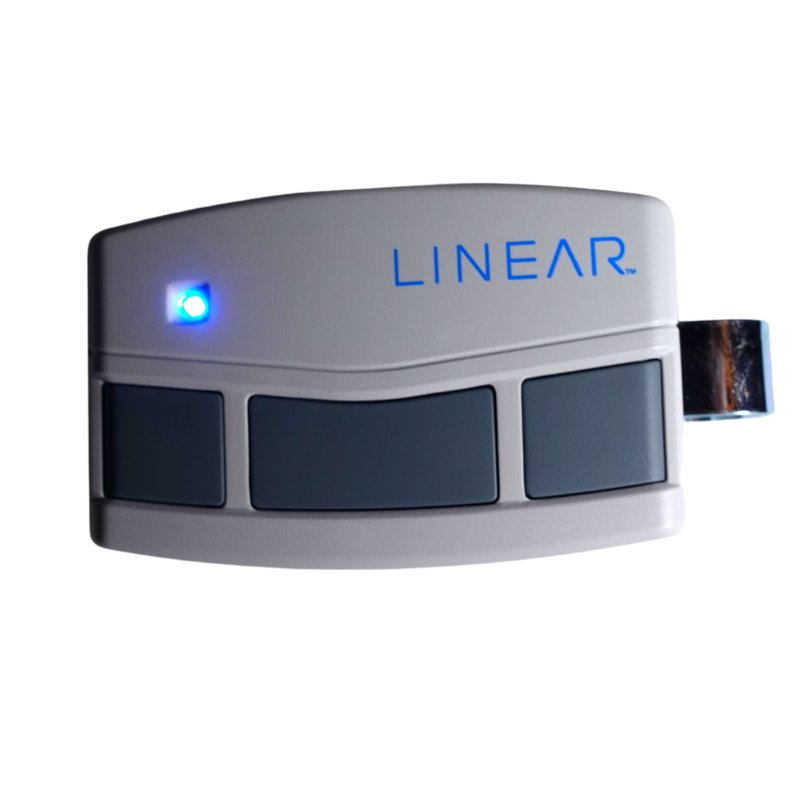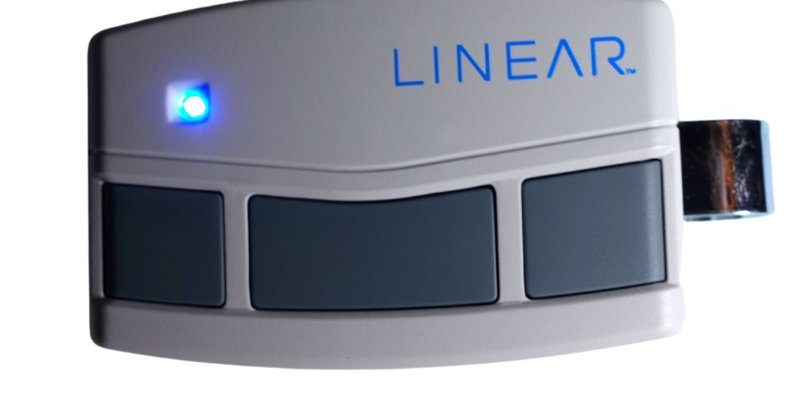
The Linear remote is a popular choice for many homeowners because of its durability and ease of use. Whether you’re a new homeowner trying to navigate this process or just someone who hasn’t set up their remote yet, this guide breaks down everything you need to know. Let’s dive into the installation process.
Understanding Your Linear Remote
Before we roll up our sleeves, let’s take a moment to understand what we’re working with. The Linear remote is designed for simplicity and effectiveness. It typically features a few buttons that allow you to operate your garage door and can come in several models.
Common Features:
- Number of Buttons: Most Linear remotes have one to three buttons, each corresponding to a different garage door.
- Transmitter Frequency: These remotes operate on specific frequencies, often 318 MHz, to ensure a secure connection.
- Batteries: Usually, these remotes run on AAA or 9-volt batteries, which makes battery replacement hassle-free.
Understanding your specific model is crucial, as some remotes may have slight differences in setup. For instance, a one-button remote will be a lot simpler to program than a three-button model, but the basics remain similar.
Getting Ready to Install
Just like you wouldn’t start cooking without gathering your ingredients, let’s prepare for the installation process. Here’s what you’ll need to have on hand:
Items Required:
- Your Linear remote
- The garage door opener unit
- A step ladder (if needed for reaching the opener)
- Fresh batteries for the remote
Before you start, check to ensure that your garage door opener is plugged in and functioning. If there’s an issue with the opener itself, pairing the remote won’t fix the problem. Also, ensure there are no obstructions blocking the door’s path when you finally get everything set up.
Installing the Linear Remote: Step-by-Step
Now for the exciting part—it’s time to get your Linear remote up and running! Follow these easy steps, and you’ll be good to go:
1. Insert the Batteries: Start by removing the battery cover on the back of your remote. Insert the new batteries, making sure to observe the polarity (+/-) markings. Secure the cover back on. It’s like putting the final pieces in a puzzle—it all has to fit right.
2. Locate the Learn Button: Head over to your garage door opener unit. Look for a button labeled “Learn” or “Program.” This button is often found on the back or side of the unit and may be next to indicator lights. Once located, press the button once. A light should start flashing, which means the unit is ready to learn.
3. Program the Remote: Within 30 seconds of pressing the Learn button, press and hold the button on your remote that you’d like to use to operate the garage door. When the opener’s light blinks or turns off, you’ve successfully paired the remote. It’s like having a conversation—the opener is saying “I heard you!”
4. Test the Remote: Now, step away from the unit and press the button on your remote. Watch your garage door respond. If it opens or closes, congrats! You’re officially in control.
Troubleshooting Common Installation Issues
Even the best of us can run into a few hiccups during setup. If your remote isn’t working after following the steps, don’t panic! Here’s how to troubleshoot some common issues:
– No Response from Door: Make sure the batteries are fresh and installed correctly. If they’re fine, try reprogramming the remote.
– Flashing Lights on Opener: This could mean that the signal is weak or the remote is out of range. Bring the remote closer to the opener.
– Multiple Remotes Interfering: If you have other remotes or devices using the same frequency, it might cause a conflict. Try clearing the memory in your opener by holding the Learn button until the light goes out, then reprogram your remotes.
These are simple fixes that often save you time and frustration.
Why Might You Consider a Universal Remote?
While Linear remotes are fantastic, you might be wondering about alternatives, specifically universal remotes. A universal remote can operate multiple devices, including your garage door opener. They’re especially helpful if you have different brands in your home or just prefer to simplify things.
Comparing Linear and Universal Remotes:
- Ease of Use: Linear remotes are designed for simplicity with straightforward programming.
- Functionality: Universal remotes offer flexibility to control various devices but may require more complex setup.
- Cost: Linear remotes are often more budget-friendly for garage door functions specifically.
Consider your lifestyle and needs when making this decision.
Regular Maintenance and Battery Replacement
Once your remote is installed, some care can go a long way. Regular maintenance helps ensure longevity:
– Battery Checks: Regularly check the batteries, especially if you notice the remote working inconsistently. A good rule of thumb is to change them every 6-12 months.
– Clean the Remote: Occasionally, wipe down the remote with a soft cloth to remove dirt and grime. This helps with button responsiveness.
– Inspect Functionality: Every few months, test the remote to ensure it’s working well. If things seem off, address it early before it becomes a bigger issue.
Taking these steps is like tuning up your car; it keeps things running smoothly for the long haul.
Installing your Linear remote doesn’t have to feel like rocket science. With a little patience and the steps outlined here, you can enjoy the convenience of a garage door that opens with just the push of a button. When you take the time to understand your remote and your garage door opener, it makes the entire process smoother.
Remember, troubleshooting is part of the journey, so don’t be afraid to experiment with solutions if you hit a bump in the road. With your new technology in place, whether you’re heading out for groceries or returning home from work, you’ll find that operating your garage door has never been easier. Welcome to a more convenient lifestyle!
