In this guide, we’ll walk you through the installation process step by step, making it clear and easy to understand—just like you’re chatting over coffee with a good friend. Whether you’re using a wireless LiftMaster wall button or one that’s wired, I’ve got you covered. Let’s roll up our sleeves and dive in!
Tools and Materials You’ll Need
Before you get started, let’s gather everything you’ll need. You don’t want to be in the middle of installation and discover you’re missing a critical tool. Here’s a quick checklist of tools and materials:
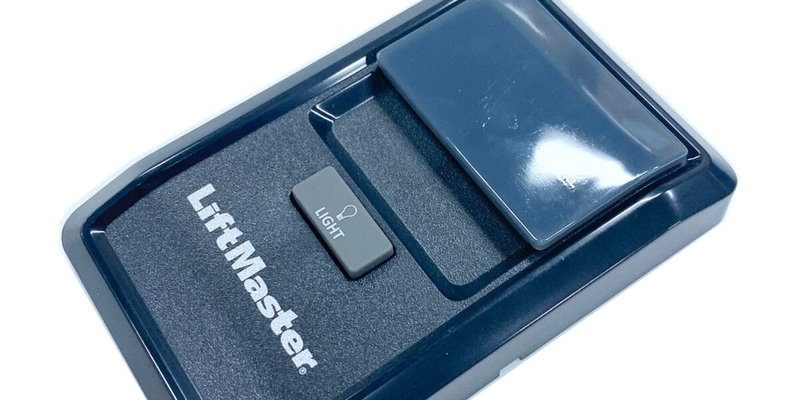
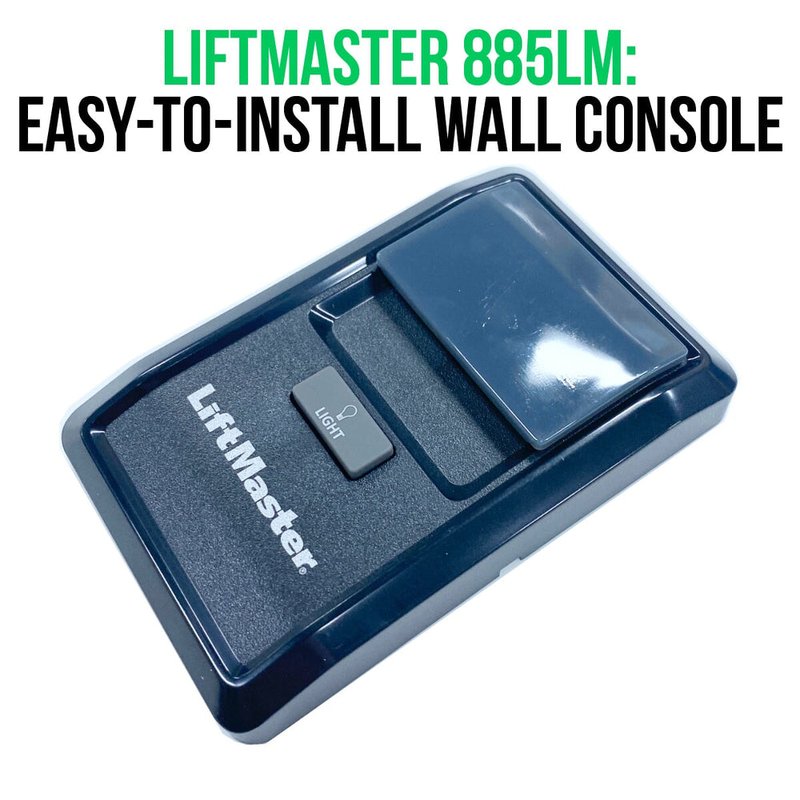
- LiftMaster wall button kit (includes the button and mounting brackets)
- Drill with a screwdriver bit
- Wire stripper (if you’re installing a wired button)
- Level (to ensure your button is straight)
- Electrical tape
- Stud finder (optional, but helpful)
- Pencil
- Measuring tape
Having your tools ready is like preparing for a good movie night: it makes everything smoother. The last thing you want is to interrupt the flow of your project running back and forth looking for tools.
Choosing the Best Location for Your LiftMaster Wall Button
Selecting the right spot for your wall button is crucial. You want it somewhere practical—easily accessible but out of reach of curious little hands. Think about where you usually park your car in the garage. Installing the wall button near that spot makes it simple to access when you arrive home.
Look for a wall that’s at least 5 feet above the ground to avoid accidental presses by kids or pets. It’s also smart to position it near any other controls you have, such as light switches or a garage door opener. This way, it’s all in one convenient location.
Once you’ve chosen the ideal spot, use your level to mark where the button should go. You want it to be straight, so it looks nice, too!
Wiring Your LiftMaster Wall Button
Depending on whether you have a wired or wireless LiftMaster wall button, this step will differ. If you’re going for the wireless version, you can skip this section. For a wired button, let’s break it down into steps:
1. Turn Off Power: Safety first! Make sure the power to your garage door opener is turned off. You don’t want any surprises while you’re working.
2. Connect the Wires: Usually, the wall button will have two terminals. Strip the ends of your wires, twist them onto the terminals, and secure them tightly. It’s like attaching the laces of your running shoes—make sure they’re snug!
3. Secure with Electrical Tape: Wrap some electrical tape around the wires and terminals for extra safety. Again, this is a precaution against any exposed wires accidentally connecting in a bad way.
4. Test for Proper Connection: After everything is connected, turn the power back on and ensure the button works before fully mounting it to the wall.
Remember, it’s better to double-check your connections now than to face troubleshooting later!
Mounting the Wall Button
Now comes the fun part: securing your wall button in place. Here’s how:
1. Position the Button: Align it with the marks you made earlier.
2. Drill the Holes: Using your drill, make holes where the mounting screws will go. If you’re drilling into drywall, be careful to avoid any hidden wires or plumbing behind the wall using a stud finder if necessary.
3. Insert the Screws: Place the wall button against the wall and secure it with the screws provided in your kit.
4. Check Your Work: Once the button is mounted, give it a quick test by pressing it to see if your garage door opens and closes correctly. If it does, you’ve done it! If not, don’t panic; you might just need to check your wiring again.
Syncing Your LiftMaster Wall Button with Garage Door Opener
Now that everything is installed, let’s ensure it’s synced with your garage door opener.
1. Locate the Learn Button: On your garage door opener, find the “Learn” button—this is often found on the back near the antenna.
2. Press and Hold: Press and hold the learn button until the lights blink, signaling it’s in learning mode.
3. Press the Wall Button: Quickly press your new wall button once. The opener should respond, and the light will stop blinking. This means your wall button is successfully synced!
After syncing, give it a go by pressing the wall button again. The door should respond! This part is like magic—it’s satisfying when everything comes together.
Troubleshooting Common Issues
Sometimes, even after doing everything right, things might not work out as planned. Here are a few troubleshooting tips that can help:
– Button Not Responding: Check if the power is indeed on. If you have a wired button, double-check your connections. If it’s a wireless button, ensure that the battery is fresh and installed correctly.
– Garage Door Opens Unexpectedly: This can happen when there’s interference in wireless signals. To resolve this, keep your button away from other wireless devices or conduct your installation in a different space.
– Inconsistent Response: If the button works sometimes but not others, it could indicate a weak battery (for wireless buttons) or need for a reset on the garage door opener.
Here’s the thing: If at any point the troubleshooting feels overwhelming or you can’t pinpoint the issue, don’t hesitate to consult the manual or reach out to LiftMaster support.
Final Thoughts on Your LiftMaster Wall Button Installation
Congratulations! Installing your LiftMaster wall button is a small DIY project that brings convenience to your daily life. It’s amazing how a simple button on the wall can enhance your garage experience. This installation process gives you not just the immediate benefit of easy access but also the satisfaction of knowing you took on a challenge and succeeded.
Next time you’re wrestling with bags of groceries or helping your kids, you won’t have to fumble for your remote. Instead, all you need is a quick press at the wall. Now, go enjoy your newly enhanced setup and drive straight into that garage with ease!