LiftMaster remotes are known for their reliability and ease of use. Whether you have a standard remote or a more advanced model with smart features, the installation process is generally straightforward. So, grab a little coffee, settle in, and let’s dive into how to get your LiftMaster remote installed and synced with your garage door opener.
Understanding Your LiftMaster Remote
Before jumping into the installation process, it’s essential to understand what type of LiftMaster remote you’ve got on your hands. LiftMaster offers various models, from basic clickers to high-tech remotes with smart features. Most of these remotes come with buttons that allow you to open, close, or control several doors.
Here’s the thing—each remote can be a bit different in terms of features and installation requirements. The most common remotes are ones designed to work with LiftMaster garage door openers. You might even find remotes that can control multiple garage doors or work alongside smart home systems. Knowing your specific remote model will help ease the installation process.
Keep an eye out for the model number often found inside the battery compartment or on the packaging. Once you have that, you can refer to the correct user manual for detailed instructions, ensuring that everything aligns perfectly.
Gathering the Necessary Tools
Think of this step like prepping for an art project. You wouldn’t want to start painting without your brushes and canvas, right? Similarly, before you embark on installing your LiftMaster remote, grab a few essential tools and items to make the process smooth:
- Flathead screwdriver: This might be needed to pry open battery compartments.
- Phillips screwdriver: For any screws you might need to adjust or tighten.
- Step stool (if needed): Especially useful if your garage door opener is mounted high.
- Your LiftMaster remote: Don’t forget the star of the show!
- New batteries: Most remotes will need the batteries replaced for the best performance.
Having these items at your side will help you avoid interruptions during the installation process.
Installing the Batteries
Now, let’s get into the nitty-gritty—putting batteries in your remote. The good news? This is often the easiest part. Don’t worry if you’ve never done it before; it’s as simple as pie.
First, locate the battery compartment. Most LiftMaster remotes have a sliding cover or a small screw holding it in place. If it’s a screw, take your screwdriver and pop it open to reveal the compartment. You might be surprised to find that some models also have a battery indicator, letting you know if the batteries need changing.
Next, install the new batteries, ensuring that they’re oriented correctly according to the diagram inside the compartment. Once you’ve placed the batteries in, close the compartment securely. That’s it—you’ve conquered the first step!
Programming Your LiftMaster Remote
Programming your LiftMaster remote is where the magic happens. This is how your remote syncs up with your garage door opener, allowing you to control it with just a press of a button.
To program the remote, first, ensure your garage door opener is plugged in and ready to go. Here’s how you can do it:
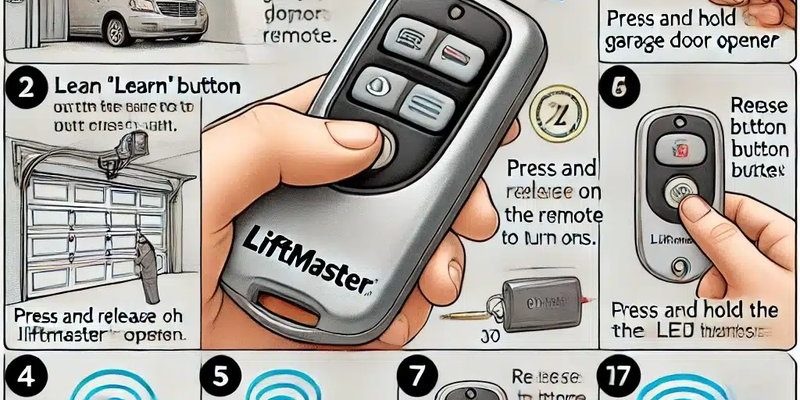
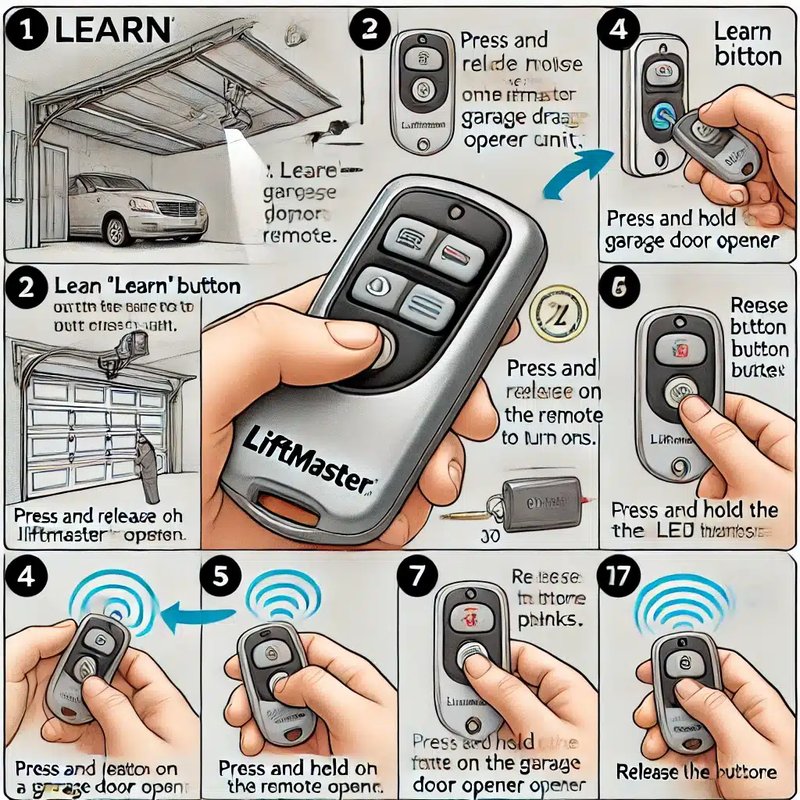
1. Locate the “Learn” button: This is typically found on the garage door opener itself. It’s often a brightly colored button, easy to spot.
2. Press and hold the “Learn” button: You should hold it until the indicator light turns on. This usually takes about a second or two.
3. Press a button on the remote: Within 30 seconds of releasing the “Learn” button, press any button on your remote. The opener’s light might blink, or you might hear a click, indicating that the programming was successful.
If you’ve done everything right, you should be able to test your new remote right away. If it doesn’t work, don’t panic! Just repeat the programming steps, ensuring each part is followed closely.
Testing Your Remote
Now that you’ve programmed the remote, it’s time for the exciting part—testing to see if it’s working! This is the moment where everything you’ve done so far pays off. Head to your garage door, keeping your remote handy.
Stand a few feet away from the door and press the button on your new LiftMaster remote. If everything has gone smoothly, your garage door will respond by opening or closing.
But if the door doesn’t respond, don’t worry. Here are some troubleshooting tips to get you back on track:
– Check the batteries: Make sure they’re installed correctly and are fresh.
– Reprogram the remote: Sometimes, it takes a couple of tries.
– Look for interference: Make sure there aren’t any electronic devices nearby that could be interfering with the signal.
– Ensure you’re within range: Most remotes work best within a specific distance from the opener.
Testing ensures you know your remote is ready to use, saving you from surprises later.
Troubleshooting Common Issues
Even the smoothest installations can hit a bump in the road. If your LiftMaster remote isn’t working after installation, don’t feel disheartened. Here are some common issues and how to fix them:
– Remote doesn’t work: If your new remote isn’t responding, double-check that the battery is inserted correctly and consider replacing it if it’s old.
– Flashing light on the opener: If the garage door opener’s light keeps flashing, it might indicate that the remote wasn’t programmed correctly. Try the programming steps again.
– Inconsistent performance: Sometimes, the remote works sporadically due to interference from other devices in your home or weak batteries. Change the location of the opener or move any electronic devices away.
– Multiple remotes: If you have multiple remotes and one is not working, it may need reprogramming. Follow the same steps for that specific remote.
You might be wondering how to get help if things don’t improve. Don’t hesitate to reach out to LiftMaster’s customer support for assistance—they’re usually very helpful!
Installing a LiftMaster remote doesn’t have to be stressful. When you break it down into small steps—understanding your remote, installing the batteries, programming, and testing—it becomes much more manageable. With your remote installed, you’ll enjoy the ease and accessibility of operating your garage door with just a click.
Remember, if you ever run into issues, troubleshooting is only part of the process. Stay patient, and you’ll be back on track in no time. Now, go ahead, enjoy the convenience of your LiftMaster remote, and maybe treat yourself to a little relaxing time—you deserve it!