
If you’ve recently purchased a LiftMaster keypad or are thinking about it, you’ve come to the right place. This guide will walk you through the installation process step by step. It’s designed to be beginner-friendly, so even if you’re not a DIY expert, don’t fret. Installing this keypad is simpler than you might think—like riding a bike after the first couple of wobbly attempts. Let’s hop on that bike and get started!
Understanding the LiftMaster Keypad
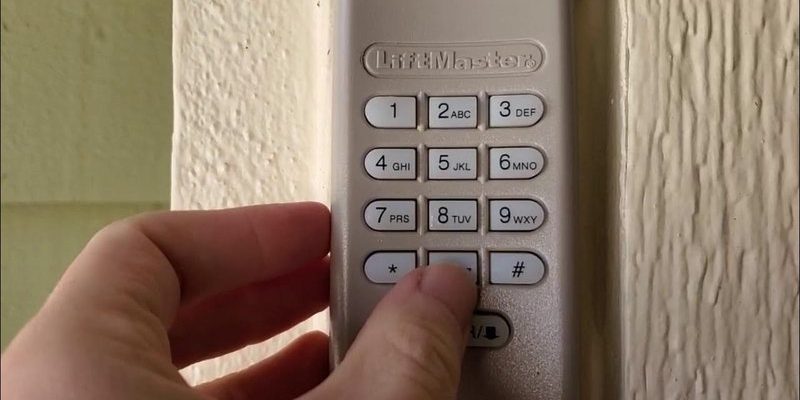
Before diving into the installation process, it’s vital to understand what you’re dealing with. A LiftMaster keypad is a wireless device allowing you to operate your garage door opener without needing a remote. The keypad communicates directly with your garage door opener via a secure code. This means you never have to worry about losing your remote or accidentally locking yourself out again.
The first thing to consider is the keypad’s design, which usually includes a numeric keypad, a light, and sometimes a built-in cover to protect against weather. These keypads are powered by batteries, making installation pretty straightforward. You won’t need to run any wires or have fancy tools—just some basic ones you might already have at home.
You might be wondering why a keypad is convenient. Photos of your favorite childhood clubhouse come to mind—access with a secret code is just more fun. Besides the cool factor, it’s practical because you can give out codes to family and trusted friends without handing out physical keys. Plus, most LiftMaster keypads allow you to reset the code if you ever feel it’s compromised.
What You’ll Need for Installation
Before you begin, gather your supplies. Here’s a quick checklist to ensure you’re fully prepared:
- LiftingMaster Keypad
- Philips screwdriver
- Drill (optional, depending on wall type)
- 30-minute block of uninterrupted time
- Owner’s manual for your garage door opener
- Two AA batteries (often included with the keypad)
Having everything handy will save you from running back and forth during installation. Trust me, this part is key—no pun intended! If you’re missing any tools, it might help to grab some before diving in. Once you have all your materials, you’re ready to tackle a simple project that will enhance your garage’s accessibility.
Choosing the Perfect Location
Now, let’s find the best spot to install your keypad. Ideally, it should be close to the garage door itself but far enough from the path of cars. You don’t want to accidentally hit it when you’re driving in.
When choosing a location, consider these points:
1. Visibility: Make sure it’s easy to see, especially at night. Most units come with a backlight, but if it’s too dark to find it easily, you might end up knocking on your own garage door.
2. Reachability: Ideally, the keypad should be around five feet off the ground. This makes it accessible for most people but high enough to be out of reach of small kids.
3. Wall Condition: Check to ensure the walls are solid enough to support the keypad. If you’re installing on metal siding, using a drill with appropriate anchors may be necessary.
Once you’ve selected the site, it’s time to mark it for installation. A simple pencil mark where the screws will go is all you need.
Installing the LiftMaster Keypad
Now for the fun part—the installation itself! Here’s a step-by-step breakdown:
1. Attach the mounting bracket: If your keypad has a mounting bracket, use the screws provided to attach it to the wall. Ensure it’s level; nobody wants a crooked keypad! If you’re drilling into cement or concrete, use appropriate anchors.
2. Insert the batteries: Open the keypad cover. Typically, it’s at the back. Insert the two AA batteries, ensuring you align the positive and negative ends correctly.
3. Connect to the garage door opener: Once the batteries are installed, it’s time to set up a secure code. Follow the owner’s manual instructions for entering the sync mode. You’ll usually press a ‘Learn’ button on the opener and follow that with the code you choose on the keypad.
4. Test the keypad: This is where the magic happens. Enter your chosen code and hit the enter button. If everything is set up correctly, the garage door should open. Try a few times to make sure it’s working smoothly!
Troubleshooting Common Installation Issues
It’s normal for things to not go perfectly on the first try. If your keypad isn’t working, don’t worry—you’re not alone. Here are some common issues you might encounter and how to fix them:
– Keypad Not Responding: If the keypad doesn’t beep or light up when you enter a code, double-check the battery installation. You’d be surprised how often this is the issue.
– Code Won’t Save: Make sure you’re following the sync instructions in the manual precisely. Sometimes, it helps to redo the learning process from the beginning.
– Garage Door Doesn’t Open: This might be an issue with the garage door opener itself—ensure it’s plugged in and functioning properly. If it’s still not working, consulting the manual for troubleshooting tips specific to the opener model can prove helpful.
It’s all part of the learning process. Think of any hiccups as a chance to bond with your new gadget!
Maintaining Your LiftMaster Keypad
Once you’ve installed your keypad, regular maintenance comes next. Here are some simple ways to keep it functioning well:
– Battery Changes: Keep an eye on the keypad’s performance. If you notice delayed responses or no response at all, it could be time to change the batteries. Generally, you’ll need to replace them once a year, but it might differ based on usage.
– Cleaning: Dust and dirt can accumulate, especially if it’s exposed to the elements. A quick wipe-down with a damp cloth ensures it stays functional and presentable.
– Code Updates: It’s a good idea to change your entry code periodically. This small action can significantly enhance your security, especially if you’ve shared the code with temporary visitors.
Maintaining your LiftMaster keypad not only ensures it operates smoothly but also contributes to the longevity of your device, giving you peace of mind for years to come.
Installing a LiftMaster keypad is a rewarding project—one that gives you both convenience and security at your fingertips, literally! By following these steps, you have transformed an ordinary garage door into a cutting-edge entryway.
With a little effort and the right tools, you’ll end up with a functioning keypad you can confidently show off to family and friends. Remember, though there might be hiccups along the way, each step brings you closer to mastering your garage space. And just like that, you’ve added an adventure to your home, turning “garage access” into a smooth experience. Happy coding!