So, if you’re ready to dive into this project, grab your toolbox and let’s roll up those sleeves. We’re going to walk through the entire installation process step-by-step, making sure it’s as easy as pie. We’ll cover everything from gathering necessary materials to programming the remote. Let me break it down for you in a friendly, straightforward way.
Tools and Materials You’ll Need
Before diving into the installation, let’s chat about what you’ll need. Having all the right tools and materials at your fingertips will not only save you time but also make the entire process smoother. Here’s a handy list:
- Liftmaster Garage Door Opener Kit: Make sure you have the complete kit with all components.
- Screwdriver: A power screwdriver can save you a lot of elbow grease.
- Level: Ensures everything is straight and aligned properly.
- Measuring Tape: To get precise measurements.
- Wrench Set: For tightening various nuts and bolts.
- Ladder: Reach high places safely.
Once you have everything ready, you’ll feel more confident tackling this project. The first step is to read through the instruction manual that comes with your Liftmaster opener. Yes, I know manuals can be boring, but they’re your best friend for this task.
Setting Up the Garage Door Opener
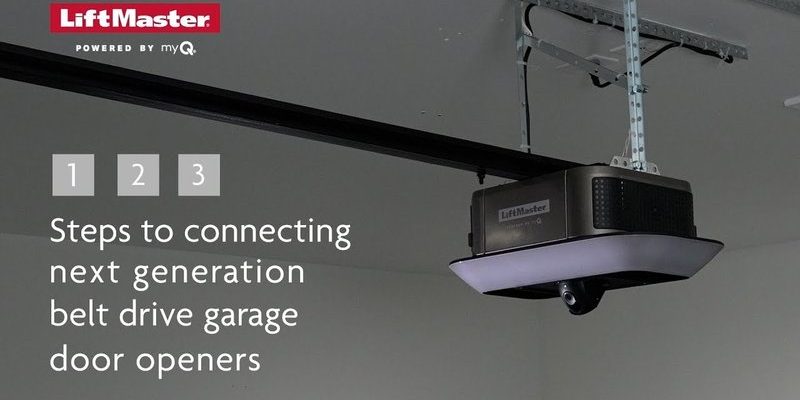
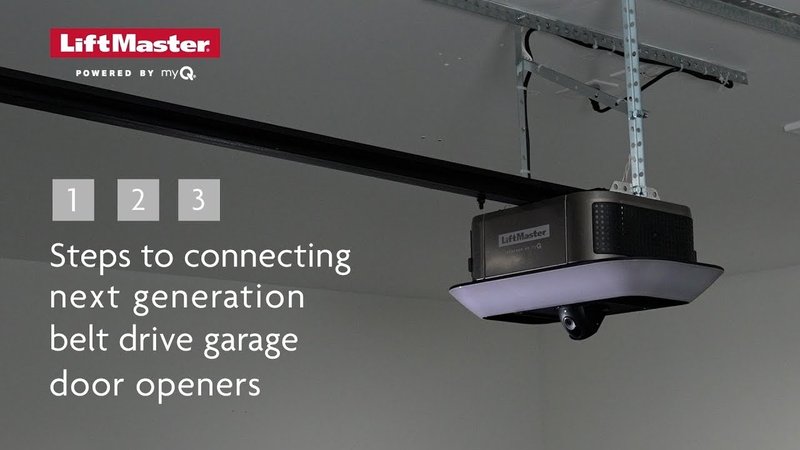
Now that you have your tools and Liftmaster kit, it’s time to set up the actual opener. The first thing to do is choose a proper location for the unit. It should be mounted on the ceiling of your garage, ideally above the door’s center. This ensures optimal performance and balance.
Here’s how to mount it:
1. Position the Opener: Using your ladder, hold the opener where you want it installed, making sure it’s at least 7 feet off the ground.
2. Attach the Bracket: Use the provided brackets and screws to secure the opener to the ceiling. Double-check with the level to ensure you’re straight.
3. Secure Wiring: The wiring needs to be hidden and secured to avoid any tripping hazards. Follow the manual for proper wiring instructions.
This stage is crucial. A solid installation at this point will prevent future headaches when you start using the garage door opener.
Installing the Garage Door Hardware
After securing the opener, it’s time to tackle the hardware that connects it to your garage door. This part consists of installing the rail system and the trolley. Here’s what you need to do:
1. Assemble the Rail: Follow the instructions to put together the rail that links the opener to the door. It often involves sliding pieces together and securing them with screws.
2. Attach the Trolley: The trolley is the part that will move along the rail. Make sure it’s attached correctly, as this is where your door will gain its mobility.
3. Connect to the Door: Finally, you’ll need to hook the trolley to the garage door itself. Use the brackets and screws included in your Liftmaster kit, following the manual step-by-step.
Pay careful attention here—this is where alignment becomes crucial. If the trolley isn’t aligned with the door, it may cause jamming or uneven movement.
Wiring the Garage Door Opener
With all the hardware securely in place, it’s time to wire the opener. This step can feel daunting, especially if you’re not electrically inclined, but it’s straightforward. Here’s the general approach:
1. Locate Power Supply: Find a near power outlet for your opener. Most Liftmaster openers require a standard 120V outlet.
2. Connect Wires: Follow the color-coded wires from your opener to connect them properly. Typically, this includes wires for the motor, safety sensors, and the remote control.
3. Test the Connection: Before you move forward, ensure everything is properly connected and secured. It’s a good idea to double-check your connections against the manual.
Safety is key! Make sure your hands are dry, and you’re working in a dry location to avoid any electrical mishaps.
Installing Safety Sensors
Safety sensors are a crucial part of your Liftmaster garage door opener. They prevent the door from closing on anything in its path. Installing them is easy, and here’s how:
1. Placement: The sensors should be installed on either side of the garage door, at about 6 inches above the ground.
2. Secure Them: Use the screws provided to mount the sensors to the wall. Make sure they face each other directly.
3. Connect Wires: Just like wiring the opener, you’ll need to connect these sensors to the main unit using the provided wiring.
Once you’ve done this, you can feel secure knowing that your garage door opener is equipped with extra safety measures.
Programming the Remote Control
Now that everything is installed, it’s time to program your Liftmaster remote control. This is your magic key to make the garage door open and close effortlessly. Here’s how to do it:
1. Locate the Learn Button: Find the “Learn” button on the opener unit. It’s often near the antenna wire.
2. Press the Button: Press and release the Learn button. You’ll usually see a light blink or hear a sound indicating it’s ready to pair.
3. Test the Remote: Press the button on your remote control within 30 seconds of pressing the Learn button. If programmed correctly, your garage door should respond.
If everything goes as planned, congratulations! You’re now the proud owner of a Liftmaster garage door opener that responds to your remote.
Final Testing and Troubleshooting
With everything installed and set up, it’s crucial to test your garage door opener. Start by opening and closing the door several times using the remote. This can show you if there are any odd noises or if the door isn’t moving smoothly.
Common troubleshooting issues include:
– Door Won’t Open: Check if the safety sensors are aligned and clear.
– Remote Not Working: Make sure you replaced the battery in the remote if it isn’t functioning.
– Unusual Noises: This might indicate incorrect installation or lack of lubrication on the rail.
If you encounter any major issues, refer to the troubleshooting section of your Liftmaster manual. It’s packed with valuable tips tailored specifically for your model.
And there you have it! You’re now equipped with the knowledge to install your Liftmaster garage door opener confidently. It’s all about taking it step by step, being patient, and referring back to your manual whenever needed. By following this guide, you’ll not only simplify the installation but also gain a sense of accomplishment as you enjoy the convenience of your new opener. Here’s to many smooth openings and closings ahead!