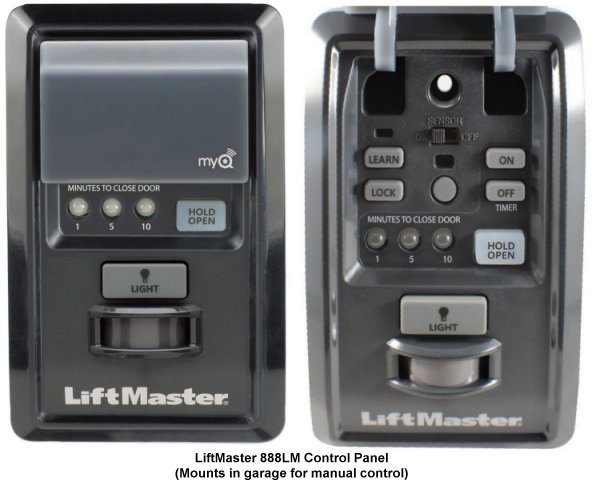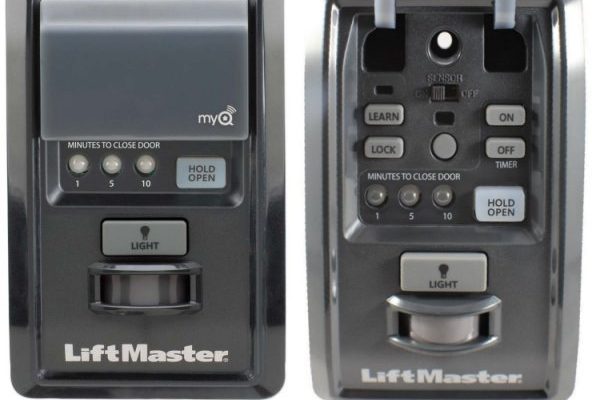
Here’s the deal: a control panel installation isn’t just for seasoned handymen. Even if you’re just starting to navigate home improvement tasks, you can tackle this job. In this guide, we’ll walk through everything you need to know about installing a Liftmaster control panel. As we dive in, we’ll cover the tools you’ll need, step-by-step instructions, troubleshooting tips, and much more. So, grab your toolkit, and let’s get started!
Step 1: Gather Your Tools
Before you even think about tackling the installation, you need to gather the right tools. Having everything on hand will save you time and frustration later. Here’s a quick checklist of what you’ll need:
- A screwdriver (both flathead and Phillips)
- Wire cutters/strippers
- Drill with bits
- Voltage tester
- Measuring tape
You might be wondering why a voltage tester is necessary. Well, it helps ensure you’re working with the right circuits and can prevent any nasty surprises. And believe me, nothing derails a DIY project quite like a surprise shock!
Step 2: Disconnect Power to the Garage Door Opener
Safety first! Before you start installing anything, you need to disconnect the power to your garage door opener. This isn’t just a good idea; it’s essential. Try not to take shortcuts here.
Locate the power cord for your garage door opener and unplug it. If your opener is hardwired, you may need to flip the circuit breaker off. Use your voltage tester to double-check that the power is indeed off. If you can’t find the power source or are unsure about wiring, consult a professional.
Step 3: Remove the Old Control Panel
With the power off, it’s time to remove the old control panel. If you’re replacing an existing panel, you’ll need to unscrew it from the wall. Carefully lift it away, making sure not to pull too hard on the wires.
Here’s a pro tip: take a photo of the wiring before you disconnect anything. This can be a lifesaver when it’s time to connect the new panel. Write down which wire goes where if you can’t get a clear picture.
Step 4: Install the New Liftmaster Control Panel
Now comes the fun part—installing your new Liftmaster control panel! Start by preparing the wall where you’ll be placing it. Make sure the area is clean and dry.
Next, position the new panel in place and mark where your screws will go. Drill pilot holes if needed, then attach the panel using the screws. Connect the wires according to the photo or notes you took earlier. Each wire typically has a color code or labeled terminal, helping you get it right. Tighten everything securely.
Step 5: Power Up and Sync the Remote
Once the installation is complete, it’s time to power everything back up. Reconnect the power cord or flip the breaker back on, and watch as your Liftmaster control panel lights up.
Now you need to sync your remote. This step may vary slightly between models, but generally, you’ll find a “learn” button on the motor unit. Press this button, then press the button on your remote. You should see the lights blink—this means you’re successfully pairing!
Step 6: Test Everything
After syncing, test the new control panel and remote to ensure everything is working smoothly. Press the button on the panel, and your garage door should respond. If it doesn’t, don’t panic!
Here are a few troubleshooting tips:
– Double-check the wiring.
– Make sure the power is back on.
– Inspect the batteries in your remote.
If all else fails, consult the Liftmaster installation manual or reach out to customer support.
Step 7: Maintenance for Longevity
Now that you’ve successfully installed your Liftmaster control panel, it’s essential to maintain it. Regular checks on the wiring and ensuring that the connections are secure can prolong the life of your control panel and opener.
Keep an eye out for any signs that your system isn’t functioning correctly—like frequent malfunctions or the control panel not responding. Early detection can save you a lot of headaches down the road.
Final Thoughts
And there you have it! Installing a Liftmaster control panel isn’t just for the pros; with a bit of patience and the right tools, anyone can do it. Remember, this little panel is the key to a well-functioning garage door, providing convenience and security to your home.
Feel free to return to this guide whenever you need a refresher or run into issues. Happy installing!
