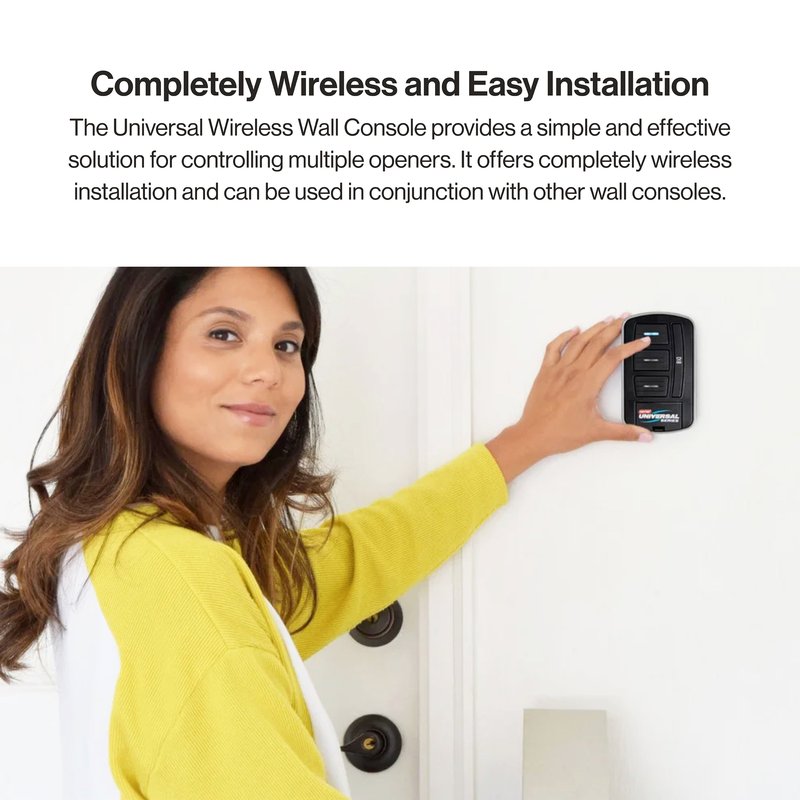
If you think about it, having a wall button is a bit like having a key to your own home—except it’s mounted on the wall of your garage. Instead of fumbling around for a remote every time you drive back home, you can just press a button. That’s why installing it properly is essential; you want it to work smoothly and reliably, just like any other part of your home. Let’s dive into the steps you’ll take and the tools you’ll need to get that Genie wall button installed in no time!
Before jumping into the installation, you’ll want to have everything you need at your fingertips. Here’s a quick list of tools and materials to gather:
- Genie wall button: Make sure it’s compatible with your garage door opener model.
- Screwdriver: Typically a flathead or Phillips will work.
- Drill: For mounting the wall button, if needed.
- Wire Strippers: These will help you prepare the wire connections.
- Voltage Tester: Essential for safety when dealing with electrical components.
- Electrical Tape: This helps secure connections and enhances safety.
Grab these tools, and you’ll be ready to go. It’s a bit like prepping for a cooking project—you don’t want to start chopping veggies without having them washed and ready to go!
You might be wondering, where exactly should I install my Genie wall button? The location is crucial, not just for convenience but also for safety. It should be easily reachable from your car and ideally placed away from the garage door’s path. Here are some considerations:
- Height: Install the wall button about 5 feet off the ground. This makes it accessible for adults but out of reach for small children.
- Proximity: Choose a spot close to the door, but not too close that it’s in harm’s way.
- Avoid Obstacles: Make sure there are no items in the way, like shelves or tools, that might obstruct easy access.
Think of it like positioning a light switch in your home; you want it in the most convenient spot. If it’s too high or too low, it can be frustrating, especially when you’re in a hurry.
Before you start putting screw to wall, it’s vital to ensure you’re working safely. Just like you wouldn’t work on a live electrical circuit without turning off the power, it’s critical to cut off electricity to your garage door opener. Here’s how:
1. Locate the power cord of your garage door opener—usually it’s plugged into a nearby outlet.
2. Unplug it from the wall socket to ensure it won’t accidentally turn on while you’re working.
3. Use a voltage tester on the wires to confirm that no power is flowing.
Taking this precaution is like putting on a seatbelt before a drive; it seems simple, but it’s essential for your safety. You wouldn’t want to risk an electrocution hazard while messing with wiring.
If you’re replacing an old wall button, you’ll need to remove it first. This step can be as easy as pie, but let’s break it down.
1. Use your screwdriver to remove the screws holding the old button in place.
2. Once removed, gently pull the button away from the wall to expose the wiring.
3. Note how the old button is wired. It might help to take a quick photo for reference.
If the button has been there for years, it might feel a bit stubborn, like an old friend who doesn’t want to leave your life! But be gentle, and it will come right off.
Now comes the part where you connect your new Genie wall button, which might sound intimidating, but it’s straightforward. Here’s a simple guide:
1. Strip both ends of the wires coming from the wall if they aren’t already stripped. About half an inch of exposed wire is usually sufficient.
2. Connect the wires to the corresponding terminals on the wall button. Most Genie wall buttons have color-coded terminals—just match them like a puzzle piece.
3. Once the wires are connected, use electrical tape to secure them. This prevents any accidental disconnections.
Think of wiring like making a good sandwich; you want everything neatly packed and secure so that nothing falls apart when you take a bite!
With the wiring done, it’s time to mount your Genie wall button. Here’s how:
1. Position the button against the wall at your chosen height.
2. Use a level or your eye to ensure it’s straight; no one wants a crooked button!
3. Mark the spots for the screws with a pencil, then drill holes where needed.
4. Secure the button in place using screws.
This step gives the finishing touch to your project, akin to adding the frosting on a cake—it completes the picture!
After all that hard work, it’s time for the moment of truth. Testing your installation ensures that everything is working perfectly.
1. Plug the garage door opener back into the power outlet.
2. Stand back and press the wall button to see if the garage door opens or closes as intended.
3. If it doesn’t work, double-check the wiring connections or ensure the opener is functioning correctly.
Think of this moment as the grand reveal; there’s nothing quite like seeing your project come to life!
If your Genie wall button isn’t working properly after installation, don’t stress—it happens to the best of us. Here’s how to troubleshoot potential problems:
- Check the Wiring: Ensure all connections are secure and that you’ve matched the correct wires—loose connections can easily cause issues.
- Battery Issues: If your wall button has a battery, check if it needs replacing.
- Reset the System: Sometimes, a quick reset of the garage door opener can solve minor glitches.
It’s like when your TV remote stops working; sometimes a fresh battery or a little reset is all it takes to get things back on track!
In conclusion, installing a Genie wall button is a manageable DIY project that can enhance your garage door experience. Following these steps ensures that you’ll not only have easy access to your garage but also improve the safety and convenience of your home. Remember, just take it step by step, and soon enough, you’ll be enjoying the convenience of your new wall button! Don’t hesitate to revisit any part of this guide if needed, and enjoy your newfound garage control!
